Create a Perfect White Background Video
Learn how to create a professional white background video from start to finish. Our guide covers shooting, AI background removal, editing, and optimization.
A white background video does one thing incredibly well: it puts your subject front and center, making it the undeniable star of the show. By stripping away all the distracting background noise, you get a clean, crisp, professional look that top brands have used for years to make their products and messages shine. It’s how you cut through the clutter and make people pay attention.
Why White Background Videos Drive Engagement
Think about the last Apple product launch you saw. What stands out? The clean, minimalist aesthetic, right? That powerful, authoritative feel comes from their deliberate use of a simple white background. This isn't just about style; it's a smart psychological move that channels every ounce of the viewer's attention directly onto the speaker and the product.
This approach immediately signals quality and professionalism. A bright, clean backdrop gives off a modern, high-end vibe that can instantly boost how people see your brand, whether you’re producing a corporate training video, a quick social media ad, or an in-depth product tutorial.
Maximizing Clarity and Focus
When the background fades away, your message has nowhere to hide—it becomes the main event. Viewers aren't getting sidetracked by a busy office behind you or trying to figure out what’s on your bookshelf. This laser-like focus is a game-changer for:
- Product Demos: Letting every feature, curve, and detail of your product stand out without visual competition.
- Educational Content: Helping students or trainees lock in on the instructor and absorb information more effectively.
- Corporate Messaging: Ensuring your announcements are delivered with clarity, where the speaker's expressions and words carry all the weight.
The need for this kind of clarity is more critical than ever. Video marketing has exploded, with 89% of businesses now saying it's a vital part of their strategy, according to recent video marketing statistics from Wyzowl. In such a crowded space, clear and professional content wins.
By simplifying what the viewer sees, a white background forces them to connect with what actually matters: your subject, your product, and your story. It’s the most direct route to clear communication and a stronger impact.
In the end, this simple technique helps build a consistent brand identity. It makes your videos instantly recognizable and ensures you look polished and professional, no matter where your content shows up.
Shooting Footage Primed for a Clean Edit
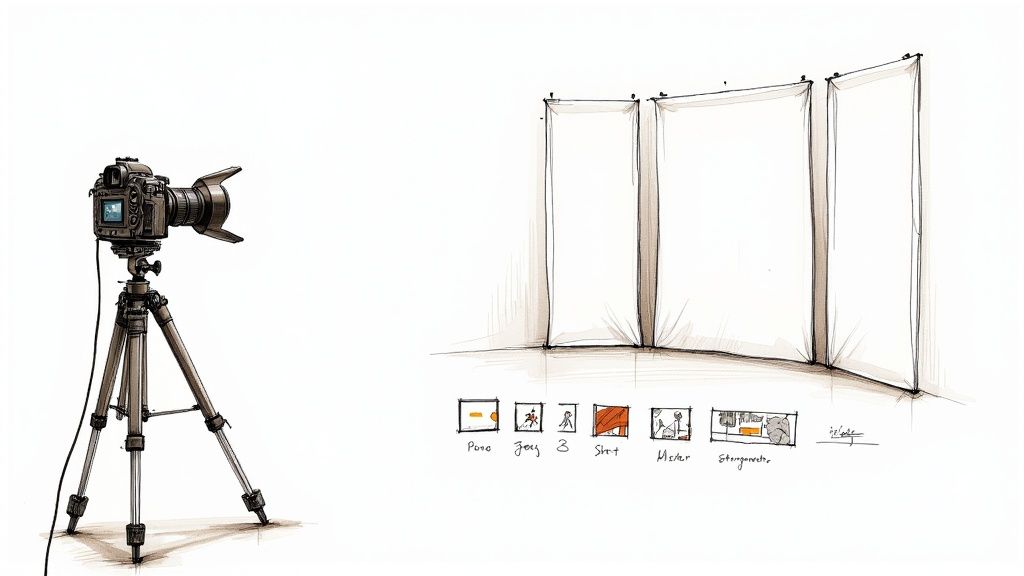
A truly great white background video isn’t something you just fix in post. The real secret to a polished, professional look is capturing footage that makes the editing process as smooth as possible. If you get the shoot right, you’ll spend way less time wrestling with software and end up with a much cleaner result.
The first thing to think about is contrast. What is your subject wearing? To get that crisp separation from the background, have them avoid white, beige, or any light pastel colors. Instead, opt for bold, solid colors like a deep blue, a rich green, or a classic black. This creates a really clear edge for any editing tool to lock onto.
On a similar note, be careful with patterns. Busy prints, thin stripes, or complex designs can create a weird, distracting shimmer effect called moiré, which is a real pain to correct later. Solid colors are always your safest bet.
Mastering Your Lighting Setup
Lighting is everything. I can't stress this enough. The goal is to light your subject and your background as evenly—and separately—as you can. This is how you kill the shadows that make background removal a nightmare. Messy shadows can trick the software into thinking they’re part of your subject, leaving you with a jagged, unprofessional cutout.
You don't need a massive budget for this, either. A simple three-point lighting setup can work wonders.
- Key Light: This is your main, brightest light. Position it slightly to one side of your camera.
- Fill Light: Place this softer light on the opposite side of the key light to fill in any harsh shadows on your subject's face.
- Back Light: Aim this light at the back of your subject. It creates a subtle rim of light that pulls them away from the background.
If you have an extra light or two, point them directly at the background to make it as flat and even as possible. A perfectly lit backdrop gives background removal tools a much cleaner canvas to work with. While a white wall is a good starting point, other solid colors can sometimes work even better. Many of the same lighting principles apply, and you can learn more in our guide on https://videobgremover.com/blog/how-to-use-a-green-screen.
Nailing Your Camera Settings
Your camera settings are the final piece of this pre-production puzzle. The wrong settings can introduce motion blur or digital noise, making a clean edit almost impossible.
Here’s a quick rundown of what to dial in:
ISO: Keep your ISO as low as your lighting allows, ideally between 100 and 400. Cranking the ISO too high creates grainy footage, and that digital noise makes it tough for software to find a clean edge.
Shutter Speed: A faster shutter speed is your best friend for minimizing motion blur. A good rule of thumb is to set it to double your frame rate. So, if you're shooting at 30fps, a shutter speed of 1/60 is the perfect place to start.
Aperture: You want your entire subject tack-sharp. A slightly deeper depth of field (a higher f-stop number like f/4 or f/5.6) ensures that you don't have soft, blurry edges that are a headache to cut out cleanly.
Capturing clean footage from the start saves you hours of frustration. Think of it this way: you’re giving your editing software a clear, easy-to-follow map instead of a crumpled, blurry one.
Once you’ve captured your footage, you'll need the right tools to put it all together. To truly make your project shine, choosing the best video editing software is crucial for applying those final, professional touches.
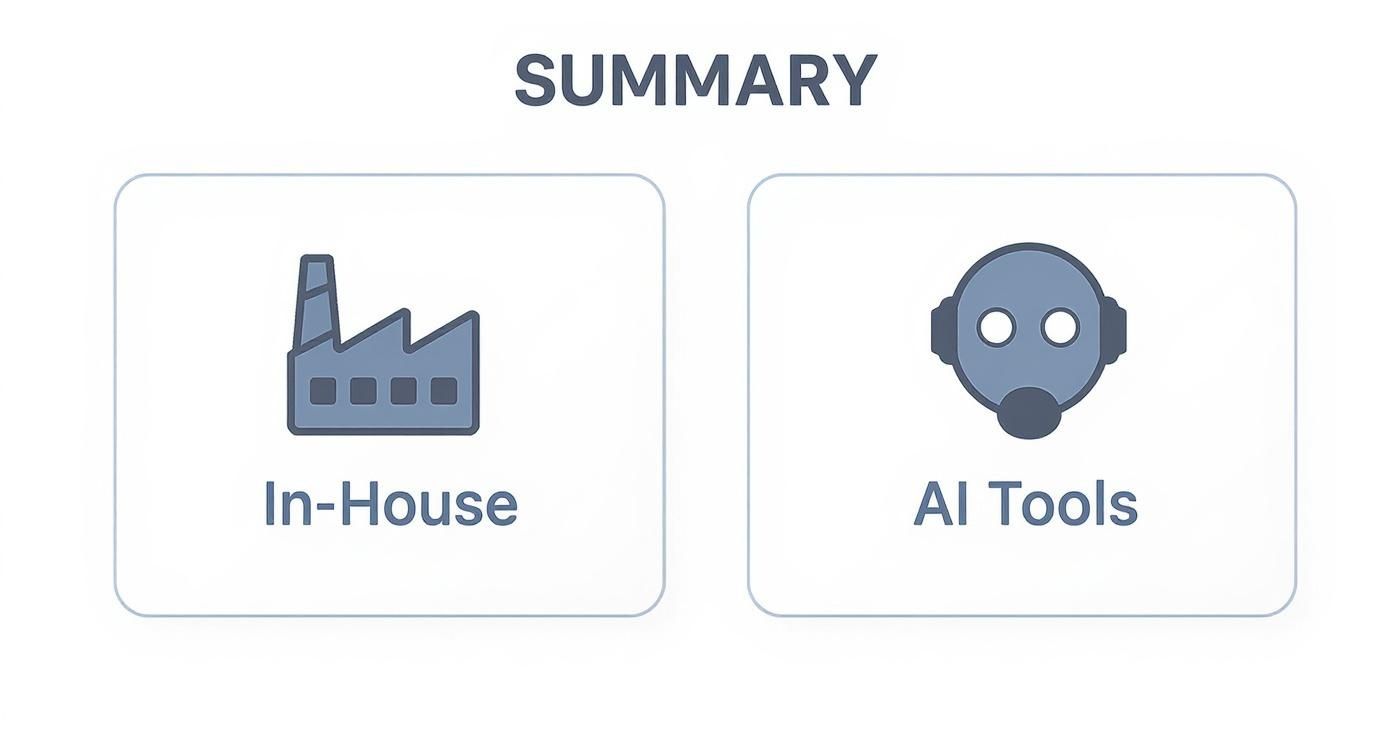
Using AI for Instant Background Removal
Not too long ago, getting a clean background meant one of two things: painstakingly tracing your subject frame-by-frame (a process called rotoscoping) or dealing with the hassle of a green screen setup. Both were slow, required a fair bit of technical skill, and could get expensive fast. Thankfully, AI-powered tools have completely changed the game.
Now, instead of losing hours to tedious editing, you can simply upload your video and let a smart algorithm handle the complex work in minutes. It’s all about speed and efficiency.
This shift has been a huge boost for in-house production teams. In fact, a whopping 75% of video marketers are already using AI tools to create content more efficiently, from initial edits all the way to background removal. You can see more stats on this trend over at B2W.tv's 2025 video marketing report.
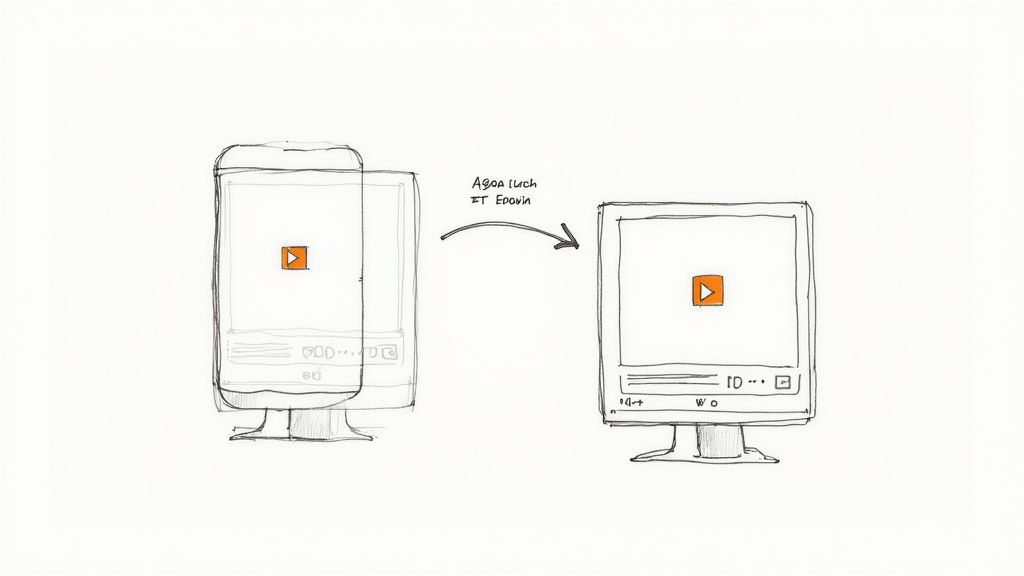
The AI-Powered Workflow
The process couldn't be simpler. With a tool like VideoBGRemover, you just drag and drop your raw footage—it works with common formats like MP4, MOV, or WebM. The AI immediately starts analyzing every frame, figuring out what's your subject and what's the background.
These systems are trained on massive libraries of images and videos, so they know how to handle tricky details like flyaway hair, subtle textures, and quick movements to deliver a sharp, clean cutout.
Here’s a look at the kind of simple interface you'll see. No complex menus, just a clear starting point.
As you can see, it’s designed to get you from raw footage to a finished result with zero friction. What used to be a full day’s work for an editor is now an automated step that takes just a few moments.
The real magic of AI here is that it makes professional video production accessible to everyone. You no longer need a dedicated studio or years of editing experience to create a polished white background video that looks like it came from a major brand.
Choosing Your Final Output
After the AI works its magic and isolates your subject, you've got an important decision to make about how you want to export the file. This choice determines what you can do with your video next.
You'll generally have two main paths to choose from:
- Export with a Transparent Background: This is by far the most versatile option. It gives you a video file (usually a .MOV, .WebM, or a PNG sequence) with what’s called an alpha channel. This means the background is literally empty, so you can layer your subject onto any other video, image, or graphic you want inside your favorite editing software.
- Apply a Solid White Background: If you know for sure that a clean white look is all you need, you can just apply a solid white color right in the tool itself. This is the fastest route, giving you a ready-to-use MP4 file without any extra editing required.
Opting for transparency is perfect when you want to create assets you can use again and again—think of a product demo that you can drop into different ad campaigns. For a deeper dive into how this all works, check out our guide on the capabilities of an AI video background remover.
This kind of technology is a great example of how AI is reshaping the industry. If you’re curious to learn more about how artificial intelligence is changing the game, there are some great roundups of the best AI tools for content creation that show just how much is possible now.
Choosing the Right Video Export Settings
So, you’ve isolated your subject, and it looks sharp. Now comes the final, critical step: exporting the video. This isn't just a technicality; the settings you choose here will dictate where and how you can use your new clip.
Picking the wrong format can be a real headache, leading to compatibility problems, massive file sizes, or even losing the transparent background you just created. Your choice really boils down to what you plan to do with the video. Are you making a high-quality asset for a video editor? A lightweight clip for your website? Or just a clean video for social media? Each goal has a best-fit format.
Understanding Alpha Channels for Transparency
If you want true flexibility, you need to understand the alpha channel. It’s essentially an extra layer of information in your video file that tells software which pixels are your subject (opaque) and which should be completely transparent. Not all video formats can handle this.
When you export with an alpha channel, you aren't just getting a white background—you're getting no background at all. This is a game-changer. It means you can drop your subject onto any other video, graphic, or colored background imaginable without any extra work.
This kind of creative control is exactly why so many creators are moving away from traditional production methods and embracing more agile, in-house solutions with AI-powered tools.
This shift shows just how valuable adaptable, high-quality video assets have become for modern marketing and creative projects.
Comparing Key Export Formats
Let's dig into the most common options for exporting your video. Each has its own strengths, so knowing the difference is key.
Video Export Format Comparison
When you're dealing with transparent or solid white backgrounds, your choice of video format is crucial. The table below breaks down the most popular options, helping you pick the right one based on your project's needs—whether it's for professional editing, web use, or social media.
| Format | Best Use Case | Supports Transparency | Typical File Size |
|---|---|---|---|
| .MOV (ProRes 4444) | Professional video editing (e.g., After Effects, Premiere Pro) | Yes | Very Large |
| .WebM (VP9) | Websites, banners, and online animations | Yes | Small |
| PNG Sequence | High-end VFX and complex animations | Yes | Extremely Large |
| .MP4 (H.264) | Social media (Instagram, TikTok, YouTube), general use | No | Medium |
As you can see, there's no single "best" format—it all depends on the job at hand. For professional post-production where quality is paramount, .MOV is the way to go. For the web, nothing beats the efficiency of .WebM. If you don't need transparency and just want to upload to social media, the universally compatible .MP4 is your best bet.
Choosing your export format is like picking the right tool for the job. You wouldn't use a sledgehammer to hang a picture frame, and you wouldn't use a massive .MOV file for a website banner.
Juggling file size and video quality is a constant balancing act. If you want to dive deeper into this, our guide on video compression without losing quality has some fantastic tips. Getting this right means your video not only looks amazing but also loads quickly for your audience, no matter where they see it.
Optimizing Your Video for Web and Social Media
Creating a great-looking video is one thing, but getting people to actually watch it is the real challenge. This is where a white background video truly shines. That clean, simple look helps it pop against cluttered social media feeds, especially on a phone.
Your subject becomes the undeniable star of the show. It’s an instant attention-grabber that makes your message crystal clear. Still, to get the best results, you've got to fine-tune your video for the specific platforms your audience loves.
Adapting Content for Each Platform
You can’t just post the same video everywhere and expect it to work. Think about it: a wide video that looks perfect on YouTube will get awkwardly chopped up on a vertical platform like Instagram Reels or TikTok.
Before you hit publish, think about these quick adjustments:
- Vertical Video (9:16): This is non-negotiable for TikTok, Reels, and YouTube Shorts. Reframe your shot so your subject fills the vertical screen. This is what mobile viewers expect, and it keeps their focus right where you want it.
- Square Video (1:1): A solid choice for the main feeds on Instagram and Facebook. Square is a safe, versatile format that looks good on most devices without weird cropping issues.
- Captions and Text Overlays: So many people watch videos with the sound off. You absolutely need clear, easy-to-read captions. I also like to use text overlays to punch up key messages or calls-to-action so people get the point immediately, sound or not.
The move to mobile-first video is huge and isn't slowing down. In fact, US advertisers are projected to spend $85 billion on mobile video ads alone. If you're curious about the numbers behind this shift, you can dig into more video marketing statistics.
Your thumbnail is the front door to your video. A compelling, high-quality thumbnail can dramatically increase click-through rates, while a blurry or uninteresting one will get scrolled past every time.
Leveraging Video in Paid Campaigns
That high-contrast, professional vibe of a white background video makes it a killer asset for paid ads. It just looks more premium, which helps stop the scroll—the first and most important job of any social ad.
When you're building out an ad campaign, be laser-focused on your goal. Do you want website traffic? Leads? Sales? Whatever it is, your call-to-action (CTA) needs to match that goal perfectly. Don't be afraid to test different CTAs like "Shop Now," "Learn More," or "Sign Up" to see what your audience responds to.
When you combine a visually sharp video with a clear, direct message, you're not just getting attention—you're getting results.
Common Questions and Quick Fixes
Even with great tools, a few bumps in the road are normal when you're aiming for that perfect white background video. Let's tackle some of the most common questions I hear and get you back on track to creating something polished and professional.
Is a Green Screen Really Necessary Anymore?
Honestly? Not really. It used to be the gold standard, sure. That old-school technique is called chroma keying, and it was the only reliable way to do this for a long time.
But today, AI-powered tools like VideoBGRemover can intelligently separate a person from just about any background. The trick is simply making sure your subject is well-lit and there's a decent amount of contrast between them and whatever is behind them. You don't need a dedicated studio anymore to get that clean, high-end look.
What's the Best Video Format for a Website Header?
For a website header or hero banner, my go-to is almost always WebM. It’s a modern format built specifically for the web and has two killer features: it supports transparency and it has fantastic compression. That means you get small files that won't kill your page load speed.
A fast-loading video is a must for good user experience and SEO. A bulky .MOV file will make your site crawl, and a classic GIF just can't compete on color quality (plus, no sound). WebM is the clear winner here.
How Can I Get Rid of Those Annoying Halos or Flickering Edges?
Ah, the dreaded flickering edge. It’s a super common problem, but it almost always comes back to the original footage, not the removal tool. Before you start messing with complex settings, check two things first:
- Your Lighting: Is it consistent? Flickering lights or shifting shadows can seriously confuse the AI. It has a tough time tracking a clean edge from one frame to the next if the light keeps changing.
- Your Camera Settings: Motion blur is the number one enemy of a clean background removal. You need sharp edges. Try bumping up your shutter speed—something like 1/60 for a 30fps video usually does the trick. It helps freeze the motion, giving the AI a crisp line to follow.
If you’ve tried all that and are still seeing minor issues, a little post-processing can help. Most advanced video editors have a "refine edge" or "feathering" tool. Just a tiny bit of feathering can soften the border of your subject, helping it blend more naturally and hiding those little imperfections. It’s a small tweak that makes a big difference.
Ready to create stunning, professional videos without wrestling with a green screen? VideoBGRemover uses AI to instantly remove or replace your video background. Just upload your clip and see it for yourself. Get started at VideoBGRemover.com.
Tagged with
Ready to Remove Your Video Background?
See a free preview before you buy.
No credit card required • Free preview on every video