Remove Video BG a Creator's Guide to Flawless Edits
Learn how to remove video bg with our guide to AI-powered tools. Get expert tips for transparent backgrounds and perfect exports for TikTok and Reels.
Gone are the days of needing a clunky green screen or a dedicated studio just to get a clean, professional shot. The power to remove video bg with a simple click has completely changed the game for content creators, letting anyone achieve that polished look in a matter of minutes. This move from complex, manual editing to smart, automated AI is how you produce top-tier content without a Hollywood-sized budget.
Why Removing Video Backgrounds Is a Game Changer
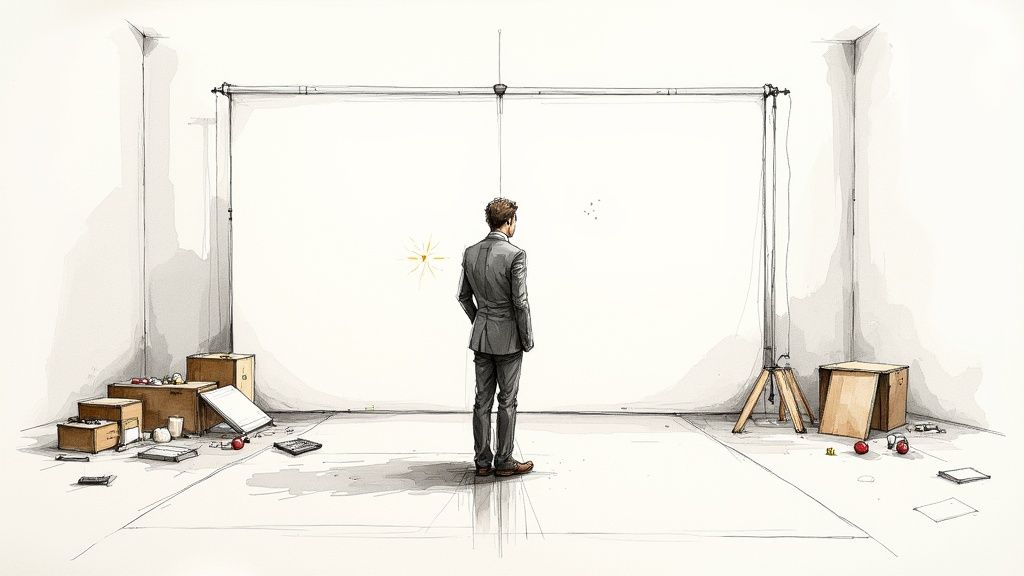
The pressure to create slick, engaging video content is higher than ever, but getting the right resources has always been a hurdle. Traditionally, isolating someone from their background meant painstaking, frame-by-frame editing (rotoscoping) or setting up a proper green screen. Both options cost a ton of time, skill, and money. Now, AI-powered tools have made this accessible to everyone.
This technology isn't just a neat party trick; it's a creative game-changer. It gives you the freedom to turn a cluttered home office into a sleek, professional setting, place a product demo in a perfectly branded environment, or even drop yourself into a wild landscape for a social media video.
The real benefit here is focus. When you get rid of distracting backgrounds, you make sure your audience’s attention is right where it needs to be: on you and your message.
The Immediate Impact on Content Quality
A clean, professional background instantly makes your content feel more valuable. It’s a simple psychological trigger—a well-produced video just feels more credible and authoritative. This one adjustment can have a huge effect on everything from viewer engagement and brand perception to your bottom line.
The numbers don't lie. The market for video background removal tools was valued at USD 1.2 billion in 2024 and is expected to hit USD 3.5 billion by 2033. This massive growth is happening because creators and businesses are seeing tangible results. For a deeper dive, check out the full market analysis from Verified Market Reports.
We can see this impact directly in performance metrics. A polished background doesn't just look better; it actively improves how viewers interact with your content.
How Professional Backgrounds Impact Video Performance
| Metric | Performance Boost with Clean Background | Use Case Example |
|---|---|---|
| Click-Through Rate (CTR) | 25% higher for product demos | A tech company shows its new app in action without a distracting office behind it. |
| Viewer Retention | Up to 40% improvement in e-learning | An online instructor appears over their slides, keeping students engaged longer. |
| Brand Recall | 30% increase in brand videos | A startup uses a consistent, branded background for all employee intro videos. |
| Conversion Rate | 15% lift on landing page videos | An e-commerce brand uses a clean, white background to make its product pop. |
These figures show that a clean backdrop is more than an aesthetic choice—it's a strategic one that drives real business outcomes.
The ability to instantly remove a video background is no longer a "nice-to-have" feature. For modern creators and marketers, it's an essential tool for maintaining a competitive edge and producing content that looks premium without the premium cost.
Beyond Aesthetics: Practical Benefits
The advantages go way beyond just looking good. For anyone who creates content regularly, efficiency is everything. A task that once took hours of tedious editing can now be done in the time it takes to upload a file. This frees you up to focus on what actually matters: telling a great story, delivering a solid performance, and connecting with your audience.
Here’s how this technology gives different creators a practical edge:
- Social Media Creators: Jump on trends instantly by dropping yourself into meme-worthy backgrounds for your next Reel or TikTok.
- Marketers: Create a consistent, on-brand look for product videos and testimonials, even if contributors are filming from home.
- Educators: Overlay your video onto presentation slides or software tutorials, making lessons feel more personal and engaging.
Ultimately, the power to remove a video background gives you complete control over your visual narrative, simplifies your workflow, and helps you produce consistently high-quality content that grabs and holds attention.
A Hands-On Guide to Removing Your Video Background
Theory is great, but let's be real—what matters is getting the job done quickly and without headaches. We're going to walk through the exact process of removing a video background using a modern AI tool. Forget about complicated software with a huge learning curve. This is all about a simple, browser-based workflow you can master in minutes.
Let's use a common scenario. A creator just filmed a quick talk-to-camera clip for a new TikTok. The only problem? Their background is a slightly messy home office, and they need something more professional, fast. The goal is to get a clean, crisp cutout without sinking hours into manual editing.
Getting Started: The Upload
First things first, you need to get your video into the tool. Most AI platforms are built for speed and simplicity, so you'll usually find a big "Upload Video" button front and center. No software to install, no complex setup.
Just find your video file—whether it's an MP4, MOV, or another standard format—and get it uploaded. For our creator, that means grabbing final_take_03.mp4 from their desktop and dragging it right into the browser.
The second you do that, the AI kicks in. It starts analyzing every single frame, figuring out what's the person in the foreground and what's the desk, bookshelf, and window in the background. A process that used to take an expert hours of meticulous work, called rotoscoping, now happens automatically.
The Interface and Processing Stage
Once your clip is uploading, you'll see a progress bar while the AI does its thing. The time this takes depends on your video's length and resolution, but for a short clip like a Reel or a Short, you're usually looking at just a few minutes.
Here’s a glimpse of what the interface typically looks like once the magic starts happening.
As you can see, it's a clean dashboard. You have your original video on one side and a real-time preview of the background removal on the other. This gives you an instant look at how well the AI is isolating your subject.
When the processing finishes, you get the final preview. This part is crucial. It’s your chance to check the quality before you download anything. Don't just give it a quick glance—look closely.
The preview is your quality control checkpoint. A good AI tool will always give you a clear, free preview so you can be sure the cutout is perfect before you commit. That transparency is the sign of a trustworthy service.
When you're checking the preview, zoom in on these areas:
- The Edges: Are the lines around your subject sharp? Pay special attention to hair and shoulders, as these are notoriously difficult spots.
- Movement: Play the preview and watch for any flickering or "boiling" artifacts around the edges as the person moves. A solid tool will produce a stable matte.
- Fine Details: If the subject is wearing glasses or has detailed patterns on their clothing, make sure those details are still there and haven't been smudged away.
- Leftover Artifacts: Check the transparent areas for any "ghosting" or faint remnants of the old background.
If you're looking for a tool that nails these details, you can see how our AI video background remover handles these challenges with impressive accuracy.
Reviewing the Preview and Adding a New Background
In our creator's case, the initial preview is looking sharp. The AI cleanly separated them from the office chair and the bookshelf. Even the edge around their hair is surprisingly detailed, with individual strands still visible. That's the power of a well-trained AI at work.
From here, most tools—including VideoBGRemover—give you a few creative options:
- Add a Color Background: Instantly drop in a solid color. A simple white or grey can give you a clean, minimalist vibe perfect for corporate or educational content.
- Use an Image Background: Want to look like you're in a new location? Just upload a background image. Our creator could choose a stock photo of a sleek, modern office.
- Drop in a Video Background: Some platforms let you add another video as the background, which is amazing for creating dynamic scenes or funny reaction-style content.
Taking a moment to streamline your content creation workflow can make simple tasks like this feel even faster, freeing you up to focus on the creative side of things.
Once you’re happy with how everything looks, the last step is to export the video. You'll usually get a few output options, which we’ll dig into next. This simple upload-preview-export process is exactly what makes modern AI tools so powerful for creators of all skill levels.
Mastering Export Settings for Any Platform
You’ve let the AI work its magic and maybe even swapped in the perfect new background. Now you’re at the final—and most critical—stage: exporting your video. All that careful work can go to waste if the final file is poor quality or isn't compatible with the platform you're targeting. Getting the export settings right is the difference between a video that looks sharp and one that’s a pixelated mess.
The first big decision you need to make is whether you need a transparent background or a standard video file. Your choice here really comes down to what you plan to do with the video next.
Transparent Exports vs. Standard MP4s
Think of a transparent export like creating a digital sticker of your subject. You’re saving only the person or object, with absolutely no background pixels. This is incredibly powerful if you plan to layer that subject on top of other footage, graphics, or animations in a video editor like Adobe After Effects or Premiere Pro.
A standard MP4, on the other hand, is your all-in-one, finished product. When you add a new background (like a solid color or an image) right inside VideoBGRemover and export, you're creating a self-contained video file that's ready to be uploaded anywhere. It’s simple, flattened, and works everywhere.
This diagram shows just how straightforward the whole process is, from start to finish.
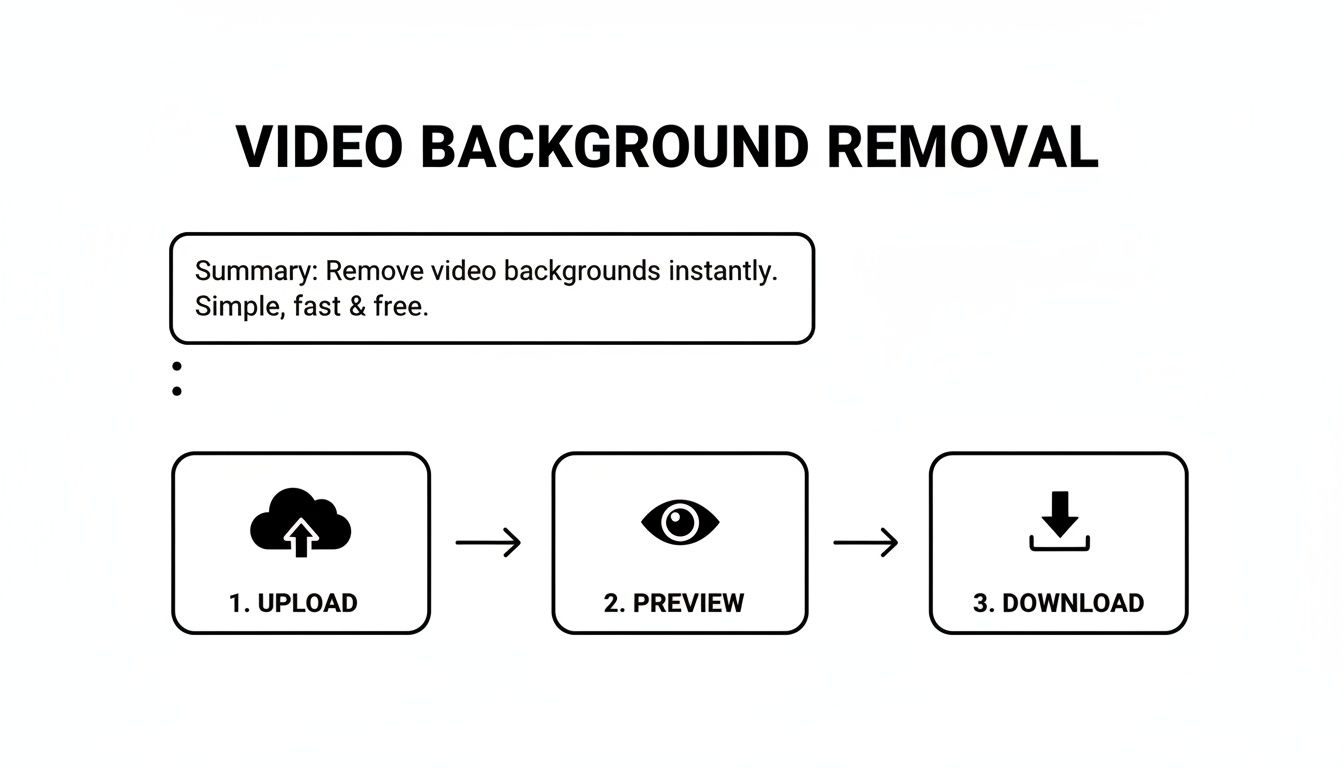
Ultimately, your choice here dictates how much creative flexibility you have later. A standard MP4 is perfect for quick, direct uploads, but a transparent file opens up a whole world of possibilities for more advanced video editing.
The Best Formats for Transparent Backgrounds
If you decide to go the transparent route, you'll quickly find that not all video formats are created equal. Your trusty MP4, for instance, can't handle transparency because it doesn't support an alpha channel—that’s the technical layer that holds all the transparency information.
For professional workflows, you’ll need to use a format that does. Here are my top recommendations:
- MOV with ProRes 4444: This is the gold standard in the video industry for high-quality transparent video. It preserves incredible detail and color, making it the go-to choice for serious video editors and motion designers.
- WebM (VP9 Alpha): A fantastic, modern alternative that offers great quality with much smaller file sizes than ProRes. It’s perfect for web-based projects and is gaining a ton of support in editing software.
- PNG Sequence: Instead of one video file, this option exports every single frame as a separate PNG image with a transparent background. This gives you maximum control in complex compositing situations.
If you want to get into the nitty-gritty of these formats, our guide on creating a transparent video background is a great resource.
Recommended Export Settings for Social Media
For most creators, the end goal is a perfectly optimized video for platforms like TikTok, Instagram Reels, and YouTube Shorts. Nailing the settings here is crucial to avoid the platforms' aggressive compression algorithms from ruining your video quality.
The demand for tools that make content pop is exploding. The market for AI background removal software was valued at $1.2 billion in 2023 and is expected to hit $4.7 billion by 2033. With over 100 billion video uploads to platforms like Reels every month in 2024, it's clear why. This technology has made high-end production accessible to everyone, shifting from expensive editing suites that could cost over $50,000 a year to incredibly powerful AI tools that are often free or low-cost.
To save you the guesswork, here’s a quick-reference guide with my go-to export settings for the most popular vertical video platforms.
Recommended Export Settings for Social Media
| Platform | Recommended Format | Resolution & Aspect Ratio | Key Tip |
|---|---|---|---|
| TikTok | MP4 (H.264 codec) | 1080x1920 (9:16) | Keep your bitrate around 5-8 Mbps. TikTok's compression is harsh, so starting with a high-quality source file helps a lot. |
| Instagram Reels | MP4 (H.264 codec) | 1080x1920 (9:16) | Aim for a frame rate of 30 FPS. While Reels supports 60 FPS, 30 is the sweet spot for smooth playback and manageable file sizes. |
| YouTube Shorts | MP4 (H.264 codec) | 1080x1920 (9:16) | Use a high-profile H.264 encoding. YouTube's compression is more forgiving, so a higher bitrate (10-15 Mbps) is worth it. |
By following these guidelines, you can ensure that your final video retains as much of its original clarity as possible. When you take the time to master these settings, you take full control of your final product and make sure your creative vision reaches your audience exactly as you intended.
Pro Tips for a Cleaner AI Edit
Getting a decent result from an AI tool is one thing, but getting a truly flawless, studio-quality edit often takes a bit more finesse. The good news? The biggest improvements usually come from small adjustments you make before you even upload your video.
Think of it as giving the AI the best possible ingredients to work with. When you control the recording environment, you guide the AI toward a perfect result. Simple tweaks to your lighting, what you're wearing, and the background itself can dramatically improve the final cutout. You'll avoid those fuzzy edges and annoying artifacts that just scream "amateur edit."
Ultimately, the goal is to create as much clear visual separation between your subject and everything behind them as possible. That’s the real secret to getting those crisp, clean lines you see in high-end productions.
Set Your Shot Up for Success
Before you hit record, take a minute to look at your scene. Most of the common headaches with background removal can be solved right here.
- Lighting is Everything: Your subject should be the brightest thing in the frame. A simple key light—even a cheap ring light—can work wonders to illuminate them clearly. You’ll want to avoid harsh backlighting, which creates silhouettes and just confuses the AI.
- Create Strong Contrast: A dark shirt against a light wall is going to work far better than a beige shirt against a beige wall. The more color and brightness difference you have, the easier it is for the AI to draw a clean line.
- Ditch the Busy Patterns: Try to avoid wearing clothes with complex patterns, thin stripes, or intricate textures. These can sometimes get misinterpreted as part of the background, leading to patchy or flickering results. Solid colors are always your safest bet.
The quality of your input directly determines the quality of your output. A well-lit, high-contrast video is 90% of the battle for a clean AI edit. Taking five extra minutes to set up your shot can save you an hour of frustration later on.
Fine-Tuning Your Footage
Even with a great recording, a few common issues can still pop up. Motion blur is a big one. If your subject moves too quickly, the frames get blurry, and the AI struggles to find a sharp edge. If you can, try shooting at a higher frame rate (like 60 FPS) to capture clearer motion.
Then there’s the classic problem: hair. Fine, wispy hair is notoriously difficult for any background removal tool. To help the AI out, film against a background that contrasts strongly with the hair color. For example, avoid having a dark brown bookcase behind someone with dark brown hair. This simple trick makes a huge difference.
For those rare cases where the AI just can't handle extremely complex edges or motion, you might need a more hands-on approach. While modern tools have made it less common, understanding the basics of manual rotoscoping gives you a real appreciation for what the AI is doing. You can learn how the pros handle the toughest cases in our guide on how to rotoscope in After Effects.
Advanced Workflows for Power Users
Once you've got the hang of getting a clean edit every time, you can start thinking about efficiency at scale. This is especially critical for businesses and creators who need to remove video bg from dozens or even hundreds of clips on a regular basis.
- Batch Processing: This is a total lifesaver. Instead of uploading and processing videos one by one, you can just queue up an entire folder of clips. The system will chew through them automatically, saving you an incredible amount of time.
- API Integration: For a completely automated workflow, nothing beats an API. Developers can integrate the background removal tech directly into their own apps, platforms, or content creation pipelines. This is perfect for user-generated content platforms, e-commerce sites creating product videos, or marketing agencies managing large-scale campaigns.
The demand for these efficient solutions is driving some serious market growth. The Video Background Replacement AI market is projected to grow from $1.46 billion in 2024 to $3.85 billion by 2029. This boom is fueled by the needs of a remote workforce and social media creators who know that polished video can slash production costs by 50-70%. As a result, AI editing tools are now used by 40% of video professionals.
By adopting these pro tips and advanced workflows, you can ensure every video you produce is clean, professional, and ready to stand out.
Creative Ideas to Inspire Your Next Video
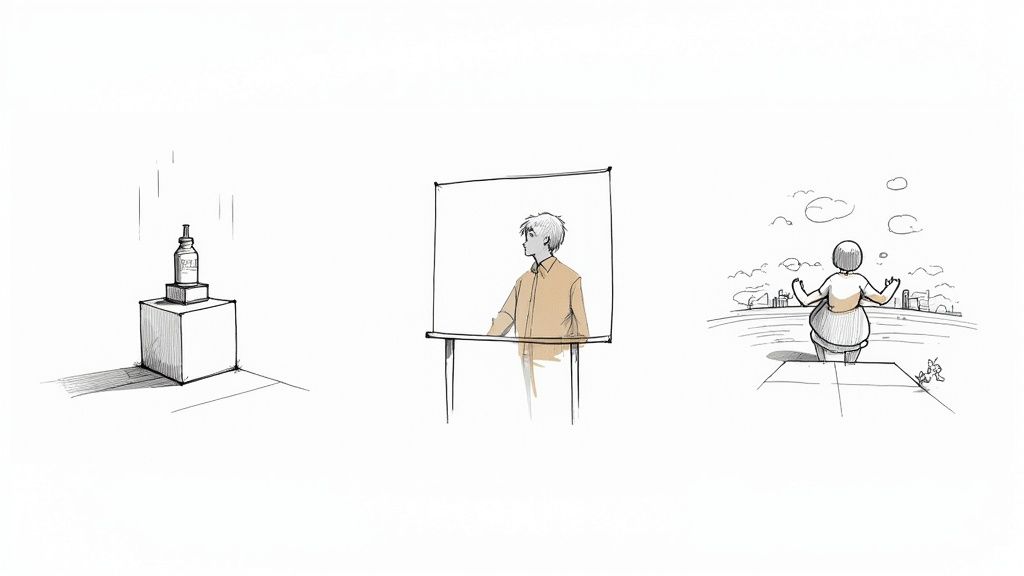
Alright, you’ve mastered the technical side of how to remove video bg cleanly. Now for the fun part: figuring out what to do with this new superpower. This isn't just about fixing a messy background—it's about unlocking a whole new level of creative storytelling.
Think of it as having a portable green screen in your pocket. You can now place your subject anywhere, in any context, creating visuals that used to require a professional studio and a hefty budget. This is where you can really start to make content that people remember.
For Marketers and Brands
In marketing, your number one job is to cut through the noise. A cluttered background can kill your message and make a product feel cheap. By removing it, you seize complete control of the visual narrative.
Floating Product Showcases
Take a simple video of your product sitting on a table. Now, strip out that background. Suddenly, your product is floating in a clean, isolated space. You can drop in your brand's solid color palette, add animated text highlighting key features, or even place it in a conceptual environment. This puts the product on a pedestal, making it the undeniable star of the show.
Dynamic Testimonials
Customer testimonials are powerful, but the visuals can be... underwhelming. Instead of having a client talk from their home office, why not transport them? If they’re raving about your fitness app, put them in a sleek virtual gym. If they're praising your travel software, place them in front of the Eiffel Tower. This adds a visual punch that reinforces everything they're saying.
For Educators and Trainers
Let's be honest, keeping students engaged online is a constant battle. The standard "talking head" video just doesn't cut it anymore. When you can insert yourself directly into the lesson, you create a much more dynamic and personal connection.
- Software and App Tutorials: Stop just narrating a screen recording. Instead, overlay a clean, background-free video of yourself in the corner. Now you can point, gesture, and react to what's happening on-screen, turning a boring tutorial into an engaging one-on-one coaching session.
- Interactive Presentations: Don't be a tiny box in the corner of a PowerPoint. Place a full-body shot of yourself "on stage" next to your slides. You can literally walk across the screen as you present, gesturing to charts and graphs as if you were in a real lecture hall.
The ability to seamlessly integrate the presenter into the educational material itself transforms a passive viewing experience into an active learning one. It’s the closest you can get to an in-person lesson in a digital format.
For Social Media Creators
On platforms like TikTok, Instagram Reels, and YouTube Shorts, a strong visual hook is everything. Being able to remove video bg in seconds is a massive advantage, letting you jump on trends and create unique videos instantly.
Virtual Travel Vlogs
No travel budget? No problem. Film yourself talking about your dream destination, then drop in some gorgeous 4K drone footage as your new background. You can "walk" through the streets of Paris or "hike" the Andes, all from your own room.
Next-Level Reaction Videos
Take your reaction content a step further. Instead of just having the video you're watching in a small window, put yourself inside the action. Imagine reacting to a movie trailer while you're standing in the middle of an explosion, or critiquing a music video while dancing right next to the artist. It's way more immersive and shareable.
Trending Meme Formats
Memes have a notoriously short shelf life. With quick background removal, you can instantly insert yourself into the latest viral format, whether it’s a scene from a hit show or a funny stock photo that’s making the rounds. This keeps your content timely, relevant, and in front of more eyes.
Got Questions? We've Got Answers
Even with a tool as straightforward as VideoBGRemover, you’re bound to hit a few snags or have some questions. It’s totally normal. Whether you're troubleshooting a tricky shot or just trying to understand the technical side of things, getting good answers is the key to a great result.
I’ve been in the trenches with this stuff for a while, so I’ve rounded up some of the most common questions that pop up. Let’s clear things up so you can get back to creating.
What’s the Best Video Format to Use?
This is a two-part answer. For the video you start with, stick to whatever your camera shoots in—usually MP4 or MOV. The golden rule is that better quality in means better quality out. Always shoot at the highest resolution and bitrate you can to give the AI the clearest picture to analyze.
When you’re ready to export, the "best" format really depends on what you're doing next:
- For social media or direct uploads: An MP4 using the H.264 codec is your best bet. It’s the universal standard and works perfectly on platforms like TikTok, Instagram, and YouTube.
- For further editing and layering: If your plan is to place your subject onto a new background in a program like After Effects, you need a format that supports transparency. MOV with ProRes 4444 is the undisputed professional choice, but WebM (VP9 Alpha) is a fantastic alternative that gives you good quality with a much smaller file size, perfect for web-based projects.
Why Do the Edges of My Subject Look Fuzzy?
Fuzzy or blurry edges are almost always a sign that the AI struggled to see a clear line between your subject and the background. It's not usually a flaw in the tool, but an issue with the original footage.
Poor lighting and low contrast are the main culprits. If you’re wearing a dark shirt against a dark wall, the AI has a tough time figuring out where you end and the background begins. Motion blur from quick movements can also soften those edges and confuse the algorithm.
A crisp, clean final cut starts with a crisp, clean recording. The single best thing you can do for sharp, professional-looking edges is to make sure your subject is well-lit and pops against the background.
If you can, re-shoot with better lighting—even a simple ring light can be a game-changer. And try to create some strong visual separation between your subject and whatever is behind them.
Can I Remove the Background from a 4K Video?
Absolutely. Tools like VideoBGRemover are built to handle high-resolution footage like 4K. The process is exactly the same: the AI goes through your video frame by frame to find and cut out the subject.
Just be prepared for it to take a little longer. A 4K video has four times the pixel data of a 1080p clip, so the AI has a lot more information to process. Your upload time will also be longer because of the larger file size, so a stable internet connection helps.
How Does This Work with People Moving Around a Lot?
You'd be surprised how well modern AI handles motion. These systems don't just look at one static frame at a time; they analyze how things move between frames to predict where the subject is going. This is how they keep the cutout so consistent even when someone is moving quickly.
Of course, there's a limit. Extreme motion blur is the enemy. If someone moves so fast that their arm becomes a transparent streak in the original video, the AI has very little solid information to lock onto.
To get the best results with fast-moving action, here are a couple of pro tips:
- Shoot at a Higher Frame Rate: Filming at 60 FPS instead of the standard 30 FPS gives the AI twice as many distinct frames to analyze, which dramatically reduces motion blur.
- Use a Faster Shutter Speed: If your camera has manual controls, increasing the shutter speed will freeze motion much more effectively. This creates sharper individual frames for the AI to work with.
These two adjustments are key to getting a clean result when you remove a video bg from sports highlights, dance clips, or any other high-energy content.
Ready to create stunning, professional videos without the hassle of a green screen? Join over 30,000 creators who trust VideoBGRemover for fast, precise, and affordable background removal. Try it for free and see the magic for yourself.
Tagged with
Ready to Remove Your Video Background?
See a free preview before you buy.
No credit card required • Free preview on every video