How to rotoscope after effects: A Practical Guide
Learn how to rotoscope after effects with a practical guide, featuring Roto Brush 2 tips and manual masking for clean, pro-quality results.
Rotoscoping in After Effects is all about creating a mask that separates something—or someone—from its background, one frame at a time. The right way to start really depends on your footage and your deadline. For a quick turnaround, the AI-powered Roto Brush 2 is your best bet. If you need absolute precision, you'll want to get your hands dirty with the manual Pen Tool.
This guide will break down the workflow for both, giving you the skills to tackle any project.
What Is Rotoscoping and Why It Matters
At its core, rotoscoping is just digital tracing for video. You trace over your footage frame by frame, creating a matte that isolates a specific element. Once you have that element cut out, you can do anything with it—drop it onto a new background, apply unique effects, or color-correct it separately from the rest of the shot.
It’s a must-have skill for any serious motion designer or VFX artist. As video production gets more ambitious, the demand for high-quality visual effects has exploded. The global VFX software market was valued at a staggering USD 2.15 billion in 2024 and is expected to climb to USD 5.84 billion by 2032, growing at 13.30% annually. That growth, tracked by sources like Data Bridge Market Research, shows just how vital rotoscoping is in today's industry.
Choosing Your Rotoscoping Method
Figuring out how to rotoscope in After Effects is all about knowing which tool to grab for the job. It’s almost always a trade-off between how fast you need to work and how much control you need over the final result.
Here’s a quick look at the main rotoscoping techniques in After Effects and where they shine.
Comparing After Effects Rotoscoping Methods
| Method | Best For | Speed | Precision |
|---|---|---|---|
| Roto Brush 2 | Cleanly shot footage with good contrast between subject and background. | Fast | Moderate |
| Pen Tool (Manual) | Complex shots, blurry edges, or when pixel-perfect control is required. | Slow | High |
| Tracked Masks | Isolating simple, rigid shapes or subjects with predictable movement. | Moderate | Moderate-High |
This table gives you a good starting point, but let's dig a little deeper into the two primary methods you'll use most often.
Roto Brush 2 Tool: This is Adobe's AI-assisted tool. You just paint a quick green stroke on your subject, and Adobe Sensei AI figures out the edges for you. It’s fantastic for well-defined subjects against a relatively clean background and can save you hours of work.
Manual Pen Tool: This is the old-school, tried-and-true method. You manually draw a mask path around your subject on the first frame, then painstakingly animate its shape across the entire clip. It’s a ton of work, but it gives you absolute, pixel-perfect control—essential for tricky shots where the AI gets confused.
The decision often comes down to what the footage demands.
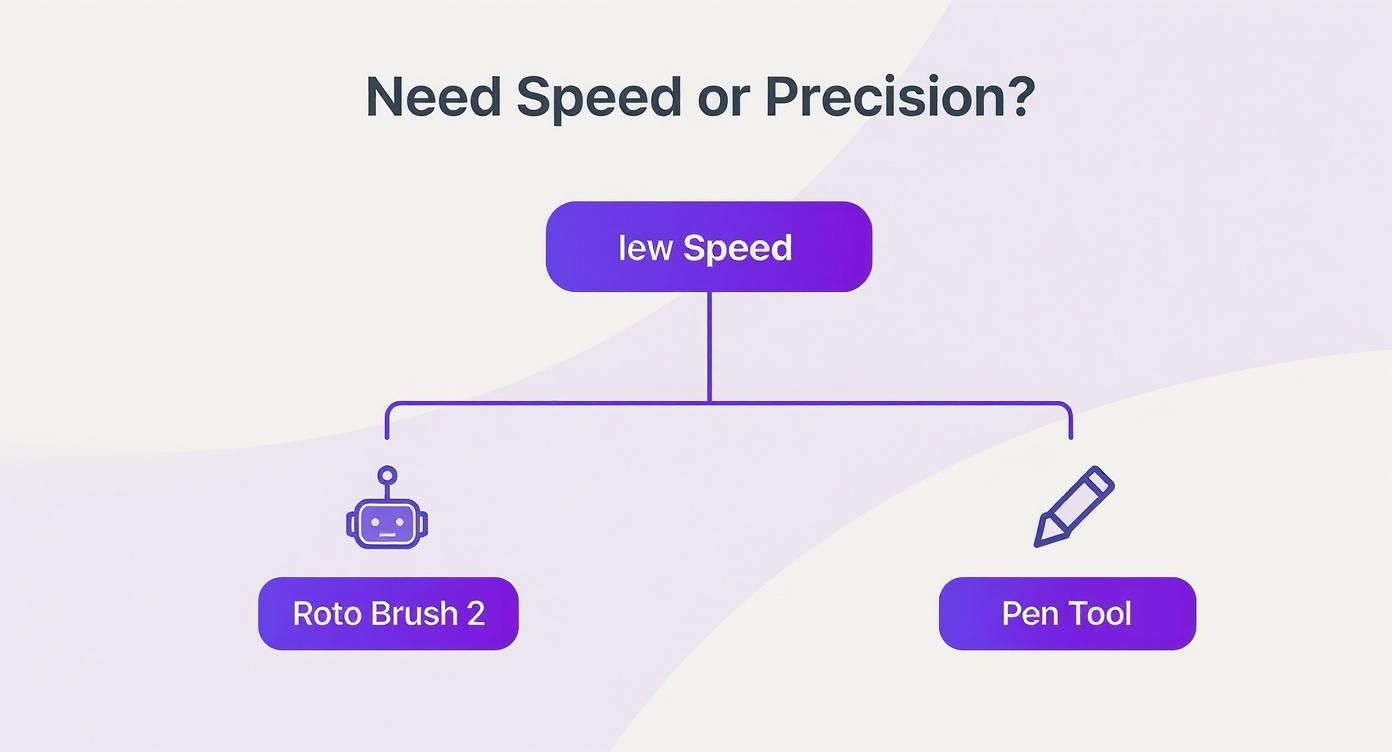
As you can see, there's a clear fork in the road. You either prioritize speed with Roto Brush 2 or detail with the Pen Tool. Neither is "better"—they're just suited for different kinds of jobs.
Key Takeaway: Your choice isn't just about the tool; it’s about the strategy. For a quick social media ad, the Roto Brush 2 is perfect. For a feature film composite, the Pen Tool’s precision is non-negotiable.
While the tools in After Effects are incredibly powerful, sometimes you just need to get the job done fast without firing up a whole new project. For simpler clips, you might want to check out a dedicated AI video background remover that can automate the entire process. But for professional work, let’s dive into mastering both of these After Effects methods.
Using the AI-Powered Roto Brush 2
When you're up against a tight deadline, the AI-powered Roto Brush 2 is your best friend in After Effects. This tool completely sidesteps the old-school, frame-by-frame grind of manual masking. Instead, it uses Adobe Sensei AI to intelligently find and follow the edges of your subject. All you have to do is guide it with a few broad paint strokes.
This is a massive leap forward from traditional methods. AI has genuinely changed the game for rotoscoping inside After Effects and other VFX software, transforming how artists tackle what used to be brutally time-consuming work. With 75% of designers and animators already using AI tools in their daily workflow, it's clear this is the new standard. You can dig deeper into these industry shifts with this comprehensive VFX market research.
Drawing Your Initial Strokes
First things first, you need to be in the right workspace. Double-click your footage layer in the timeline, which will pop it open in its own dedicated Layer Panel. This is critical—the Roto Brush only works here, not in the main Composition panel.
Now, grab the Roto Brush Tool from the toolbar at the top of the screen. It’s the one that looks like a paintbrush standing next to a little person icon. Your cursor will immediately turn into a green circle, ready for action.
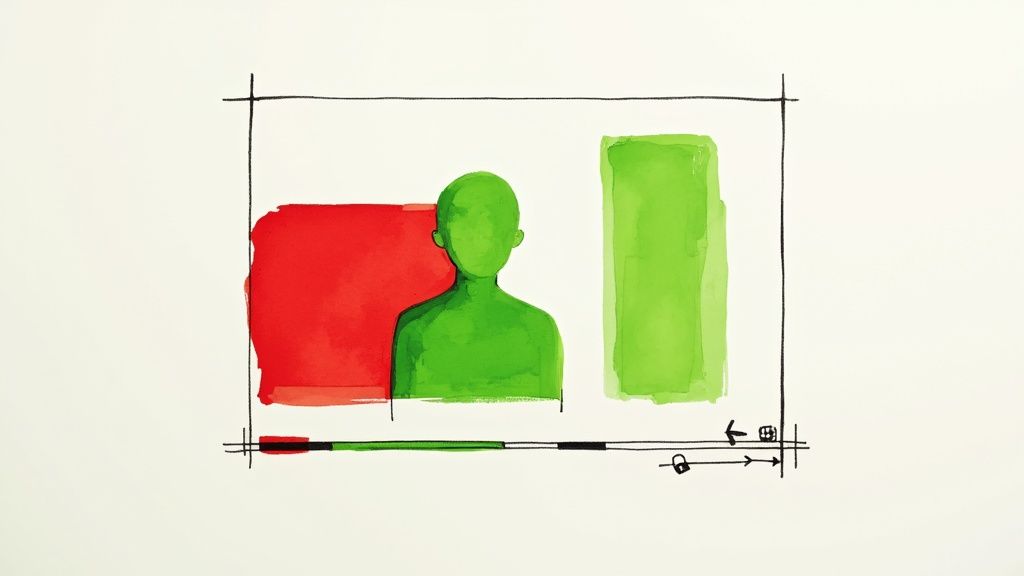
Go ahead and paint a rough green stroke inside the subject you want to cut out. Don't worry about staying perfectly in the lines. Your job is just to give the AI a general idea of what's foreground. After a beat, a magenta outline, known as the segmentation boundary, will snap to the edges of your subject.
What if the AI gets it wrong? If it misses a spot or grabs a chunk of the background, just hold down the Alt (Windows) or Option (Mac) key. The cursor turns red. Now, paint over the areas you want to remove. This simple back-and-forth—adding with green, subtracting with red—is how you dial in that initial selection.
Propagating and Refining the Matte
Once you're happy with the selection on your starting frame, the real magic begins. Tap the Page Down key to move forward one frame. Roto Brush 2 will analyze the motion and automatically update the matte to follow your subject. This process is called propagation.
Of course, the AI isn't flawless. As your subject moves, twists, or turns, you’ll probably need to step in and make a few small corrections along the way.
- Corrective Strokes: If the matte starts to drift off your subject, just pause and add a quick green or red stroke to nudge it back into place.
- Adjust Brush Size: For more detailed work, hold Ctrl (Windows) or Command (Mac) and drag your mouse left or right to make your brush smaller or larger on the fly.
- Edge Refinement: Head over to the Effect Controls panel. Here, the Feather and Shift Edge sliders are your best tools for softening the matte's edge and pulling it in slightly to hide minor imperfections. The Reduce Chatter setting is also a lifesaver for smoothing out any jittery or flickering edges.
A common mistake is obsessing over a perfect matte on every single frame. Focus your energy on key moments where the subject's shape changes dramatically. The AI is surprisingly good at figuring out the frames in between.
Freezing Your Work for Better Performance
After you’ve propagated the matte across the entire clip and fine-tuned all the wobbly spots, there’s one crucial final step: you have to Freeze it. You’ll see a big blue "Freeze" button right there in the Layer Panel.
Clicking it locks in all the hard work you just did. After Effects caches the Roto Brush data, so it doesn't have to re-calculate the entire matte every time you hit play. This makes a huge difference in playback speed and keeps your project from grinding to a halt, especially on longer shots. If you spot a mistake later, no problem—just unfreeze, make your fix, and freeze it again.
For an even deeper dive, our guide on the After Effects Roto Brush breaks it down even further with more tips and visual examples. And if you're looking to build an even more efficient workflow, it's worth checking out some of the top AI video editing tools that can work alongside After Effects to speed things up even more.
The Craft of Manual Pen Tool Rotoscoping
While AI tools like the Roto Brush 2 are amazing time-savers, some shots just demand the kind of surgical precision that only hands-on control can deliver. This is where we get into the classic way to rotoscope in After Effects—with the Pen Tool. It’s definitely a meticulous process, but mastering it gives you the power to pull a flawless matte from even the trickiest footage.
Think of manual rotoscoping as the gold standard for high-end VFX. It becomes your go-to method when you’re up against blurry footage, scenes with terrible contrast, or those super fine details where an algorithm is bound to get confused.
Drawing Your Initial Mask Shape
First things first, select your footage layer in the timeline and grab the Pen Tool from the toolbar (or just hit the 'G' key). Unlike the Roto Brush, all your work happens right in the main Composition panel. The goal here is to trace the outline of your subject by clicking to place vertices, which are your anchor points.
The real key to a clean, manageable mask is using as few points as possible. A classic rookie mistake is to pepper the outline with dozens of points, which ends up creating a jittery shape that's a nightmare to animate. Instead, you want to place vertices only at the major points of curvature or where the direction changes.
For example, you don't need ten points to trace a person's shoulder. You probably only need two: one where the curve starts and one where it ends.
Mastering Bezier Handles for Smooth Curves
When you place a vertex, you can click and drag to pull out its bezier handles. These handles are the secret sauce for tracing organic, natural-looking curves, as they control the tension and direction of the line on either side of the point.
- Symmetrical Handles: By default, dragging one handle moves its opposite in sync, which is perfect for creating a smooth, continuous curve.
- Broken Handles: Need to make a sharp corner? Just hold the Alt (Windows) or Option (Mac) key while dragging a handle. This "breaks" its symmetry, letting you move it independently.
Think of it like steering a car—you want smooth, flowing adjustments, not sharp, jerky turns. A well-drawn mask uses graceful bezier curves to hug the subject's form, and that’s what sells the effect.
Animating the Mask Path, Keyframe by Keyframe
Once your initial mask is drawn on the first frame, it's time to animate. Hit the 'M' key to reveal the Mask Path property for your layer. Now, click the little stopwatch icon next to it to set your very first keyframe.
This is where the real work begins. Jump forward in your timeline—maybe five or ten frames at a time, depending on how fast the action is. You'll see your mask no longer lines up perfectly. Your job is to grab the individual vertices and their bezier handles and nudge them back into place, matching the subject's new position and shape.
The great thing is that After Effects automatically creates a new keyframe every time you adjust the mask. You don't have to keep clicking the stopwatch. Just move forward in time, adjust the shape, and let the software handle the keyframing.
Workflow Tips for Manual Roto
Manual rotoscoping is a marathon, not a sprint. Working smart is just as important as working hard.
- Check out the RotoBezier option: In the Pen Tool's options, you'll see a checkbox for 'RotoBezier'. This creates masks without bezier handles, automatically generating curves based on where you place your points. It’s less precise, but it can be a heck of a lot faster for simpler, smoother shapes.
- Work in pieces: Don't try to rotoscope an entire 30-second clip in one go. Break it down. Roto the torso first, then move on to an arm, then the head. Layering multiple simple masks is almost always easier than managing one monstrously complex one.
- Feather your edges: A razor-sharp mask just screams "cutout." Once you're done animating, twirl down the mask properties and add a tiny bit of Mask Feather. Starting with 1-3 pixels is usually a good bet to soften the edge just enough to help it blend into its new background.
Ultimately, knowing how to rotoscope in After Effects with the Pen Tool is about developing an eye for shape and motion. It’s a skill that absolutely rewards patience with unmatched control, ensuring your final composites look seamless and believable.
Advanced Techniques for Complex Shots
Sooner or later, you're going to hit a wall. You'll get footage that makes basic rotoscoping feel completely impossible. We’re talking about the usual suspects: wispy hair, subjects blurred with fast motion, and organic shapes that just won't sit still. These are the shots where good rotoscoping becomes great compositing.
Getting past these hurdles means moving beyond a single tool. It's about blending smart, automated features with classic, hands-on techniques to get a result that actually looks believable.
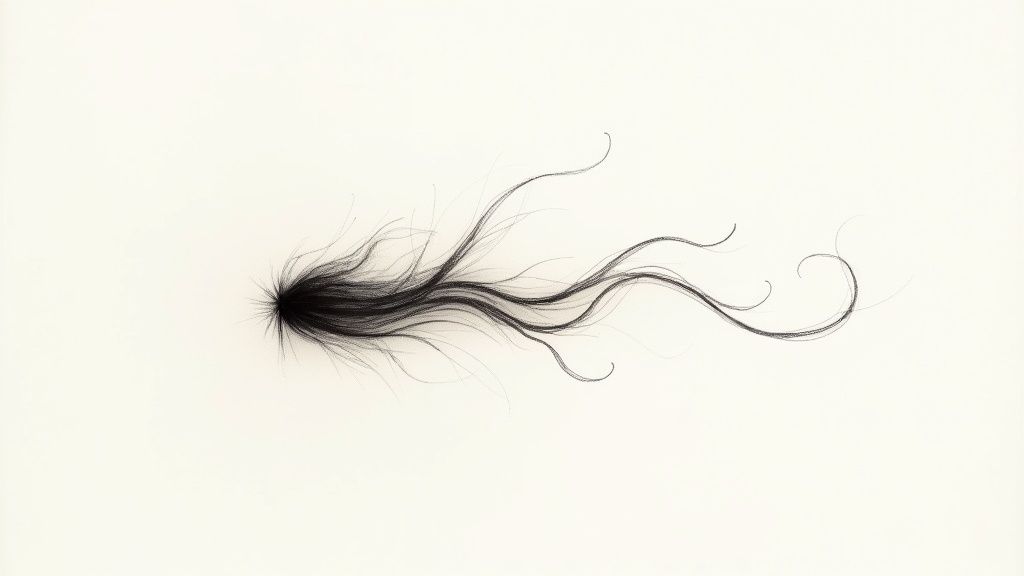
Handling Fine Hair and Intricate Details
Hair is the classic roto-killer. A hard-edged mask around a person's hair just screams "fake" and instantly ruins the shot. Thankfully, After Effects has a secret weapon for this exact problem: the Refine Edge Tool.
You’ll find this tool right next to the Roto Brush. Think of it as a secondary, more intelligent brush. After you’ve got your main shape roughed in, you can paint over tricky edges like hair. Instead of just adding or subtracting, it analyzes the pixels and figures out how to separate those fine, wispy details from the background.
It's an incredibly powerful tool for getting natural edges, but it's not a magic button. I've found that the best results come from a multi-layered approach.
Pro Tip: Don't expect one tool to solve a complex edge. The real workflow is getting a solid core matte first, using the Refine Edge tool for the fuzzy details, and then using a few simple compositing tricks to blend it all together.
Compositing Tricks for Better Edges
Even after a pass with the Refine Edge tool, you might see some of the old background color bleeding into the hair—what we call "edge spill." A couple of extra steps can clean this right up.
- Duplicate Your Roto Layer: Make two copies of your rotoscoped footage. The bottom layer is your solid "core" matte, and the top one will be just for the delicate hair details.
- Isolate the Hair: On that top layer, go to town with the Refine Edge tool. You want to isolate only the thinnest, most delicate strands you can.
- Switch the Blending Mode: Set the top "hair" layer's blending mode to Screen or Add. This is a classic trick. It brightens up those fine details and essentially makes any dark background pixels disappear, letting the hair sit much more naturally on a new background.
Taming Motion Blur
Nothing gives away a bad roto job faster than a razor-sharp mask on an object that's clearly blurred with motion. When something moves quickly, its edges soften and become semi-transparent. Your matte has to match that.
If you just slap a hard mask on a blurry object, it looks like a cheap cutout. The fix is to animate your mask’s feathering to match the blur in the footage, frame by frame.
When your subject is still, you might only need 1-2 pixels of feathering. But on a frame with a huge whip pan? You’ll need to crank that feathering way up to create that soft, gradient edge that mimics real motion blur. It’s tedious work, but it makes all the difference.
The Hybrid Approach: Combining Tracking and Manual Roto
For shots where a complex subject is also moving all over the screen, keyframing every single point on your mask by hand is a recipe for insanity. A much smarter workflow is to combine automated tracking with manual tweaks.
This is where tools like After Effects' point tracker or the more powerful Mocha AE (which comes bundled with AE) become your best friends. Instead of animating the mask’s position, rotation, and scale yourself, you let the tracker do the heavy lifting.
Here’s the basic idea:
- Track the Core Motion: Find a high-contrast spot on your subject and track its movement. This gives you keyframe data that follows the main action.
- Parent the Mask: Apply that tracking data to a Null Object, then parent your mask layer to the Null. Just like that, your mask now follows the subject around the screen.
- Animate the Details: Now, your only job is to go in and make small adjustments to the mask's shape to handle any perspective changes or warping. This cuts your manual keyframing time down immensely.
This hybrid method is a cornerstone of professional VFX work. It’s how you tackle complicated shots without spending days on them. As you get more comfortable, you'll find these skills are super useful elsewhere, like when you're working with 3D objects in After Effects, which often involves similar tracking and integration challenges.
Rotoscoping will always throw curveballs at you. Over the years, I've run into the same few problems time and again. Here’s a quick-glance table for troubleshooting some of the most common issues.
Troubleshooting Common Roto Challenges
| Challenge | Primary Tool/Technique | Key Tip |
|---|---|---|
| Matte "chatter" or flickering edges | Roto Brush 2 (Propagation) | Reduce the Search Radius in the Roto Brush effect controls. A smaller radius forces the tool to be more precise between frames. |
| Losing the track on a moving subject | Mocha AE | Track shapes, not points. Instead of tracking a tiny pixel, draw a shape around a larger surface area like a logo or a face for a more stable track. |
| Mask doesn't follow organic shapes | Manual Masking with Keyframes | Use the "Rove Across Time" keyframe option. This creates smoother, more natural motion between your manual mask keyframes. |
| Edges look too hard and "cut out" | Mask Feathering | Animate the Feather property. Don't just set one value; increase it on frames with more motion blur and decrease it on static frames. |
| Fine hair details are lost | Refine Edge Tool + Compositing | Use a layered approach. Create a solid core matte, then use a second layer with a Screen blending mode just for the refined hair details. |
Remember, no single tool is a silver bullet. The best rotoscoping work comes from knowing which technique to apply to which problem and not being afraid to combine them.
Making Your After Effects Workflow Fly
Let's be honest: rotoscoping is one of the most demanding things you can do in Adobe After Effects. Without a solid workflow, you'll spend more time staring at progress bars than actually working. The secret to hitting deadlines and keeping your sanity isn't about having the fastest computer—it's about working smarter.
This all comes down to managing how After Effects processes your media. Every time you move the playhead, the software has to render those frames. With high-resolution footage, this can bring even a beast of a machine to its knees.
Prep Your Footage for a Pain-Free Roto Session
Before you draw a single mask point, the most impactful thing you can do is convert your footage. The highly compressed H.264 MP4s that come straight from a camera are awful for editing because After Effects has to decompress every single frame on the fly.
Creating proxies is the professional standard for a reason. By pre-rendering your clips into an edit-friendly format like Apple ProRes or Avid DNxHD, you give After Effects footage it can chew through effortlessly. The files are bigger, sure, but the performance boost is night and day.
Diving straight into rotoscoping raw camera footage is a classic rookie mistake. Spending 15 minutes up front to create proxies will genuinely save you hours of lag and frustration down the road.
Working with efficient file types is just good practice all around. If you're interested in going deeper, learning about video compression without losing quality can make all your projects run smoother.
Drop Your Resolution While You Work
You don't need to see every single pixel in stunning 4K detail just to trace an outline. Tucked away at the bottom of the Composition panel is a lifesaver: the resolution dropdown menu.
Flipping this from Full to Half or even Quarter resolution drastically cuts down the processing power needed. After Effects simply renders fewer pixels, which means you get near-real-time feedback as you work. You can focus on the movement and the shape without the stutter. Then, right before you export, just pop it back to Full. Easy.
Tame Your Cache and Keep Your Project Tidy
You have to get comfortable with the After Effects cache. It's where the software stores already-rendered frames so it doesn't have to rebuild them constantly.
- Feed the Cache: Head to
Edit > Preferences > Media & Disk Cacheand give it a healthy amount of space, ideally on a fast SSD. A bigger cache means more frames are remembered, leading to smoother playback. - Take Out the Trash: When things start to feel sluggish for no reason, a quick trip to
Edit > Purge > All Memory & Disk Cachecan work wonders. It's the "turn it off and on again" of After Effects.
A clean project is a fast project. Once you’ve nailed the rotoscoping on a layer, right-click it and select "Pre-compose." This tucks away all those messy masks and keyframes into a neat, self-contained layer, making your main timeline faster and way easier to manage.
Save Incrementally—Your Future Self Will Thank You
This is the simplest tip, but it's arguably the most critical. Rotoscoping is tedious, detailed work. Losing hours of it to a software crash is soul-crushing.
Get into the habit of saving constantly with a new file name. Use a system like Project_Roto_v01, Project_Roto_v02, and so on. If a file gets corrupted or you paint yourself into a corner, you can just roll back to the previous version. It’s a simple safety net that has saved every artist from disaster at least once.
A Few Common Rotoscoping Questions
https://www.youtube.com/embed/DF3qTzF1VYg
Even after you get the hang of the tools, you'll inevitably run into some practical snags in the middle of a project. Learning how to rotoscope in After Effects is a journey, so let's tackle some of the most common hurdles I see artists face.
These are the real-world problems that don't always make it into the tutorials but can completely derail your workflow. Getting these answers down will save you a world of frustration.
How Long Does Rotoscoping Actually Take?
This is the classic "how long is a piece of string?" question. The honest answer is that it depends entirely on three things: the length of your clip, how complex your subject is, and which method you're using.
- Clip Length: Pretty obvious, but a 5-second clip is a much smaller commitment than a 30-second one. The time scales up fast.
- Subject Complexity: Tracing a simple, hard-edged box is a breeze. But rotoscoping a person with flowing hair, flapping clothes, and lots of motion blur? That’s a serious time investment.
- Method Used: On clean, well-lit footage, the AI-powered Roto Brush 2 might knock out a short clip in just 15-30 minutes. If you were to do that same shot by hand with the Pen Tool, you could easily be looking at several hours, if not a full day's work.
My best advice? Always budget more time than you think you need, especially if you're going the manual route. It's a lesson you only have to learn the hard way once.
A Realistic Benchmark: For high-quality, frame-by-frame manual rotoscoping, a seasoned VFX artist might average around 1-2 hours per second of footage. That number can swing wildly, but it's a sobering baseline for what complex shots require.
Can You Rotoscope in Premiere Pro?
Technically, yes, but you really shouldn't. While Adobe Premiere Pro has some basic masking and tracking features, it’s not built for heavy-duty rotoscoping work. You can animate a simple mask, but you won't find powerhouse tools like the Roto Brush or the all-important Refine Edge brush.
For anything more complex than a simple shape, the professional workflow is to send the clip to After Effects. You can use Dynamic Link to move your footage seamlessly from Premiere to AE, do all your detailed roto work there, and the final result will update right in your Premiere timeline. Stick to After Effects for this job—it's the right tool for the task.
Why Is My Roto Brush So Slow?
If the Roto Brush is chugging along and making your machine crawl, it’s almost always a performance bottleneck, not a bug. I've found the most common culprits are trying to work directly with highly compressed footage (like H.264 MP4s) and running out of cached memory.
To get things running smoothly again, try these workflow fixes:
- Create Proxies First: Before you even start, convert your footage to an intermediate, edit-friendly format like ProRes. This helps After Effects process frames much more efficiently.
- Lower Your Preview Resolution: Set your Composition panel to Half or Quarter resolution while you work. This gives you much faster feedback without affecting your final render.
- Purge Your Cache Regularly: Make a habit of going to
Edit > Purge > All Memory & Disk Cache. This clears out old data and frees up resources. - Use the Freeze Button: Once you’ve perfected a section, hit the "Freeze" button in the Roto Brush effect controls. This locks in the matte, so AE doesn't have to re-calculate it every time, which drastically improves playback.
Making these small adjustments will make a huge difference in how responsive the Roto Brush feels.
For those projects where you need a clean, high-quality cutout without all the manual labor, VideoBGRemover is a fantastic alternative. Just upload your clip and let our AI handle the complex separation work, delivering a professional result in minutes. Ditch the tedious frame-by-frame process and try it for free on our website.
Tagged with
Ready to Remove Your Video Background?
See a free preview before you buy.
No credit card required • Free preview on every video