Converting MP4 to WMV A Practical Guide for Any Scenario
Discover how to handle converting MP4 to WMV with our practical guide. We cover free online tools, VLC, and FFmpeg for fast and reliable results.
Let's be honest, MP4 is the undisputed king of video formats today. So why on earth would you need to convert an MP4 file to WMV? It might seem like a step backward, but there are some very real, practical situations where a WMV file is not just helpful, but absolutely necessary.
The good news is that making the switch is usually simple. You can use a quick online tool for a one-off job or fire up a desktop app like VLC for more control. The trick is knowing when and why you need it, ensuring your video plays perfectly where it counts.
When Do You Actually Need a WMV File?
Before we get into the "how," let's tackle the "why." While MP4 is nearly universal, the Windows Media Video (WMV) format still holds its ground in specific corners of the digital world, mostly tied to the Microsoft ecosystem.
The need to switch between formats is more common than you'd think. The global video converter market was valued at a whopping USD 1.2 billion in 2023 and is expected to keep growing. This tells us that bridging compatibility gaps between devices, software, and platforms is a constant challenge for many.
MP4 vs WMV Quick Comparison
To understand why you'd choose one over the other, it helps to see how they stack up. Here’s a quick side-by-side look at the key differences between these two formats.
| Feature | MP4 (MPEG-4 Part 14) | WMV (Windows Media Video) |
|---|---|---|
| Compatibility | Universal. Works on nearly all devices and platforms (Mac, Windows, iOS, Android, web). | Primarily for Windows-based systems. May require special players on other platforms. |
| Compression | Excellent. High quality at relatively small file sizes. Uses H.264 or H.265 codecs. | Good. Often includes Digital Rights Management (DRM) features, which was a key advantage. |
| Primary Use Case | Web streaming, social media, mobile video, general-purpose recording and sharing. | Legacy Windows applications, corporate intranets, digital signage, and some older Microsoft products. |
| Developer | Moving Picture Experts Group (MPEG) | Microsoft |
This table makes it clear: MP4 is your go-to for broad distribution, while WMV shines in very specific, often older, Windows-centric environments.
Working With Legacy Software
One of the most common reasons I see for this conversion is compatibility with older software. Remember the classic Windows Movie Maker? Or maybe you're dealing with an early version of PowerPoint? These applications were built when WMV was the standard for Microsoft.
If you try to import a modern MP4 into one of these legacy programs, it will likely fail or throw an error. In this case, converting your file to WMV is the essential first step to get your project moving again.
Navigating Corporate and Enterprise Environments
Big companies often move slowly when it comes to technology. Many still operate on internal systems built entirely around Microsoft's framework. Think about corporate intranets, old training portals, or even the digital signage you see in the lobby.
These systems are frequently hard-coded to only accept WMV files. If you're submitting a video for internal use, the company's guidelines might strictly demand the WMV format to guarantee it works on their network.
A Tip from Experience: Always, always check the technical specs or upload guidelines for a platform before you start creating content. A quick format check and conversion upfront can save you a world of frustration from failed uploads and playback errors later.
This flowchart breaks down the typical decision-making process.
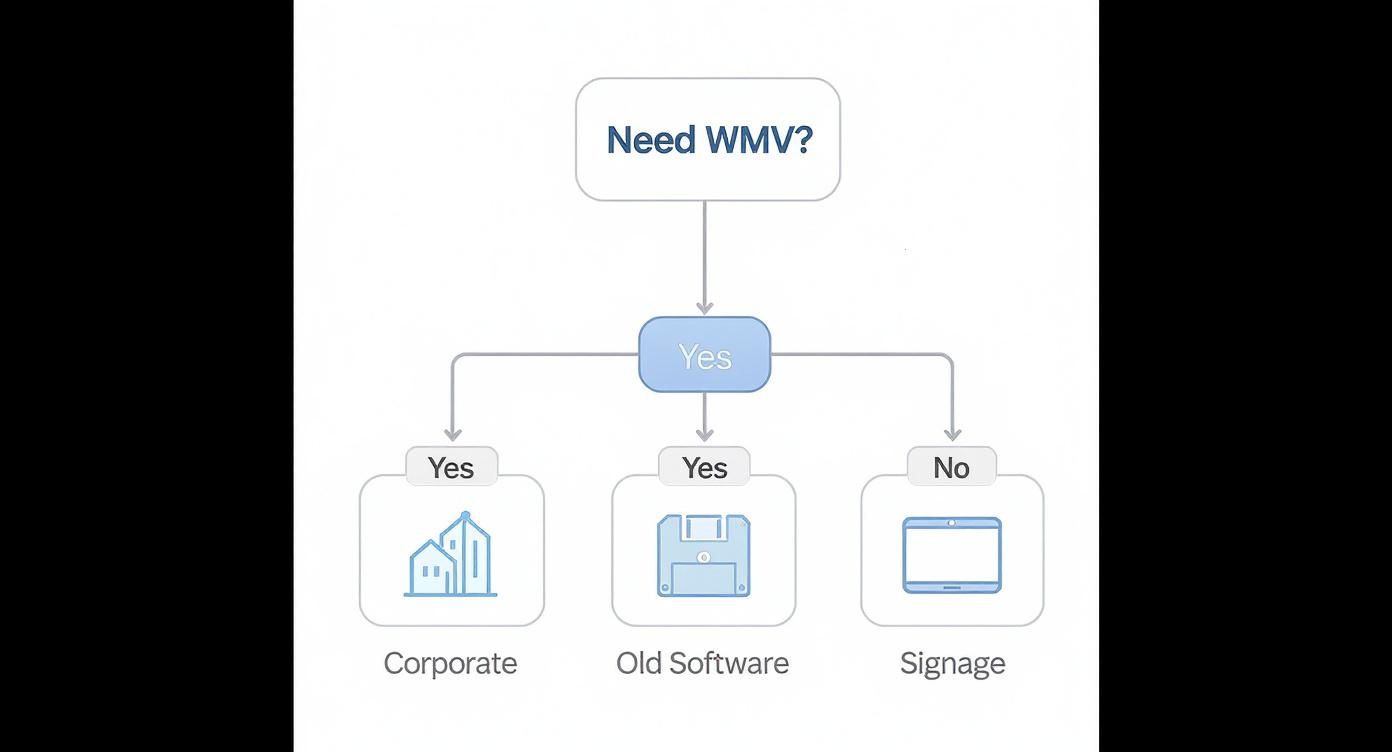
As you can see, the need for WMV usually boils down to making your video work with a specific piece of hardware or a closed corporate system.
While you're converting, it's also a great time to think about file size. Learning about video compression without losing quality can help you create smaller, more manageable files that are easier to store and share.
Using Online Converters for Quick and Easy Conversions
Sometimes, you just need a quick conversion without the fuss of installing new software. This is where online converters truly shine. They're the perfect tool for a one-off task when you need to switch an MP4 over to WMV right now.
The beauty of these web-based tools is their simplicity. You just find a site, upload your video, pick WMV from a dropdown menu, and click "Convert." It's incredibly straightforward. I find myself turning to them when I'm on a machine that isn't my own—like a library computer or a work laptop with software restrictions. In just a few minutes, you can have a WMV file ready to use, all from within your browser.
But as with most free things, this convenience comes with a few strings attached. It's important to know what you're getting into before you upload your video.
The Hidden Costs of Free Tools
The main draw of online converters is that they're free, but this usually means you'll run into some limitations. Being aware of these catches can save you a lot of frustration.
Here are the most common things I've learned to watch out for:
- File Size and Daily Limits: Most free services put a cap on how large your file can be (often around 100MB) or how many videos you can convert in a 24-hour period. If you're working with a long, high-quality video, this can stop you in your tracks.
- Privacy Concerns: This is a big one. When you upload a video, you're handing your data over to someone else's server. I make it a personal rule to never use these tools for anything sensitive, confidential, or proprietary.
- Watermarks: Don't be surprised if your converted video comes back with the converter's logo stamped on it. This is a common tactic to nudge you toward their paid subscription.
As you can see from this Wikipedia comparison of video converters, there are countless options out there. This variety is great, but it also means you have to be careful about which service you trust with your files.
Expert Insight: Before you upload anything, take a minute to find and read the site's privacy policy. A trustworthy service will clearly state how they manage your data, usually promising to delete files from their servers after a few hours. If you can't find that policy, it's a red flag. My advice? Move on and find another tool.
So, what's the bottom line? Online converters are fantastic for smaller, non-sensitive files when you need a WMV in a hurry. For anything more substantial or private, you'll be much better off with a dedicated desktop app.
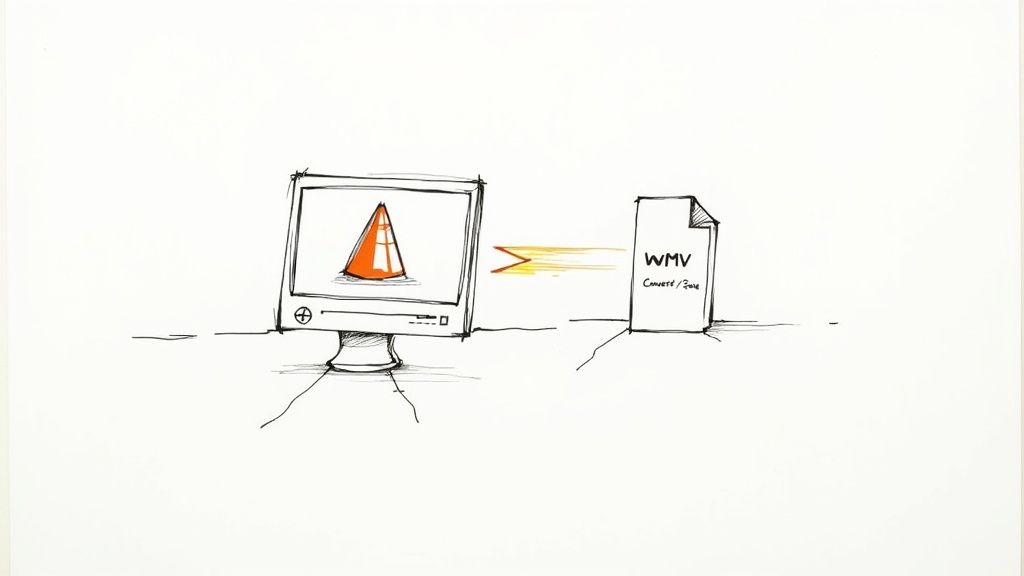
Using VLC Media Player for More Than Just Playback
Most people know VLC as the media player that can handle just about any file you throw at it. But tucked away inside this powerful, open-source tool is a surprisingly robust video converter. If you already have VLC installed, you're set to convert MP4 to WMV without needing any extra software.
This is my go-to method when I need more control than a simple online tool provides, but don't want to get my hands dirty with command-line tools. It's completely free, works offline, and keeps your files private on your own computer.
The demand for reliable conversion tools is huge. The video converter software market was valued at around USD 2 billion in 2024 and is expected to keep growing as we all juggle different devices and platforms. You can dig into more details on this growth over at Verified Market Research.
Finding the Conversion Menu
First things first, you need to find the conversion feature. It's hidden in plain sight right in the main menu.
Here’s where to look:
- Open up VLC Media Player.
- From the top menu, click on Media.
- In the dropdown, choose Convert / Save.... You can also just hit the shortcut Ctrl+R.
This brings up the "Open Media" window, which is your starting point for adding a file and getting the conversion process rolling. It's a simple first step into a really flexible tool.
From this screen, everything you need is just a few clicks away.
Customizing Your WMV File
After adding your MP4, it's time to tell VLC what you want it to do. VLC comes with a bunch of preset profiles, which makes getting started easy. Just find one that includes "WMV" and select it.
But the real magic is in the details. See that little wrench icon next to the profile dropdown? Clicking that opens up a whole new world of settings where you can get specific about your video and audio codecs.
My Pro Tip for Fixing Audio Sync Problems: I've run into this a hundred times—the audio and video are just slightly off in the final file. It's often because the default audio codec isn't playing nice. To fix this before it even happens, click that wrench icon, go to the "Audio codec" tab, and make sure "Keep original audio track" is unchecked. Then, manually choose an audio codec like WMA. This simple tweak solves most sync issues.
If you're curious about what else VLC can do, we've put together a collection of VLC conversion tips that cover a bunch of different scenarios. Spending a minute or two in these settings can dramatically improve your final WMV file, making sure it plays perfectly without any of those annoying audio delays.
Mastering Advanced Conversions With FFmpeg
When you need absolute, granular control over your video conversions, it's time to graduate to FFmpeg. This isn't just another app; it's the powerful, free command-line engine that actually powers many of the online converters and desktop tools you might already use. By using it directly, you unlock a level of precision and efficiency that other methods just can't match.
I know what you're thinking—a command line sounds intimidating. But the truth is, the basics for turning an MP4 into a WMV are surprisingly simple. FFmpeg puts every detail at your fingertips, from video and audio codecs to bitrates and resolution. This is why it’s the undisputed industry standard for technical video work.
This kind of precise control is becoming more crucial than ever. A geographic analysis from Cognitive Market Research shows a massive demand for high-quality conversion tools, especially in the Asia-Pacific region, where the market revenue is expected to hit USD 1.5 billion by 2025.
Your First FFmpeg Conversion
Ready to give it a shot? It's easier than it looks. First, make sure you have FFmpeg installed. Then, open your command prompt (on Windows) or terminal (on Mac/Linux) and navigate to the folder where your MP4 file is saved.
The simplest command you can run looks like this:
ffmpeg -i input.mp4 output.wmv
This single line tells FFmpeg to find your input.mp4, convert it, and create a new file named output.wmv using its default settings. It's fast, effective, and gets the job done.
But the real magic of FFmpeg happens when you start adding specific parameters—we call them "flags"—to dial in the exact output you need.
Controlling Quality And File Size
One of the most common reasons to use FFmpeg is to fine-tune the final quality and file size. You can do this by specifying the video and audio codecs yourself, which is perfect for guaranteeing compatibility with older Windows systems.
Here are the key flags you'll use:
- Video Codec (
-c:v): This tells FFmpeg which video encoder to use. For WMV,wmv2is a solid, widely supported choice. - Audio Codec (
-c:a): This does the same for audio. Thewma2codec is the standard counterpart for WMV files. - Video Bitrate (
-b:v): This is your quality-control knob. A higher bitrate, like2M(for 2 Megabits per second), gives you a sharper image but a larger file. Lowering it reduces the file size at the cost of some quality.
Putting it all together, a more controlled command would be:
ffmpeg -i input.mp4 -c:v wmv2 -c:a wma2 -b:v 2M output.wmv
This command gives you complete authority over the final product, ensuring it hits your specific targets for quality and size. Once you're comfortable with these basics, you can explore more advanced techniques in our comprehensive FFmpeg guide.
For a quick reference, here are a few common commands you might find yourself using.
Common FFmpeg Commands for MP4 to WMV
| Task | FFmpeg Command Example |
|---|---|
| Basic Conversion | ffmpeg -i input.mp4 output.wmv |
| Specify Video/Audio Codecs | ffmpeg -i input.mp4 -c:v wmv2 -c:a wma2 output.wmv |
| Set a Specific Video Bitrate | ffmpeg -i input.mp4 -b:v 1500k output.wmv |
| Change the Resolution | ffmpeg -i input.mp4 -vf scale=1280:720 output.wmv |
| Remove the Audio Track | ffmpeg -i input.mp4 -an output.wmv |
These commands are just the beginning, but they cover the majority of day-to-day conversion needs you'll encounter.
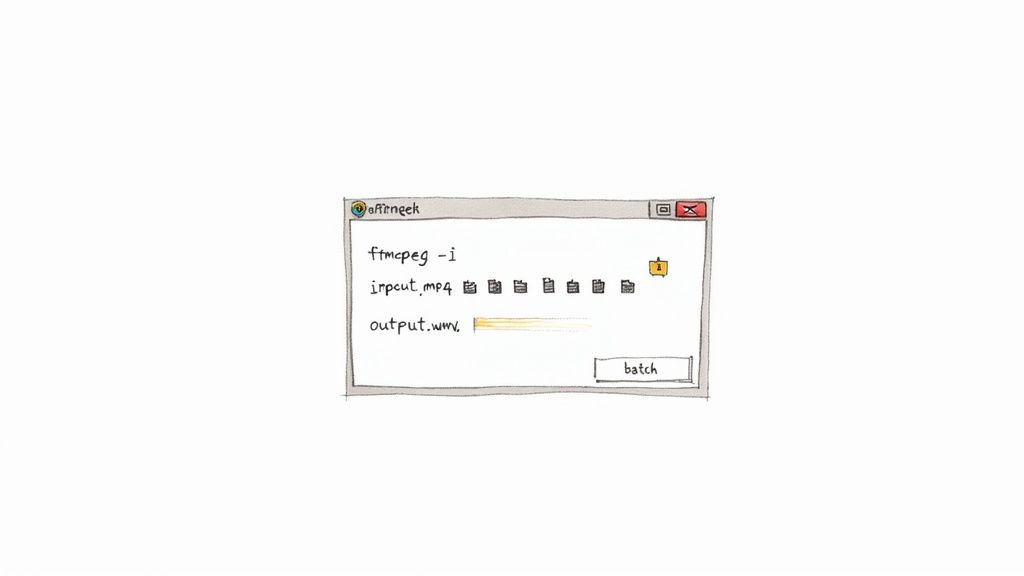
A Practical Tip on Batch Processing: The true power of FFmpeg is unleashed when you have a whole folder of videos to convert. Instead of doing them one by one, you can write a simple script. A "for" loop in a Windows batch file (
.bat) or a shell script can automate the entire workflow, saving you hours on large projects.
By getting comfortable with just a few commands, you elevate your capabilities from basic conversions to producing highly customized, professional-grade video files. FFmpeg is truly an indispensable tool for anyone serious about video.
How to Fix Common Conversion Problems
Even when you follow all the steps, video conversion can be a finicky process. You might end up with a file where the audio is just a fraction of a second off, or the video quality takes a nosedive from your original MP4. It’s frustrating, but the good news is that these are almost always fixable.
Most of the time, the problem isn't the tool itself but the settings you're feeding it. Let’s walk through the most common headaches I've run into and how to sort them out for a clean, professional result.
Solving Audio and Video Sync Issues
Nothing screams "amateur" like audio and video that are out of sync. It’s a classic conversion problem, and it usually happens because the MP4 file was encoded with a variable frame rate or bitrate that the WMV container just can’t handle gracefully.
The fix is to force the conversion process to play by stricter rules. Don't just hit "convert" with the default profile; you need to manually set a constant bitrate for both the video and audio streams.
- For the video track, look for a setting called Constant Bitrate (CBR). If you're using a command-line tool like FFmpeg, this is as simple as adding a flag like
-b:v 2Mto lock the video at 2 Megabits per second. - For the audio track, make sure you’re using a compatible codec like WMA (Windows Media Audio). I also recommend setting a standard sample rate, like 44100 Hz, to keep the audio stream stable.
By locking in these settings, you’re giving the converter a steady rhythm to follow, which almost always eliminates that dreaded sync drift.
A Quick Tip from Experience: When I use VLC for conversions and run into sync problems, the first thing I do is check the audio codec. In the advanced profile settings, I'll explicitly choose "WMA2." This stops VLC from guessing and often solves the issue before it even starts.
Preserving Video Quality After Conversion
It's a real letdown when your sharp, clear MP4 turns into a blurry, pixelated WMV. This loss in quality is almost always due to one thing: the video bitrate. Think of bitrate as the data budget for each second of video—a lower budget means more compression and less visual detail.
To avoid this, you need to give your WMV file a bitrate that’s at least equal to the original MP4. If you’re not sure what the source bitrate is, a safe bet for standard 1080p HD video is somewhere between 2,000 and 5,000 kbps (kilobits per second).
Many simpler tools use a "quality" slider instead of a specific number. In that case, just push it toward the higher end. Yes, the file will be bigger, but it's the only way to keep your video looking crisp. You can always compress a high-quality file later, but you can never add detail back once it's been lost.
Got Questions About MP4 to WMV? Let's Clear Things Up.
When you start diving into video formats, it's easy to get tangled up in questions. Why does this old format still exist? Will converting my video make it look terrible? I get it. These are the exact questions people ask all the time.
Let's walk through some of the most common sticking points so you can move forward with confidence.
Why on Earth Is WMV Still a Thing?
It’s a fair question. We live in an MP4 world, so seeing a WMV requirement can feel like a blast from the past. The short answer is legacy compatibility.
WMV, a Microsoft creation, was once the king of the Windows ecosystem. Because it was so deeply baked into their software, you'll still find it's the only format accepted in some specific, and often older, situations.
You'll most likely need WMV for:
- Old-School Windows Software: Think early versions of PowerPoint or Windows Movie Maker. They were built to work hand-in-glove with WMV.
- Corporate Intranets: Many large organizations are slow to update their internal systems. That digital signage in the lobby or the company-wide training portal might only play nice with WMV files.
- Niche Hardware: Some older digital displays or media players were simply designed for Microsoft's format and nothing else.
So, converting to WMV usually isn't about choosing a better format—it’s about checking a box to meet a very specific technical demand.
Will Converting From MP4 to WMV Ruin My Video Quality?
Technically, yes, there will be a tiny bit of quality loss. Any time you convert between two compressed formats (which both MP4 and WMV are), the video has to be re-encoded. Think of it like making a photocopy of a photocopy; each generation loses a little bit of sharpness.
But here’s the crucial part: this quality loss can be so small that you'd never notice it with the naked eye.
The secret is all in the settings, especially the video bitrate.
To keep your video looking crisp, the main goal is simple: make sure the bitrate of your new WMV file is the same as (or even slightly higher than) the original MP4. For a standard 1080p video, a bitrate between 2,000 and 5,000 kbps is a great target to maintain excellent quality.
If you give the converter a healthy bitrate, you’re giving it enough data to work with, and the final video will look just as good as the original. Skimp on the bitrate, and you'll get a smaller file, but you'll also introduce that blocky, blurry look nobody wants.
What's the Best Free Tool for the Job?
The "best" tool really boils down to what you need to accomplish. It’s a classic trade-off between pure convenience and granular control.
Here’s how I break it down for people:
- For a Quick, One-Off Conversion: A good online converter is your best bet. It’s fast, simple, and requires no installation. It's perfect for a small, non-confidential file you need converted right now.
- For Everyday Use and Better Settings: VLC Media Player is my go-to recommendation. It’s a trusted workhorse you probably already have on your computer. Its built-in converter is powerful enough to let you tweak bitrates and codecs, but it's still straightforward to use.
- For Power Users and Bulk Conversions: FFmpeg is the undisputed champion. It’s a command-line tool, which can be intimidating at first, but it gives you absolute control over every single parameter. It's the only real option if you need to convert a whole folder of videos at once.
For most people, VLC hits that sweet spot. It offers reliable, high-quality conversions without the privacy concerns of online tools or the steep learning curve of FFmpeg.
Ready to create professional videos without the hassle of a green screen? With VideoBGRemover, you can remove or replace your video background in minutes using powerful AI. Just upload your footage, customize your background, and export a high-quality video ready for any platform. Try it for free and see how easy it is to achieve studio-level results.
Tagged with
Ready to Remove Your Video Background?
See a free preview before you buy.
No credit card required • Free preview on every video