How to Attach Subtitles to MP4 Videos A Practical Guide
Learn how to attach subtitles to MP4 files with our practical guide. We cover soft vs. hard subtitles, FFmpeg, HandBrake, VLC, and fast online tools.
Attaching subtitles to an MP4 is pretty straightforward. You've got two main ways to go about it: you can either embed them as a separate, selectable track (soft subtitles), or you can permanently burn them right into the video frames (hard subtitles). Either way, you're making your content more accessible and engaging, especially for the massive audience that watches videos on mute.
Why Your MP4 Videos Need Subtitles Now More Than Ever
Let's cut to the chase. In a world of silent scrolling on social media, a video without subtitles is basically invisible. Subtitles aren't just a nice-to-have for accessibility anymore; they're a core part of any smart video strategy. They're how you grab and hold attention on platforms where "sound off" is the default setting.
Anyone creating content for TikTok, Instagram Reels, or YouTube Shorts knows this firsthand. Captions are non-negotiable. The algorithms on these platforms reward content that keeps people watching longer, and subtitles are a proven way to do exactly that.
The Undeniable Impact on Engagement
The numbers don't lie. A staggering 85% of Facebook videos are watched without sound. That single statistic changes everything. It means your subtitles aren't just a backup—they are the primary way your message gets across.
On top of that, videos with subtitles get an 80% boost in watch time on social media. That's a huge advantage when you're fighting for every second of engagement.
If you're not attaching subtitles to your MP4s, you're consciously letting a huge chunk of your potential audience scroll right past your silent video. It's as simple as that.
Understanding Your Subtitling Options
So, how do you get it done? Throughout this guide, we'll walk through the practical methods. It all boils down to two main approaches:
Soft Subtitles: Think of these as an optional layer. They're packed into the MP4 file as a separate text track, which means viewers can toggle them on or off. This is perfect for content that needs multiple language options or for videos on a personal website where you want to give the user control.
Hard Subtitles: You might hear these called "burned-in" or "hardcoded" subtitles. They are permanently stamped onto the video image itself and can't be turned off. This is the go-to method for social media because it guarantees your message is always seen, no matter how someone is watching.
Choosing the right one is key, and it all starts with understanding these differences. For more tips on creating video content that truly connects, check out our guide on video marketing best practices.
Choosing Your Subtitle Method: Soft vs. Hard
Before you attach subtitles to your MP4, you have a crucial decision to make: how are you going to attach them? This choice isn't just a technical footnote; it completely changes how your audience experiences the video. Your options are soft subtitles or hard subtitles.
Think of soft subtitles as a separate text layer that sits on top of your video. They are multiplexed—or "muxed"—into the MP4 file along with the video and audio streams. This gives your viewers total control. They can toggle the subtitles on or off, and if you've included multiple language files, they can easily switch between them.
Hard subtitles, on the other hand, are permanent. They’re often called "burned-in" or "hardcoded" because they are literally rendered into the video frames, becoming an inseparable part of the picture. Once they're there, they can't be turned off.
When to Use Soft Subtitles
Soft subtitles are all about flexibility, which makes them the go-to choice for a few key situations. If you're targeting a global audience, this method is a lifesaver. You can pack multiple subtitle tracks—say, English, Spanish, and French—into a single MP4, letting viewers pick the language they need.
This is also the standard for professional media like feature films or educational courses you might host on a learning platform or your own website. It respects the viewer's preferences and accessibility needs. Someone who doesn't want captions can simply turn them off for a clean, unobstructed view.
- Multilingual Content: Serve different regions with one video file.
- User Control: Empower viewers to toggle captions on or off at will.
- No Re-encoding: Adding soft subs is lightning-fast and doesn't touch the original video quality.
When to Use Hard Subtitles
Where soft subs offer flexibility, hard subs provide certainty. Their biggest draw is universal compatibility and guaranteed visibility. Because the text is physically part of the video image, you never have to worry about a specific platform, app, or device failing to display the subtitle track. It just works.
This makes hard subtitles absolutely essential for social media. On platforms like Instagram, TikTok, or Facebook, videos often autoplay on mute. Hardcoded captions ensure your message lands instantly, even with the sound off. If you’re a brand dropping a 30-second promo, you can't risk viewers scrolling past because they didn't know to enable captions.
This simple decision tree can help you visualize the choice based on where your video is headed.

The takeaway here is that your distribution platform should guide your decision. Social media thrives on the instant engagement of hard subtitles, while websites and media players benefit from the flexibility of soft subtitles.
Soft Subtitles vs Hard Subtitles At a Glance
Still on the fence? This table breaks down the core differences to help you decide which method is the best fit for your MP4 video and where you plan to share it.
| Feature | Soft Subtitles (Multiplexed) | Hard Subtitles (Burned-in) |
|---|---|---|
| Visibility | User-controlled (can be turned on/off) | Always on (part of the video image) |
| Flexibility | High. Can include multiple languages in one file. | None. Permanently fixed to the video. |
| Compatibility | Depends on the player/platform supporting the subtitle track. | Universal. Works on any device that can play the video. |
| Process Speed | Very fast. Simply adds a data track without re-encoding. | Slower. Requires re-encoding the entire video. |
| Quality Impact | None. The original video stream is not altered. | Potential for slight quality loss due to re-encoding. |
| Best For | Websites, media players, professional courses, feature films. | Social media (Instagram, TikTok), silent-autoplay environments. |
| Accessibility | Good, as users can customize appearance in some players. | Good, as they are always visible, but not customizable. |
Ultimately, both methods get the job done. Choosing the right one is about matching the tool to the task at hand.
In short, choose soft subs for control and hard subs for certainty. Your project's goal and audience will point you in the right direction every time.
The Power User's Toolkit: Hardcoding with FFmpeg
When you need absolute control, precision, and the ability to automate your subtitle workflow, it’s time to step up from graphical interfaces and get comfortable with the command line. For anyone serious about video editing and processing, FFmpeg is the undisputed champion. It’s a completely free, open-source workhorse that can handle just about any video task you can imagine, including the critical job of hardcoding subtitles.
Hardcoding, often called "burning in," permanently embeds the subtitle text into the video frames themselves. This is the go-to method for platforms like Instagram or TikTok, where you need to guarantee your message gets across in silent-autoplay environments. While GUI tools are fine for one-off projects, FFmpeg shines when you need to batch process dozens of videos or integrate subtitling into an automated script, saving you a massive amount of time.
Your First Hardcoding Command
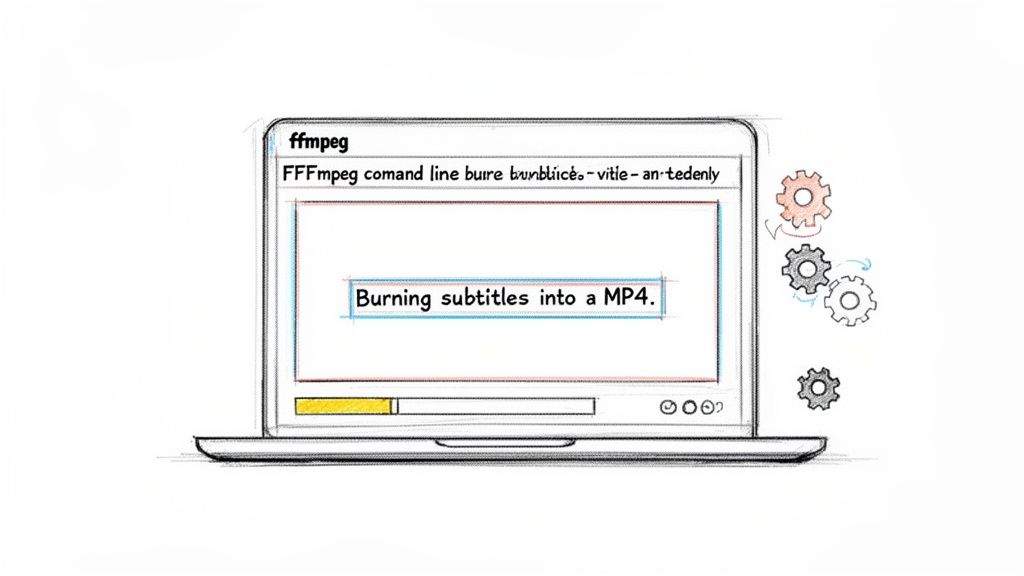
Let's dive right into the most common scenario: you have a video file (input.mp4) and a corresponding subtitle file (subtitles.srt). Your goal is to burn that text directly into a new video file (output.mp4).
Just open your terminal (or Command Prompt on Windows) and run this command:
ffmpeg -i input.mp4 -vf "subtitles=subtitles.srt" output.mp4
This command looks simple, but understanding what each part does is the key to unlocking FFmpeg's real power.
ffmpeg: This just calls the program.-i input.mp4: The-iflag is for your input file—in this case, your source video.-vf "subtitles=subtitles.srt": This is where the action is.-vfstands for "video filter," and we're telling it to apply thesubtitlesfilter using our specific SRT file.output.mp4: This is simply the filename for the new video you're creating.
Pro Tip: Make sure your video and subtitle files are in the same folder where you're running the command. If they aren't, you'll need to type out the full file path for each one. This one small check prevents most of the "file not found" errors people run into.
Keeping Your Video Quality High
Here’s something you absolutely need to know: hardcoding always requires re-encoding the entire video. This process can sometimes degrade the visual quality if you’re not careful. To avoid this, you can give FFmpeg specific instructions on how to handle the re-encoding. The libx264 codec is a fantastic, high-quality standard for MP4 files.
Let’s improve our command to get a much better result:
ffmpeg -i input.mp4 -vf "subtitles=subtitles.srt" -c:v libx264 -preset slow -crf 22 output.mp4
We've added a few powerful flags here:
-c:v libx264: This explicitly sets the video codec to the high-qualitylibx264.-preset slow: This tells FFmpeg to take its time during encoding. A slower process means better compression and a sharper final video.-crf 22: This is the Constant Rate Factor, which controls quality. It's a bit counterintuitive: lower numbers mean higher quality (and bigger files). A value between 18 and 28 is the typical range, with 22-23 often being the perfect balance for crisp web video.
This level of granular control is exactly why FFmpeg is indispensable for professionals. For social media managers, this isn't just a technical detail—it's a performance driver. A Socialinsider analysis found that captioned Reels and Shorts see a 17% higher engagement rate. Of course, managing video involves more than just subtitles. If you often work with different video standards, our guide on converting MP4 to MPEG can be a real lifesaver.
User-Friendly Tools for Attaching Subtitles
Not a fan of the command line? I get it. The good news is you don't need to touch a terminal to attach subtitles to your videos. There are some excellent free tools with graphical interfaces that make the whole process as simple as clicking a few buttons.
Two of the best and most trusted apps for this are HandBrake and VLC Media Player. Both are completely free, open-source, and have been staples in the video world for years. Let's walk through how you can use them to permanently burn subtitles into your MP4, a process called hardcoding.
This is what you'll see in HandBrake, a powerhouse video transcoder that's surprisingly easy to use.
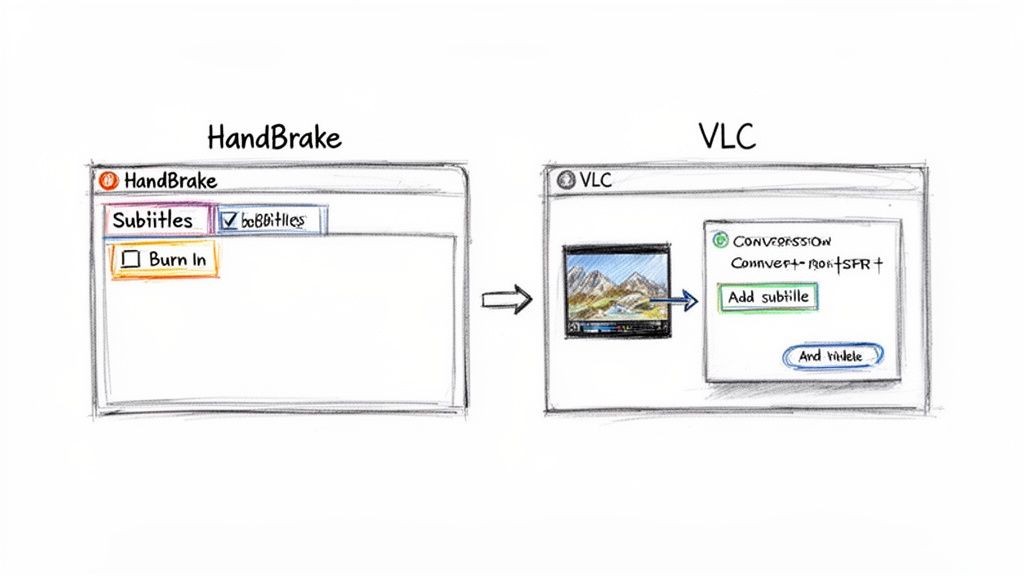
Its clean, tab-based layout separates video, audio, and subtitle settings, so you can jump right to what you need without getting bogged down in technical jargon.
Hardcoding Subtitles with HandBrake
HandBrake’s primary job is converting videos from one format to another, but it’s brilliant for hardcoding subtitles. This is my go-to method for creating videos for social media, where you need captions to be visible all the time, no matter what.
Once you’ve opened your MP4 file in HandBrake, the process is incredibly direct:
- Head over to the Subtitles tab.
- Click Import Subtitle and find the SRT file on your computer.
- This is the key step: Tick the Burn In box next to your imported track.
Ticking that box is what tells HandBrake to permanently paint the text onto the video frames. If you skip this, you’ll end up with soft subtitles instead. After you've picked your video quality presets, just hit start and let it work its magic.
Using VLC to Attach Subtitles
Most people know VLC as the media player that plays literally anything you throw at it. What many don't realize is that it also has a pretty capable conversion tool hidden inside, perfect for quickly attaching subtitles to an MP4.
The workflow in VLC is a little different. You won’t be editing the video directly. Instead, go to the File menu and choose Convert / Stream. From there, you can add your MP4 file and then use the "Add Subtitle File" option to bring in your SRT.
A quick tip: When you move forward, VLC will ask you to pick a profile for the new file. For maximum compatibility, stick with one of the standard H.264 + MP3 (MP4) profiles. This ensures your final video will play flawlessly just about anywhere.
This method also re-encodes the video, which means the subtitles are burned in for good. It's a fantastic option if you already have VLC on your machine and just need to get a subtitled video out the door quickly.
And if you're looking to speed up other parts of your video work, exploring some AI video editing tools can really bring a new level of efficiency to your entire creative process.
The Fastest Way to Add Subtitles with Online Tools
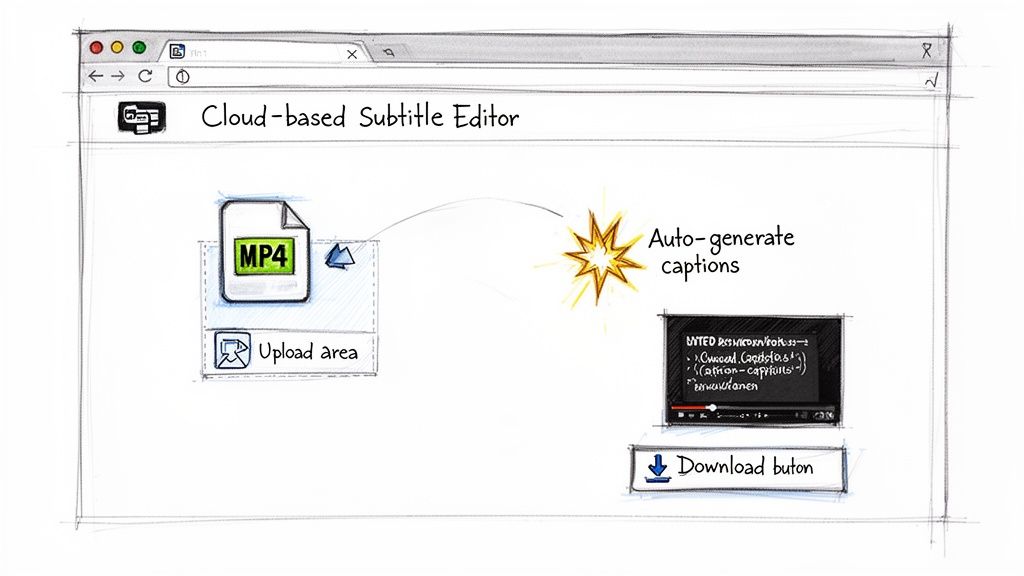
When you need to get subtitles on a video right now and don't want the hassle of downloading software, browser-based tools are your best friend. These online editors let you handle everything directly from your web browser, making them perfect for quick turnarounds and cloud-based projects.
The whole process is usually dead simple. You just upload your MP4, then bring in your subtitle file (like an SRT or VTT). Many of these platforms now even have AI transcription built right in, which can automatically generate subtitles from your audio. That feature alone can save you a mountain of time. Once everything is synced up, you just hit export, and you’ve got a new video with subtitles baked in.
This method is a lifesaver for anyone creating content on the go. Picture this: you're a social media manager in a hotel room, and you need to add captions to a client's video before it goes live. Instead of firing up a heavy video editor, you can just use an online tool on your laptop and have it done in minutes.
The Power of a Cloud-Based Workflow
Where online tools really shine is how they connect. You could, for instance, use a tool like VideoBGRemover to strip the background from a video clip, download the polished MP4, and then immediately upload it to a web-based subtitle editor. You've just performed a professional-level edit from start to finish without ever leaving your browser.
This seamless integration is a game-changer for anyone producing content at scale. By keeping your entire workflow in the cloud, you minimize friction and dramatically speed up production times.
Online tools are also incredibly valuable in education and global communication. The video streaming market is massive—currently over $240 billion and expected to hit $787 billion by 2035. Subtitled MP4s are essential for reaching that global audience. In fact, research shows that 75% of viewers retain more information from educational videos when subtitles are present. You can discover more insights about this trend and how it impacts the market for creative software tools.
Why Choose an Online Tool
So, is a browser-based editor the right call for your project? Here are a few things to consider:
- No Installation Required: Jump in and start editing from any computer with an internet connection. No downloads, no updates.
- AI-Powered Transcription: Many platforms can generate subtitles automatically from your video's audio, turning a tedious task into a quick one.
- Simple User Interfaces: These tools are built for speed and simplicity. You won't need to spend hours learning your way around.
To make things even faster, especially for spoken-word content like lectures or interviews, you can get a clean transcript first. Using a quality sermon transcription service, for example, can give you an accurate text file to start with. While that's a specific niche, the principle is universal: a good transcript is a massive head start.
Ultimately, online tools offer a fast, accessible, and powerful way to get subtitles attached to your MP4s with minimal fuss.
Frequently Asked Questions About Subtitling
As you dive into adding subtitles to your MP4 files, you'll probably run into some common questions. From picking the right format to dealing with frustrating timing problems, getting the right answers upfront can save you a ton of headaches. I’ve put together the most common issues I see and offered some practical solutions.
This is about more than just getting the technical stuff right; it's about making sure your subtitles actually work for your audience. The quality of your subtitles can make or break how people connect with your content. For a deeper look at what goes into high-quality subtitles, it's worth reading up on how to ensure great video transcription accuracy.
What Is the Best Subtitle Format to Use with MP4 Files?
When it comes to MP4 files, my go-to recommendation is always SubRip (.SRT). It’s just a plain text file with timestamps and subtitle lines, and that simplicity is its biggest advantage.
You’d be hard-pressed to find a tool that doesn't support SRT. Everything from command-line workhorses like FFmpeg to user-friendly apps like HandBrake and countless online editors handle it flawlessly. While you might come across other formats like VTT or ASS, SRT offers the best combination of reliability and universal compatibility for almost any project.
How Do I Fix Subtitles That Are Out of Sync?
Nothing ruins a viewing experience faster than out-of-sync subtitles, but thankfully, this is usually an easy fix. If your subtitles are consistently off by the same amount throughout the video, a simple time offset will do the trick.
I typically use a free tool like Subtitle Edit or Aegisub for this. Both have a "shift times" feature that lets you move all the subtitles forward or backward at once by a specific amount, say, +1.5 seconds.
If the timing drift gets progressively worse, the culprit is often a mismatched video frame rate. The same tools can help here, too. You can realign your subtitles by setting synchronization points at the beginning and end of the video, and the software will correct the drift across the entire timeline.
Does Hardcoding Subtitles Reduce Video Quality?
The short answer is yes, but it doesn't have to be noticeable. Hardcoding involves re-encoding the entire video file, which always introduces a risk of quality loss. The secret is to control your export settings carefully.
When you're using a tool like HandBrake or FFmpeg, you need to tell it to prioritize quality.
- Look for a constant quality setting. In the popular x264 codec, this is called CRF, and a value between 18-22 usually strikes a great balance. Remember, lower numbers mean higher quality.
- Another option is to set a high bitrate that’s close to your original video's bitrate.
When you get these settings right, the final hardcoded video should be visually indistinguishable from the original. On the other hand, soft subtitles are just a separate track in the file and don't involve re-encoding, so they have zero impact on video quality.
At VideoBGRemover, we know that a polished look is key to making your content stand out. Our AI tool lets you remove or replace your video background in just a few clicks, giving you a clean slate for adding sharp, hardcoded subtitles to your social media clips or tutorials. Give it a try at https://videobgremover.com.
Tagged with
Ready to Remove Your Video Background?
See a free preview before you buy.
No credit card required • Free preview on every video