A Creator's Guide to Converting WebM to PNG Sequences
A practical guide on how to convert WebM to PNG. Learn to extract high-quality frames using online tools, FFmpeg, and batch processing for any creative project.
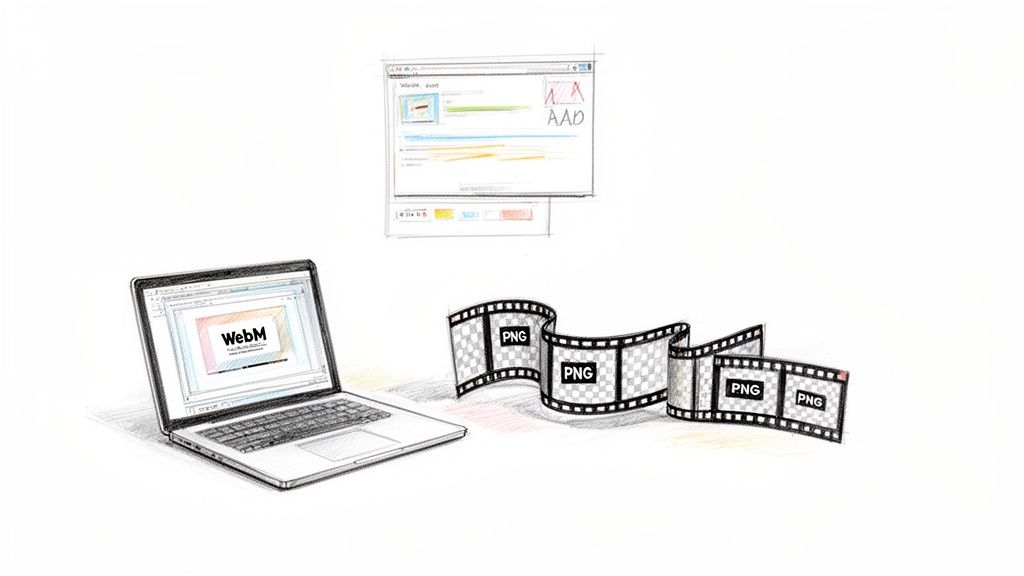
Turning a WebM video into a sequence of PNG images is one of those behind-the-scenes tricks that unlocks a massive amount of creative potential. It’s how you get those super clean, transparent video overlays or pull out a single, perfect frame for a thumbnail. The process basically takes a moving video and breaks it down into its individual still images, which you can then edit with incredible precision.
Some modern tools, like VideoBGRemover, have made this incredibly simple. You can upload a video, strip out the background, and download a ready-to-use transparent PNG sequence all in one go.
Why You Need to Convert WebM to PNG
If you've ever seen a slick product ad with an animated graphic floating over a custom background, or a streamer with a flawless facecam overlay, you've likely seen the result of this process. They're often not working with a standard video file; they're using a PNG sequence.
This conversion isn't just a technicality—it's about gaining total creative control. A WebM file is a compressed video, which is fantastic for streaming online but a real pain to edit on a frame-by-frame basis. A PNG sequence, however, is just a folder full of high-quality, individual images.
Unlocking Creative and Technical Flexibility
Breaking a video down into its essential frames gives you a level of flexibility that's essential for motion graphics, detailed video editing, and sharp digital marketing. Think about adding a subtle, animated logo to a promo video or creating a dynamic tutorial where you need to highlight specific actions with graphic overlays. That's where a PNG sequence comes in.
This is exactly why the PNG format is so valuable. Since it first appeared back in 1996, it has been the go-to for lossless image quality and, most importantly, transparency. That ability to handle an alpha channel is what makes it perfect for pulling frames out of WebM videos. It's no surprise that, according to HTTP Archive, PNGs now make up 45% of all images on the web's top million sites. Its quality and reliability are proven.
The real power of a WebM to PNG conversion lies in its ability to isolate frames with perfect clarity and transparency. This allows for layer-based editing that simply isn't possible with a standard video file, giving creators the precision needed for professional-grade content.
You essentially get the raw materials to build complex visual effects, or you can just cherry-pick the perfect still image for a blog post or social media graphic. To see how this fits into a bigger picture, you can learn more about how a PNG sequence enhances transparent video workflows in our detailed guide. For anyone serious about producing top-tier digital media, it’s a foundational skill.
WebM vs PNG Sequence Quick Comparison
Here’s a quick look at the core differences between a WebM video file and a PNG image sequence to help you understand the purpose of the conversion.
| Attribute | WebM Video | PNG Sequence |
|---|---|---|
| Format | Single compressed video file | Series of individual image files |
| Editing | Hard to edit frame-by-frame | Each frame is a separate, editable file |
| Transparency | Supported (VP8/VP9 with alpha) | Excellent native alpha channel support |
| File Size | Generally smaller, compressed | Can be very large (many files) |
| Best For | Web streaming, online video playback | Motion graphics, VFX, transparent overlays |
Ultimately, choosing between the two isn't about which is "better," but which is the right tool for the job. WebM is for final delivery and playback, while a PNG sequence is for the creative process.
The Easiest Way to Convert WebM to PNG Online
When you need a PNG sequence and you need it now—without installing software or wrestling with command-line tools—online converters are your best friend. They do all the heavy lifting right in your browser, making the jump from WebM to PNG ridiculously simple. This is the perfect route for creators who need quick assets for a social media post or a marketing campaign.
Plenty of online tools will do a basic conversion, but some are built to solve a bigger problem. Take VideoBGRemover, for instance. It doesn't just convert your file; it uses AI to strip out the background at the same time. This is a massive time-saver. You can upload a WebM, kill the background, and walk away with a ready-to-use transparent PNG sequence, all in one go.
From Upload to Transparent PNG Sequence
It all starts with a simple file upload. Most modern converters have a drag-and-drop interface, so you can just pull your WebM file right onto the page.
Here’s a look at what that initial screen usually looks like on a tool that’s designed for simplicity.
This kind of clean layout gets right to the point—upload your video—and cuts out all the guesswork.
Once your file is up, the platform’s AI gets to work. It scans every single frame, figures out what’s the subject and what’s the background, and creates a clean cutout. You can usually see a live preview to make sure the quality is what you expect before you hit the final export button. For creators, this is a huge plus, since you can verify the output before you spend any export credits or finalize the conversion.
Why Online Tools Are Gaining Traction
The need for a quick WebM to PNG conversion has exploded. Since Google started pushing WebM back in 2010, it has become a daily staple for many of us. By 2015, WebM was already powering 25% of all HTML5 video playback, and today it’s baked into 60% of YouTube uploads that are under a minute long.
This popularity means more creators need to pull still frames from their videos. In fact, batch WebM-to-PNG jobs have shot up by 300% since 2023, with online tools now handling millions of these files.
The beauty of a dedicated online tool is its focus on a specific problem. Instead of getting lost in a complex video editor with dozens of menus, you get a purpose-built solution that delivers a high-quality transparent PNG sequence in just a few clicks.
When you're happy with the preview, the last step is to export. A tool like VideoBGRemover lets you choose "PNG Sequence" as your output. The system crunches the entire video and hands you a ZIP file packed with every frame, each one a separate, high-resolution PNG with its transparency perfectly preserved.
If you need a more general tool for various formats, an all-purpose Image Converter might be what you're looking for. For a deeper dive into this specific format, check out our guide on https://videobgremover.com/transparent-video/webm.
Using FFmpeg for Precise Frame Extraction
When you need absolute control over your video-to-image conversions, a quick online tool just won't cut it. That's when you roll up your sleeves and turn to FFmpeg, the powerhouse command-line utility that's been the backbone of video processing for years. It's the industry standard for a reason, giving developers and editors the power to handle a WebM to PNG conversion with surgical accuracy.
There's no drag-and-drop here. FFmpeg works through text commands, which can look a bit daunting at first. But once you get the hang of it, you unlock a level of customization that no visual interface can ever hope to match. You can dictate the exact frame rate, define image quality, and even create complex naming patterns for your output files, all from a single line in your terminal.
This level of control is non-negotiable for professional projects. Think about creating a smooth motion graphics sequence from a 60fps WebM file. You need every single frame to avoid stutter or lag. FFmpeg guarantees a perfect one-to-one extraction, ensuring your final animation is as fluid as the source video.
The Basic Command Structure
Getting started with a basic FFmpeg command to turn a WebM file into a PNG sequence is surprisingly simple. The logic is direct: you point the program to your input file and tell it how to name the output images.
Here’s the foundational command you'll use:
ffmpeg -i input_video.webm output_frame_%04d.png
Let's break that down real quick:
ffmpegsimply calls the program to run.-i input_video.webmis the input flag, telling FFmpeg which file you want to convert. Just swapinput_video.webmwith your video's actual filename.output_frame_%04d.pngsets the naming pattern for your exported PNGs. The%04dis a special formatter that creates a four-digit numbered sequence (like0001,0002,0003), which is essential for keeping your frames organized and in the correct order.
Customizing Your PNG Output
The real magic of FFmpeg is in its flags—the little parameters that let you tweak the conversion process. Say you don't need every single frame and want to create a timelapse by grabbing just one frame per second. You can do that.
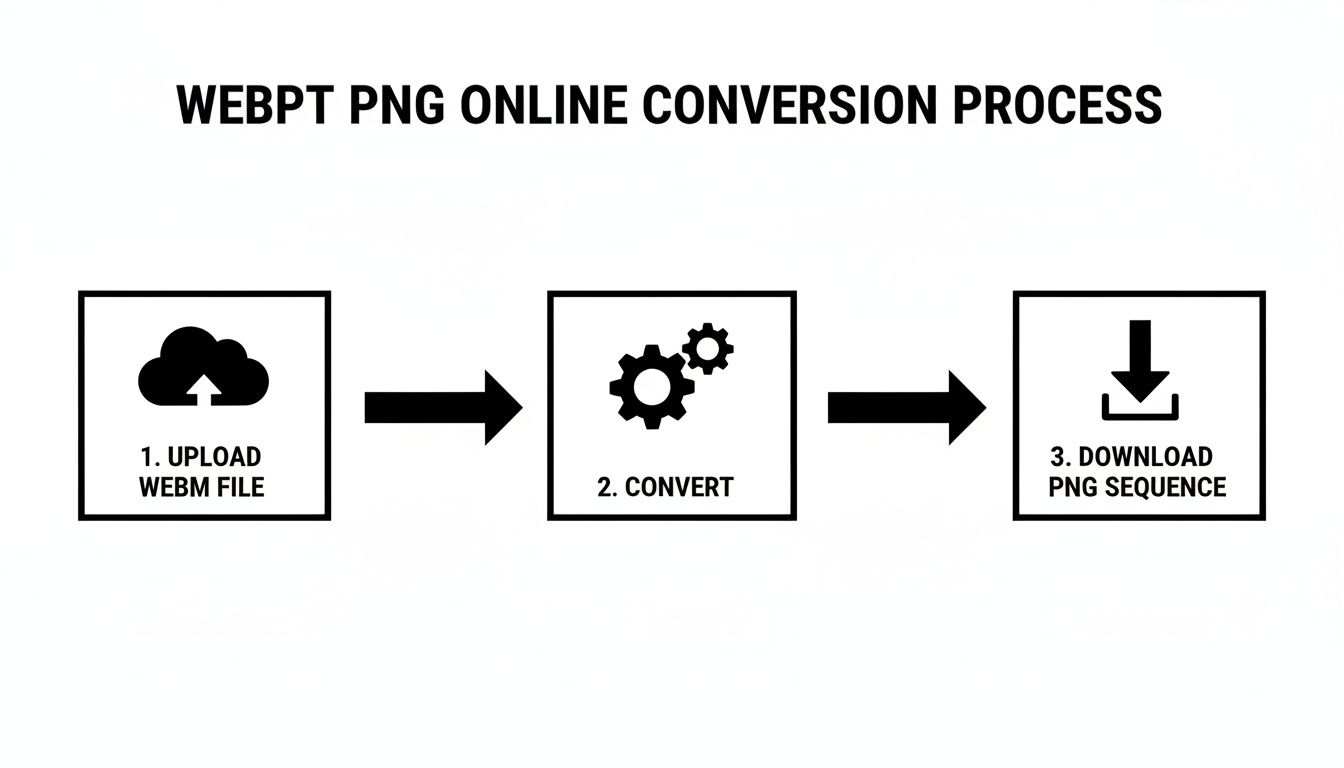
The typical online conversion flow is a simple three-step process, but FFmpeg gives you immense control over what happens during that middle "convert" step.
To pull one frame every second, you'll use the -vf (video filter) flag along with the fps filter, like this:
ffmpeg -i input.webm -vf fps=1 frame_%04d.png
This single command can transform a one-minute video into exactly 60 high-quality PNG images—one for each second of action. It's perfect for creating visual summaries, step-by-step tutorial images, or artistic timelapse sequences without needing to manually scrub through and export frames.
Understanding these parameters is key to mastering FFmpeg.
Essential FFmpeg Command Parameters Explained
This table breaks down some of the most common flags you'll use when converting WebM files to PNG sequences. Getting familiar with these will help you tailor your output for any project.
| Parameter | Function | Example Usage |
|---|---|---|
-i |
Specifies the input file. | ffmpeg -i my_video.webm ... |
-vf |
Applies a video filter to the stream. | ... -vf fps=24 ... |
fps |
A filter used with -vf to set the frame rate of the output. |
... -vf fps=1 ... (one frame per second) |
-q:v |
Sets the quality of the output images. | ... -q:v 2 ... (values often range from 1 to 31, lower is better) |
%0Xd |
Defines the numbering pattern for output files. | ... frame_%05d.png (creates 5-digit numbers like 00001) |
-ss |
Seeks to a specific start time in the video. | ffmpeg -ss 00:00:10 -i video.webm ... (starts at 10 seconds) |
-t |
Specifies the duration to process from the start time. | ... -ss 00:00:10 -t 5 ... (processes for 5 seconds) |
These are just the starting point, but they cover the majority of use cases you'll encounter for basic to intermediate frame extractions.
While FFmpeg provides incredible command-line control, a broader video editing software comparison can help you find tools with more visual workflows. For a deeper dive into more technical applications, you can find a whole range of advanced FFmpeg commands in our other expert guides.
Automating Conversions with Batch Processing
Once you find yourself converting more than a handful of WebM files, the manual one-by-one approach starts to feel like a real chore. This is where you hit a bottleneck. The key to breaking through it and truly boosting your efficiency is batch processing. It’s how you scale your WebM to PNG workflow without getting buried in repetitive clicks.
Instead of tackling each file individually, batch processing lets you line up a whole folder of WebM videos and let your tools do the heavy lifting. This is an absolute game-changer for anyone dealing with volume—think creative agencies churning out ad variations or developers processing user-submitted clips. You define the conversion settings just once, and the system applies them to the entire batch, freeing you up for more important work.
Scripting with FFmpeg for Bulk Conversion
If you're comfortable working in the command line, FFmpeg is your best friend for automation. A simple shell script can loop through all the WebM files in a folder and run your conversion command on each one. It's surprisingly straightforward.
Here’s a basic example using a Bash script, which works great on Linux or macOS:
#!/bin/bash
for f in *.webm; do
ffmpeg -i "$f" "output/${f%.webm}_%04d.png"
done
This little script hunts down every file with a .webm extension in the current directory. It then feeds each one to FFmpeg, which churns out a perfectly numbered PNG sequence and places it into a subfolder named "output." It’s a beautifully simple way to process hundreds of files while you grab a coffee.
This kind of automation isn't just a convenience; it's becoming a necessity. With 65% of creators now processing ten or more videos weekly, the demand for faster workflows is huge. A decent desktop machine can rip through a 60-second 4K WebM and spit out a 3,600-frame PNG sequence in under two minutes—that's a 95% speed increase compared to exporting frames by hand. It’s no surprise that API-driven conversions are also seeing a 40% rise, as more tools offer automated solutions. You can dig deeper into how these advancements are changing media workflows and shaping modern content creation.
Leveraging API Access for Ultimate Scalability
When you need to build WebM to PNG conversion directly into an application or a massive production pipeline, nothing beats an API. This is the professional-grade solution for automation at scale.
Services like VideoBGRemover offer an API that lets your own systems programmatically send videos for processing and retrieve the finished PNG sequences.
API integration is the gold standard for automation. It allows developers to build custom workflows that can handle thousands of video conversions per day without any manual intervention, making it ideal for SaaS platforms, large e-commerce sites, or digital asset management systems.
By using an API, you completely remove the manual steps from the process. This ensures every conversion is consistent, fast, and reliable, giving you a truly scalable system for handling any video-to-image task you can throw at it.
Common Mistakes and Pro Optimization Tips
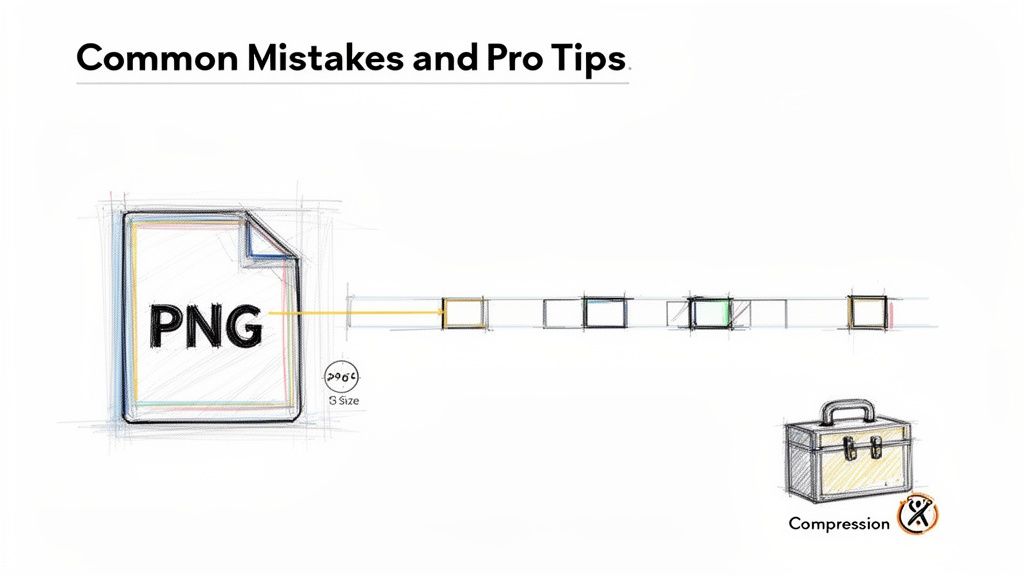
Getting your WebM file converted into a PNG sequence is really just the first step. The true craft lies in making sure those PNGs are high-quality, efficient, and actually ready to use in a real project. I’ve seen this go wrong more times than I can count, where a few simple mistakes can completely derail a workflow, leaving you with massive files and stuttering animations.
One of the most common blunders I see is completely ignoring file size. Because PNG is a lossless format, it doesn't take much for a sequence from even a short video to balloon into gigabytes of data. People export thousands of uncompressed frames and suddenly have a folder so massive it slows their editing software to a crawl or gets rejected by upload limits. Trust me, it turns a quick task into a huge headache.
Another classic issue is mismatched frame rates. If your source WebM is a slick 60 frames per second (fps) and you export the PNG sequence at a choppy 24 fps, the final animation is going to look jerky and just plain wrong. That disconnect between the source and the output is a dead giveaway of a rushed or inexperienced conversion.
Fine-Tuning Your PNG Sequence
To sidestep these problems, you absolutely need to spend a little time on post-conversion cleanup. Once you have your raw PNG sequence, don't just throw it into your project folder and call it a day.
First thing’s first: compress the images.
Tools like TinyPNG or ImageOptim are lifesavers here. They can easily shrink PNG file sizes by 50-70%—sometimes even more—without any visible loss in quality. This one step makes your entire sequence so much lighter and faster to work with.
Here’s a quick optimization checklist I run through:
- Batch Compress: Drop the entire sequence into a compression tool. This slashes the overall folder size and makes everything more manageable.
- Verify Frame Rate: Always double-check that the frame rate you extracted at matches what your project needs for playback.
- Organize Your Files: Keep your PNG sequences in folders with clear, logical names.
project-name_shot-01_v1is infinitely better thanfinal_frameswhen you're searching through thousands of files.
Pro Tip: If you're going for that classic film aesthetic, exporting at 24 fps is the way to go. But for high-energy social media clips or silky-smooth UI animations, it's usually best to stick with the original 30 or 60 fps of the source video to maintain that fluid motion.
Managing Large Frame Counts
When your WebM to PNG conversion spits out thousands of individual files, organization isn't just nice—it's essential. A simple, sequential naming convention (like frame_0001.png, frame_0002.png, etc.) is non-negotiable. Thankfully, most good tools, including FFmpeg, do this for you automatically.
This numbering is what allows video editing software to recognize the files as a cohesive animation. Without it, you just have a chaotic mess of images instead of a usable asset. A bit of discipline with your file management at the start will save you from hours of frustration down the line. By following these tips, you're not just converting your files; you're truly optimizing them.
Common Questions on Converting WebM to PNG
When you're dealing with file conversions, especially when quality and transparency are critical, a few questions always pop up. I get asked these all the time, so let's clear up any confusion and get you confident in your workflow.
How Can I Make Sure My PNG Sequence Has a Transparent Background?
Getting that clean, transparent background is usually the main reason you're doing this in the first place. For it to work, one of two things must be true: either your source WebM file already has an alpha channel (which is common with the VP9 codec), or you need a tool that can remove the background for you.
The simplest route is using a tool built specifically for this. For example, a service like VideoBGRemover uses AI to automatically knock out the background from your WebM. When you export the result as a PNG sequence, every single frame comes out with perfect transparency. They're immediately ready to drop into a project in Adobe After Effects or another editor. On the other hand, if you're using a more technical tool like FFmpeg, it will typically preserve transparency by default if it's already present in the WebM source file.
Will I Lose Quality When Converting WebM to PNG?
Nope, you shouldn't see any quality loss. The PNG format is lossless, which is a technical way of saying it’s designed to keep 100% of the original image data. It doesn't throw anything away.
When you pull frames from a WebM video and save them as a PNG sequence, each frame is a perfect, high-fidelity snapshot. This is exactly why professionals choose it over a lossy format like JPG, which can introduce compression artifacts and soften the image. Just remember, the final quality depends on the source—start with a sharp WebM, and you'll get sharp PNGs.
Think of it this way: using PNG for frame extraction is like creating a digital negative for each frame. You're preserving every single pixel just as it was in the original video.
What’s the Best Frame Rate for My PNG Sequence?
This one completely depends on what you're using the images for. There's no single "best" frame rate, but there are some solid rules of thumb.
- For Smooth Motion: If you're creating a digital ad or a social media video and need fluid, realistic movement, stick with the source video's frame rate. This is usually 30 or 60 frames per second (fps).
- For a Cinematic Vibe: Going for a more artistic or film-like look? The industry standard is 24 fps.
- For Static Images: If you just need a few high-quality stills for a website banner or a tutorial, you can drop the rate way down to something like 1 fps (one frame per second). This will dramatically cut down on the number of files you have to manage.
Tools like FFmpeg give you granular control over this. You can use a simple command like -r to set the exact rate you need for the job.
Can I Convert Just a Specific Part of a WebM Video?
Absolutely. You don't have to convert the entire clip from beginning to end. This is a huge time and space saver, especially when you only need a key moment from a much longer video.
With a command-line tool like FFmpeg, you can pinpoint the exact segment you want. The -ss command sets the start time (like 00:00:15 to start 15 seconds in), and the -t command defines how long the segment should be (e.g., 5 for five seconds of footage). Some online converters also offer basic trimming tools, letting you drag a selection bar over the part of the video you want to process before you hit "convert."
Ready to create stunning, transparent video assets without the headache? With VideoBGRemover, you can turn any WebM, MP4, or MOV file into a professional-grade transparent PNG sequence in just a few clicks. Try it free today at https://videobgremover.com and see just how easy it is to level up your content.
Ready to Remove Your Video Background?
See a free preview before you buy.
No credit card required • Free preview on every video