Remove Video Background Online A Practical Guide
Learn how to remove video background online with this practical guide. Get professional results using AI tools, with expert tips and creative ideas.
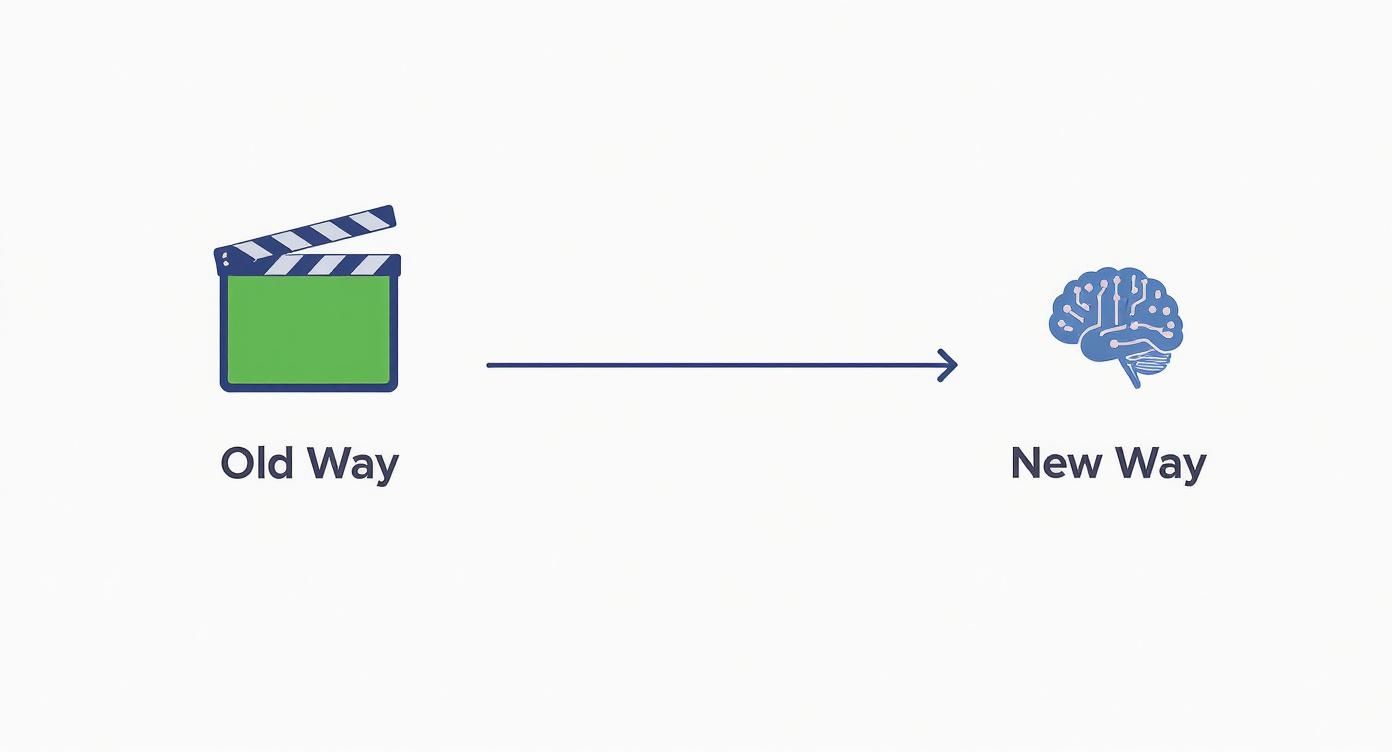
Getting rid of a video background used to be a real headache. You needed a green screen, a bunch of special lights, and some serious skills in programs like Adobe Premiere Pro. It was a huge barrier for anyone who wasn't a professional editor.
Thankfully, those days are over. AI tools have completely changed the game, making it possible for just about anyone to get a clean, professional-looking video cutout. It’s not just a time-saver; it’s a total creative unlock.
A Game-Changer for Creators
Think about what this means for different people. Suddenly, you have a ton of new options that were never practical before.
For Marketers: You can shoot a product demo on a desk and instantly place it in a slick, virtual showroom. No more renting out expensive studios.
For Social Media Influencers: That messy bedroom in the background? Gone. Now you can transport yourself to a tropical beach or a minimalist loft with just a few clicks.
For Teachers and Trainers: You can easily put yourself right on top of your presentation slides, making your lessons far more engaging and personal.
This isn't just a niche trend—it's a massive shift in video production. The market for this kind of software was already valued at around USD 1.2 billion in 2023 and is expected to explode to nearly USD 4.7 billion by 2033. That kind of growth tells you just how many people are jumping on this. You can see more market trend insights to understand what's fueling this demand.
The real win here is getting your time back. Instead of spending an entire afternoon tediously tracing around a subject frame by frame, you can get a great result in minutes. This lets you focus on what actually matters—being creative.
A Practical Walkthrough for Flawless Results
Jumping into an online tool to remove a video background should feel easy, not intimidating. Let's walk through the actual process, step-by-step, to make sure you get a clean, professional-looking cutout every single time. It really all starts with picking the right video clip.
Think of it like cooking: the better your ingredients, the better the final dish. You'll want to select a video where your subject is well-lit and clearly stands out from whatever is behind them. High-resolution footage, like 1080p or 4K, gives the AI a lot more data to analyze, which almost always results in a cleaner, more precise edge. Once you have the right clip, getting it into the tool is usually just a simple drag-and-drop.
The Initial AI Processing
This is where the real magic happens. After your clip is uploaded, the AI gets to work, meticulously analyzing every single frame. It identifies the main subject—whether that's a person, a product, or even your pet—and carefully separates it from the background. You don't have to do anything here except sit back for a few moments while it processes.
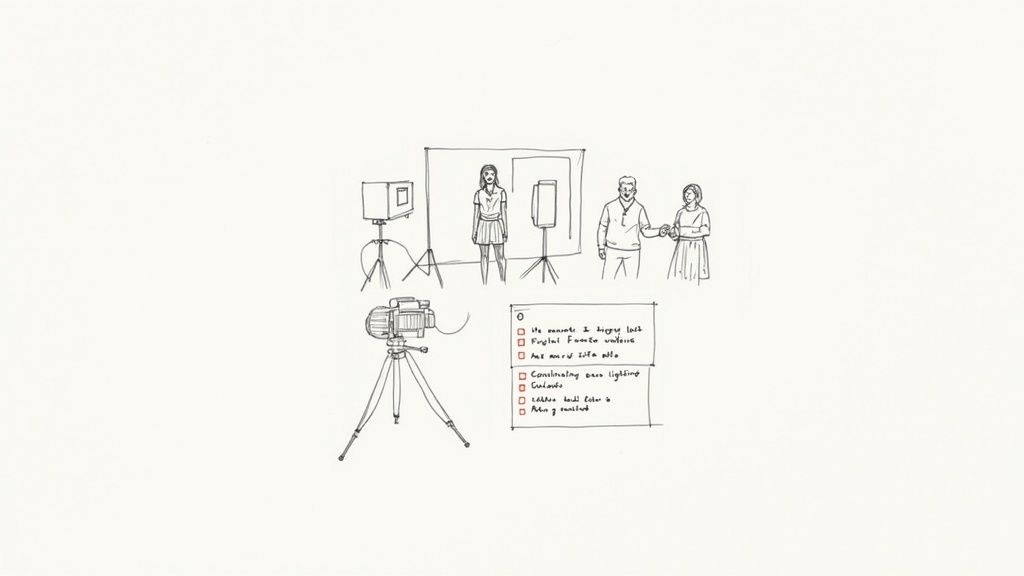
This infographic really captures the shift from the old, complicated methods to today's AI-powered workflows.
As you can see, AI completely removes the need for special gear like green screens, making high-quality results faster and more accessible for everyone.
Refining and Customizing Your Video
Once the AI has done its initial pass, you'll see a preview of your subject on a transparent background. This is your chance to fine-tune the results. Most quality tools, including VideoBGRemover, give you options to perfect the cutout.
Here are a few common adjustments you’ll want to look for:
- Soften Edges: This is a big one. A little "feathering" around the edges helps your subject blend more naturally into a new background, avoiding that harsh, "cut-out" look.
- Choke or Expand: These tools let you slightly shrink or grow the border of your cutout. This is perfect for cleaning up any stray background pixels or bringing back parts of the subject that might have been accidentally clipped.
Pro Tip: When you remove a video background online, always check the preview against both a light and a dark background. It's the best way to spot tiny imperfections around the edges that you might miss on the standard transparent grid.
Now that your subject is perfectly isolated, you can drop in a new background. This could be a solid color for a sleek corporate video, a branded graphic for a marketing campaign, or even another video for some dynamic social media content. While there are many fantastic platforms out there, it's a good idea to explore the best AI tools with video background removal to find the one that fits your workflow perfectly.
Exporting Your Final Masterpiece
You're at the finish line! The last step is exporting your project. Any good online service will give you several export options. A standard MP4 file is perfect for direct uploads to social media or your website. On the other hand, a transparent format like MOV or WebM is absolutely essential if you plan to use the cutout as an overlay in other video editing software.
If you're just getting started with video editing, checking out the best free video editing software for beginners is a great way to find tools that can help you practice and perfect these skills without any initial cost.
Just choose the format you need, hit export, and your professional-looking video is ready to share.
How to Film for the Best AI Cutout
Getting a flawless result when you remove a video background online starts long before you even hit the upload button. From my experience, the quality of your source video is the single biggest factor in how well the AI can isolate your subject.
Think of it this way: garbage in, garbage out. If you feed the AI clean, clear footage, you'll get a clean, clear cutout.
The Secrets: Good Lighting and High Contrast
Your best friend in this process is good, consistent lighting. Bright, even light across your subject gets rid of harsh shadows, giving the AI a crisp, defined edge to work with. If your footage is dark, grainy, or has flickering lights, the algorithm gets confused. This often results in a messy, shimmering outline that looks unprofessional and is a nightmare to clean up later.
Contrast is just as important. You have to make it easy for the AI to see the difference between your subject and what's behind them. Avoid wearing a blue shirt against a blue wall, for example. The goal is to create as much visual separation as possible. This is the same logic behind a traditional green screen, though thankfully modern AI gives you way more flexibility.
If you want to dive deeper into the principles, our guide on becoming a green screen creator is a great resource.
Why a Steady Camera Matters
Finally, do everything you can to keep your camera still. A tripod is always the best option, but even propping your phone against a stack of books on a stable surface works wonders. Why? Shaky, handheld footage introduces motion blur. That blur softens the edges of your subject, and the AI will replicate that softness, leaving you with an amateur-looking cutout.
My Takeaway: You absolutely don't need a Hollywood budget. I've seen incredible results from a smartphone in a well-lit room. Just focus on high contrast and a steady base, and you'll give the AI everything it needs for a perfect cutout.
To make things crystal clear, here’s a quick-reference table I put together based on what works and what doesn't.
Filming Best Practices for AI Background Removal
| Element | Do (For Best Results) | Don't (Avoid This) |
|---|---|---|
| Lighting | Film in a bright, evenly lit space to minimize shadows. | Avoid backlighting or recording in dark, grainy conditions. |
| Contrast | Wear colors that stand out from your background. | Don't wear clothes that match or blend with the wall behind you. |
| Stability | Use a tripod or keep the camera completely still. | Avoid handheld, shaky footage that creates motion blur. |
Following these simple guidelines when you're filming will save you a ton of headaches later and ensure your final video looks sharp and professional.
Creative Ways to Use Your Background-Free Video
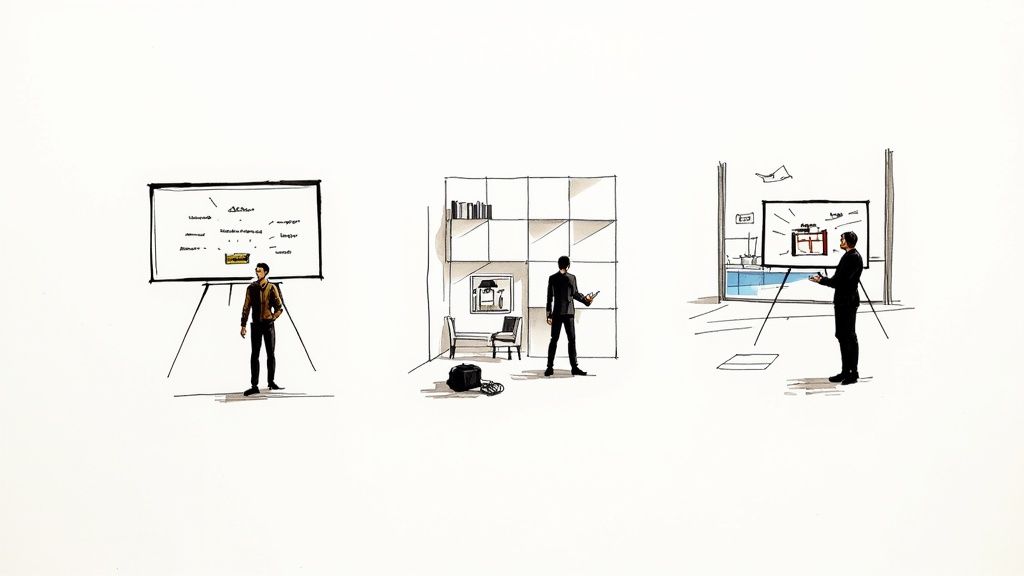
Once you’ve figured out how to remove a video background, you've unlocked a ton of creative potential. The real magic isn't just in what you take away—it's what you can now put in its place. Your physical location is no longer a creative boundary.
This is a huge deal for marketers. Picture this: you film a quick product demo at your desk, and in minutes, you can drop that footage into a slick virtual studio that perfectly matches your company's branding. You’ve just created a polished ad without spending a dime on location scouting or studio time.
The same goes for educators and trainers. Instead of being a tiny talking head in the corner of a slide deck, you can place yourself directly onto the slides. This makes your tutorials and presentations feel way more personal and keeps your audience engaged with the key information you're sharing.
Elevate Your Social Media Content
For social media creators, this technique is a total game-changer. The freedom to swap backgrounds on a whim means you can produce videos that are more imaginative and guaranteed to stop the scroll.
- Fake a Trip: Stuck at home? Film yourself and then drop in some stock footage of a bustling Parisian street or a serene beach. It’s a clever way to produce travel-style content without ever booking a flight.
- Create Surreal Scenes: Make yourself look tiny standing on a giant book or have yourself walking on clouds. These kinds of mind-bending visuals are exactly what gets attention on platforms like TikTok and Instagram Reels.
- Polish Up UGC: One of the best applications is taking user-generated content and giving it a professional sheen. A clean background can make a simple testimonial video look ten times better, which is crucial after understanding what UGC video is and its impact.
The real trick is to think beyond just filling a void. Your new background should add to your story. It’s another tool you can use to communicate your message and hold your viewer's attention.
With that perfect cutout, you essentially have a blank canvas. If you want some more ideas to get the wheels turning, checking out how to change a video background can give you the inspiration you need for your next big project.
Navigating Common Hiccups & Pro-Level Fixes
Even with powerful AI, you'll sometimes run into results that aren't quite perfect. When you're removing a video background, a few common glitches can pop up, but the good news is they're almost always fixable with a little know-how.
One of the most frequent issues I see is fuzzy or flickering edges around the subject. This often looks like a shimmering or "crawling" effect, and it usually means the AI had a tough time distinguishing a clean line between your subject and the background, often due to low contrast or tricky lighting in the original shot.
Dialing in a Flawless Cutout
Your first line of defense is always the source footage. Is there a way to reshoot with better lighting or more separation between the subject and the background? Fixing it at the source will always give you the best result. But if going back to the camera isn't an option, you still have powerful tools at your disposal.
Most background removers offer a few key refinement settings. Here’s what I reach for first:
- Edge Feathering: This is my go-to for making a cutout look natural. Adding just a touch of softness to the edge helps blend your subject seamlessly into a new scene and does a fantastic job of hiding those tiny imperfections.
- Choke/Expand: Think of this as fine-tuning your mask's boundary. Use the "choke" or "contract" tool to subtly shrink the mask, which gets rid of any stubborn background pixels clinging to the edge. "Expand" does the opposite, which can be useful if the AI was a bit too aggressive and clipped part of your subject.
The real mark of a pro is knowing how to handle the tough stuff, like fine hair or see-through objects. For hair, a gentle feathering effect is non-negotiable. For semi-transparent items, you might have to accept a slightly imperfect cutout—that's one of the biggest challenges for today's AI.
Smart Tricks for Faster Processing
Finally, let's talk about performance. If you're stuck waiting for a long video to process, don't just sit there. A simple but effective trick is to chop your video into smaller, more manageable clips.
It’s way faster to process a five-minute segment than a full one-hour video. Once each piece is done, you can easily stitch them back together in any video editor. This little bit of prep work can save you a massive amount of time.
Common Questions Answered
Do I really need a green screen for this to work?
Nope, and that’s the magic of it. You can completely skip the hassle of setting up a green screen. These modern tools are built with AI smart enough to identify you (the subject) and separate you from whatever is going on in the background.
It doesn't matter if you're in a cluttered office, sitting in your living room, or even outside. The software does the heavy lifting, which is a huge leap from the old-school, tedious methods.
What kind of video files can I use?
You're pretty much covered with all the standard formats. Most of these online removers handle the big ones without any issue:
- MP4
- MOV
- AVI
- WebM
That said, it never hurts to double-check the specific tool's website before you start an upload. They'll usually list any file size limits or less common formats they support, which can save you a headache later on.
Is this going to ruin my video's quality?
Not if you use a quality tool. The best online background removers are designed to process your video and spit it out without any noticeable drop in quality. You can typically export your final cut in the same resolution you uploaded it, whether that's HD or even 4K.
The real secret to a crisp final video is starting with good source material. A high-resolution, well-lit video will always give you the best results.
Ready to give it a shot and see just how easy it is to get that professional look? Try VideoBGRemover for yourself. You can get started right away at https://videobgremover.com.
Tagged with
Ready to Remove Your Video Background?
See a free preview before you buy.
No credit card required • Free preview on every video