How to Edit Videos for Instagram Like a Pro
Learn how to edit videos for Instagram with our ultimate guide. Get practical tips for creating engaging Reels, Stories, and feed videos that stand out.
Editing your Instagram videos is so much more than just slapping on a filter. It's about carefully trimming your clips to create a snappy pace, framing everything perfectly for vertical screens, and polishing the color and sound until it pops. The real goal? Craft a video so polished and engaging that it stops the scroll in the first three seconds.
Why Polished Instagram Video Edits are Non-Negotiable Now
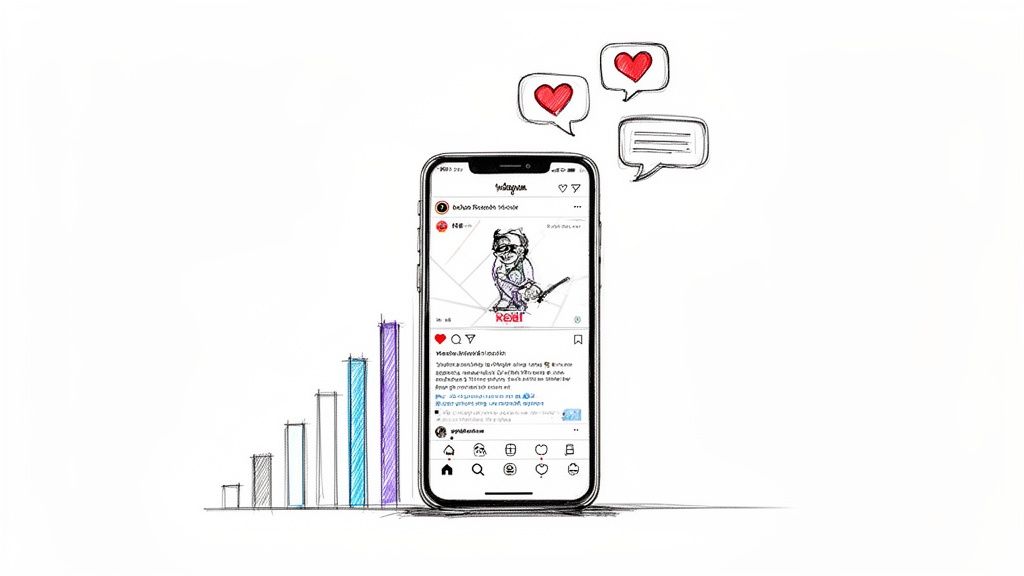
Let's be real: just uploading raw footage and hoping for the best doesn’t cut it anymore. The Instagram algorithm is designed to reward content that holds people's attention, and a sharp, well-paced edit is your ticket to getting noticed. When you put in the effort, it shows professionalism and respect for your audience's time, which is huge for building trust and getting those likes and comments.
The move to short-form video has completely changed the game. Instagram’s own numbers reveal that Reels now make up over 50% of the time users spend on the app. That’s a massive clue about what people want to see. Influencers are seeing a 2.08% engagement rate on their Reels, completely overshadowing the 0.42% for regular video posts. That difference is what fuels serious audience growth.
Great Tools Have Leveled the Playing Field
Forget the old idea that you needed a Hollywood-level studio. Today, incredibly powerful editing tools are available right on your phone and desktop, many of them for free. It’s never been easier to create content that looks amazing. This guide is your complete playbook for doing just that.
Mastering a few core editing skills isn't just a nice-to-have anymore—it's essential for anyone serious about growing on Instagram. A clean, dynamic edit can make all the difference in how far your content reaches and how deeply it connects with your followers.
We're going to walk through the entire workflow, from the initial idea all the way to hitting "post." You'll learn the practical skills you need to know, from the basics of trimming to the finer points of color and audio. By the end, you'll understand exactly how to make professional-looking videos that turn simple clips into stories that get results.
Planning and Shooting for an Effortless Edit
The real secret to a slick, professional-looking Instagram video has almost nothing to do with your editing software. It all starts before you even press record. Getting the planning and shooting right is what separates a frustrating, all-day editing session from a smooth, creative flow that actually gets results.
Think of it this way: you’re gathering your ingredients before you start cooking. Start by brainstorming ideas that your audience will actually care about. What’s trending in your corner of the internet? What audio clips are popping off? Most importantly, what value can you offer? A video that solves a problem or provides a quick hit of entertainment is always going to win.
Pre-Production Saves Post-Production Headaches
Once you’ve landed on a solid concept, sketch out a simple shot list. Seriously, even for a quick 15-second Reel, knowing the exact shots you need to capture will save you from that frantic feeling of "what do I film next?" This is especially true for tutorials or any video where the sequence of events matters.
Your plan can be as simple as three bullet points on a notepad:
- The Hook: What happens in the first 1-3 seconds to make someone stop scrolling? This is everything.
- The Core Message: The meat of your video—the tutorial, the story, the big reveal.
- The Call-to-Action (CTA): What do you want them to do? Follow you? Click a link? Leave a comment?
Having this roadmap makes filming so much more focused and the eventual edit ten times easier.
Nailing the Shot with Just Your Phone
You don’t need a fancy cinema camera. Your smartphone is more than capable of capturing incredible footage if you just nail the fundamentals.
First, focus on lighting. Good lighting is non-negotiable. The easiest and best option is almost always soft, natural light from a window. Just face the window and let it light up your shot. Try to avoid harsh overhead lights inside, as they create weird, unflattering shadows.
Next, think about audio. Your phone’s built-in mic is okay, but clear audio makes you sound so much more professional. A simple lavalier mic that clips to your shirt is a game-changer and surprisingly affordable. If you don't have an external mic, find the quietest room you can, away from refrigerators or air conditioners, to get the cleanest sound possible.
Finally, keep it steady. No one likes watching shaky, nauseating footage. A small, cheap tripod is one of the best investments you can make. In a pinch? Just prop your phone against a stack of books or a coffee mug.
The golden rule: always, always shoot vertically. Instagram is a vertical world. For Reels and Stories, the 9:16 aspect ratio is king. Framing your shots for a vertical screen from the get-go means you won’t have to awkwardly crop things out later.
Taking a few extra minutes to get these details right during the shoot saves you from hours of trying to "fix it in post." For a deeper dive into shooting with your phone, our guide on how to film TikTok videos has a ton of great tips that are just as relevant for Instagram.
Your Core Instagram Video Editing Workflow
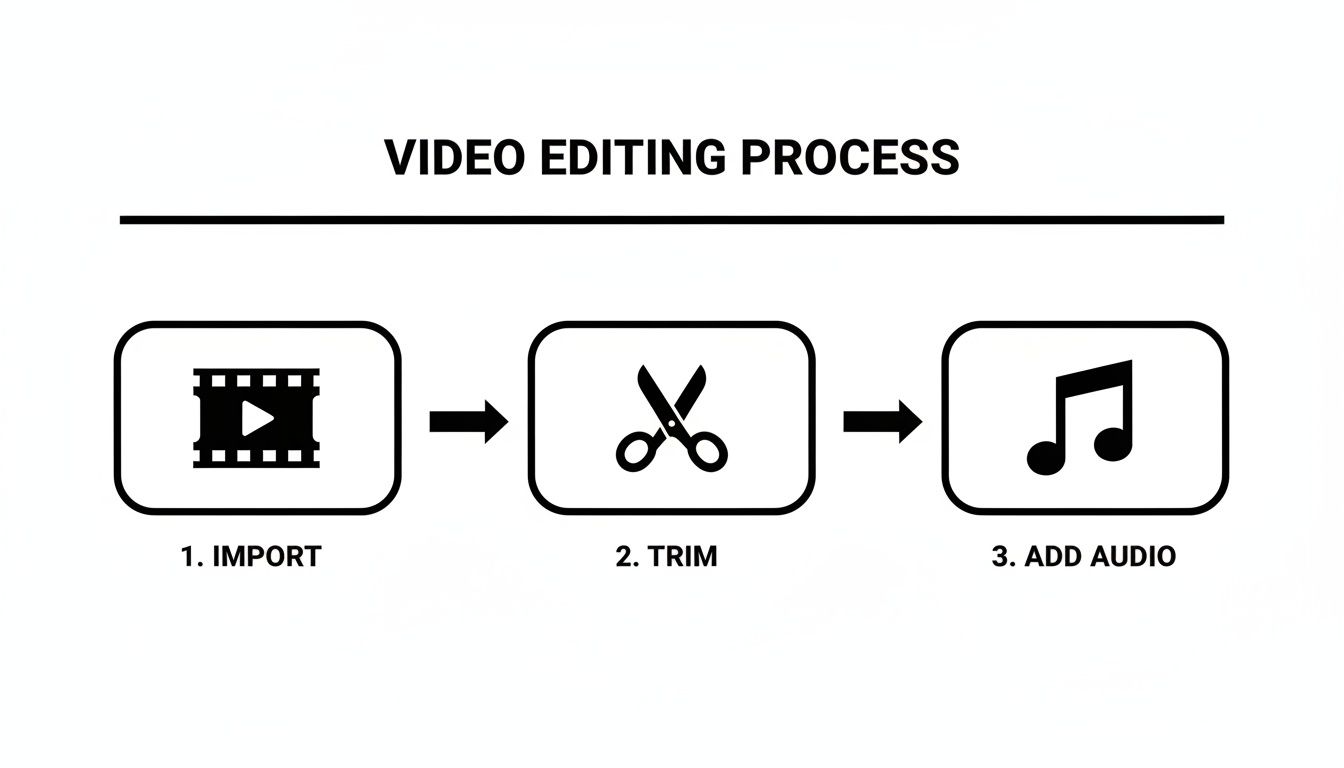
Alright, let's get into the heart of it—the actual editing. Whether you're piecing together a Reel on your phone during your morning commute or settling in at your desktop for a more complex project, the core ideas are the same. A reliable workflow is what separates a folder full of random clips from a polished, captivating video.
For editing on the go, apps like CapCut or even the native Instagram editor are surprisingly powerful. Your focus should be on the fundamentals: trimming the fluff from the beginning and end of your clips, using the split tool to make snappy cuts, and playing with speed to inject some energy or drama. If you're working from a desktop, programs like DaVinci Resolve or Adobe Premiere Pro give you much more granular control, which is a lifesaver for organizing bigger projects with layers of video and sound.
Building a Story with Pacing and Cuts
Your first task as an editor is to be ruthless. Cut out every single second of dead air or unnecessary footage. The whole point is to create a dynamic pace that keeps people watching. For a standard Instagram Reel, this often means making a new cut every 1-2 seconds. It sounds quick, but that rapid-fire rhythm is what gives top-performing Reels their addictive, hypnotic feel.
Think of every cut as a new piece of information for your audience. Show the setup, then immediately cut to the action. Jump from a tight close-up to a wide, establishing shot. This constant visual variety keeps the viewer’s brain hooked and prevents them from scrolling away out of boredom. Nailing this is fundamental to learning how to edit videos for Instagram that actually get seen.
Instagram video is a beast. It accounts for 60% of the time people spend on the app, and the algorithm now recommends over 50% of content via AI. This has led to a 24% jump in user session times since Reels launched. That's why sharp, precise editing isn't just a nice-to-have; it's your only shot at standing out among the 140 billion+ Reels played every single day.
When it comes to transitions, simple is almost always better. A clean, straight cut is your best friend. Those cheesy star wipes or slow dissolves can make your video look dated instantly. However, a subtle zoom, a quick slide, or a clever match cut—where one object seamlessly morphs into another—can add a touch of professional polish that really makes your work shine.
Mastering the Power of Sound
On a platform driven by trending audio, sound is easily half the battle. The most viral Reels almost always sync their visual cuts perfectly to the beat of a popular song. Put on your headphones, listen closely, and time your edits to land on the kick drum, the snare hit, or the main downbeat. This creates a deeply satisfying rhythm that just feels right to the viewer.
But don't stop at music. A well-placed voiceover can add a powerful dose of personality and storytelling. You can record this right inside your editing app or, for cleaner audio, record it separately and import it. As you get more advanced, you might find yourself needing a specific sound effect or dialogue snippet from another clip. Learning how to extract audio from video files is a game-changer for this.
Just remember to mix your audio levels properly. Your voiceover should be crisp and clear, with the music providing atmosphere in the background, not drowning you out.
Elevate Your Look with Professional Backgrounds
One of the fastest ways to make your Instagram videos look more polished is to simply change the background. Let's be real—a cluttered office or a distracting scene behind you can instantly take viewers out of the moment. By swapping it out, you seize creative control and can turn an everyday shot into something that looks like it was made in a studio.
And no, you don't need a green screen or complicated software anymore. AI tools have made this technique incredibly straightforward. You can cleanly isolate yourself from whatever is behind you, opening up creative doors that used to be locked for anyone without a pro editor's budget.
Your Quick Guide to Background Removal
Getting this done is often as easy as uploading your clip. When you use an AI video background remover, the technology does the heavy lifting—analyzing your footage, figuring out where you are, and neatly cutting you out. There’s no need to spend hours manually tracing frames; the AI is smart enough to handle tricky details like hair and motion.
This is a more advanced edit, but it builds on the same fundamentals of any good video workflow: getting your footage in, trimming it down, and adding the final touches.
Once the tool has worked its magic, you'll get a preview of your clip with a transparent background. From there, it's ready to be dropped onto any new backdrop you can imagine.
Practical Uses for a Cleaner Look
The possibilities here are pretty much endless, and they tie directly into what grabs attention on Instagram.
- Product Demos: Show off your product against a clean, branded color instead of your spare bedroom.
- Tutorials: Layer your facecam over a screen recording to give your instructions a more personal, engaging feel.
- Advertisements: Film a quick clip of someone using your product, then place it into a slick, professionally designed ad with motion graphics and text. It's a shortcut to high-impact creative without the cost of a full-blown production.
For advertisers, this is a total game-changer. It means you can create dynamic social media ads on the fly.
Instagram Reels are a massive part of the platform, with over 2 billion active monthly users engaging with them. What's more, videos that clearly show a person see a 25% higher click-through rate. Cleanly removing the background is a key step in making sure you, the creator, are the focus.
By removing the background, you’re not just cleaning up a shot; you’re creating a reusable asset. The exact same clip can be repurposed for a dozen different campaigns just by changing what's happening behind you. This kind of flexibility saves a ton of time and helps you pump out more high-quality content, faster.
Adding the Final Polish to Your Video

The difference between a good video and a great one often lies in that last 10% of effort. After you’ve nailed the cuts and pacing, it’s the finishing touches—color, sound, and text—that give your content a professional sheen and help it pop in a crowded feed.
Creating a Consistent Visual Mood
You don't need to be a professional colorist to make your footage look fantastic. The easiest starting point is using filters (often called "LUTs" in more advanced software) to set a consistent vibe. Whether you want something warm and cinematic or cool and modern, a good filter can get you most of the way there in a single click.
If you want more granular control, it’s time to jump into the manual color settings. You'll be surprised how a few subtle tweaks can make a massive impact.
- Brightness & Contrast: I often start by gently lifting the brightness to make the whole scene feel more airy, then I'll add a touch of contrast to make my subject pop from the background.
- Saturation: A slight boost here can make colors more vibrant and eye-catching. Just be careful—push it too far, and your video will look unnatural and cheap.
- Temperature: This is all about emotion. Shifting the slider toward yellow adds warmth for a cozy, inviting feel, while moving it toward blue creates a cooler, more serious tone.
Fine-Tuning Your Audio Mix
Audio is half the experience. Seriously. Poor sound quality can make people scroll away faster than a bad visual. The goal is to create a balanced mix where every sound feels intentional. I like to think of it as a three-layer cake: the voiceover is the main flavor, music is the rich filling, and sound effects are the sprinkles on top.
Your primary audio, like someone speaking, should always be front and center. The music needs to sit comfortably underneath it, present enough to add energy but not so loud that it's distracting. Knowing how to add music to Instagram videos correctly is a game-changer for engagement. From there, little sound effects—a "swoosh" on a transition or a "ding" for a text pop-up—add that extra layer of polish that makes the edit feel dynamic and high-quality.
Captions and CTAs Are Not Optional
A massive number of people watch Instagram videos with the sound off. This makes your on-screen text and captions absolutely critical, not just for accessibility but for basic comprehension and retention.
Your captions need to be bold, clear, and easy to read against any part of your video. A pro tip is to place a semi-transparent solid color block behind your text to ensure it’s always legible.
Don't just add captions—style them. Use your brand's font and colors to create a cohesive look. This small detail reinforces your brand identity and makes your content instantly recognizable.
Finally, every video needs a point. What action do you want the viewer to take? End with a clear and concise call-to-action (CTA). A simple text overlay that says "Follow for more tips," "Shop the link in bio," or "What do you think? Comment below!" guides your audience on what to do next. This simple prompt dramatically increases the chance they'll engage instead of just scrolling on.
Exporting and Posting for Maximum Impact
All that time spent perfecting your edit can go right out the window with a bad export. Instagram is notorious for aggressively compressing video, which can quickly turn your beautiful, crisp footage into a pixelated mess. The trick is to give the platform a file that it barely has to touch.
Think of it like handing a chef a perfectly prepped set of ingredients versus a bag of groceries. When you export with the right settings, Instagram’s algorithm has far less work to do, and that means less quality loss for you. This is the final, crucial step to making sure your video looks as good on the app as it does in your editor.
The Optimal Export Recipe
Before you hit that render button, take a moment to dial in these settings. This is the sweet spot between maintaining high quality and creating a file size that Instagram can handle without freaking out and compressing it to death.
Here’s my go-to checklist for a flawless export every time:
- Format: Stick with MP4. It's the universal standard and exactly what Instagram wants to see.
- Codec: Always use the H.264 codec. It’s the workhorse of web video for a reason, offering the best balance of quality and file size.
- Resolution: Keep it at 1080p width (so, 1080x1920 for a vertical Reel or Story). Exporting in 4K is tempting, but it's total overkill and just gives Instagram more data to crush.
- Frame Rate: Match the frame rate you shot and edited in. For most social content, this will be 30 frames per second (FPS).
- Bitrate: This one's important. I aim for a variable bitrate (VBR) with a target of 3-5 Mbps. It's high enough to look sharp but low enough to fly under the radar of Instagram's heavy compression.
Nailing these settings is your best defense against the platform's infamous quality degradation.
Your Strategy After the Upload
A technically perfect video is a great start, but how you actually post it is what determines who sees it. First up, your caption. It’s your chance to provide context, ask a question, or tell a quick story. That first line is everything—it needs to be a hook that stops the scroll.
Next, you've got to be smart about hashtags. I find a mix of broad, high-volume tags (like #videotips) and smaller, niche tags (like #capcutediting) works best. This strategy helps you reach both a wide audience and the specific people you want to attract. A solid mix of 5-10 highly relevant hashtags is plenty.
Your cover photo is the "thumbnail" of your Instagram video. Don't just let the app pick a random, blurry frame for you. Scrub through the timeline to find the most dynamic, eye-catching moment, or better yet, upload a custom-designed cover that tells people exactly what the video is about. This single choice can make a huge difference in whether someone taps to watch.
Finally, think about timing. When is your audience actually online and scrolling? Dive into your Instagram Insights to find your peak hours and post then. And don’t sleep on features like the collaboration tool—co-posting with another creator can instantly double your potential reach. It’s these final strategic touches that ensure your beautifully edited video gets the views it deserves.
Got Questions About Editing Instagram Videos? We’ve Got Answers.
Even with the best plan, you're bound to run into a few questions along the way. Getting your Instagram videos just right means jumping over a few technical hurdles and making some key creative calls. Here are some quick-fire answers to the questions I hear most often from other creators.
What’s the Absolute Best Video Format for Instagram Reels?
You'll want to export your video as an MP4 file. For the guts of the file, stick with the H.264 codec for video and AAC for audio—it's the universal standard and what Instagram prefers.
To keep things looking crisp, lock in a 9:16 aspect ratio (that’s 1080x1920 pixels) and a smooth 30 FPS (frames per second). I've found that keeping the video bitrate between 3 and 5 Mbps is the sweet spot; it preserves quality without getting totally crushed by Instagram's compression algorithms.
How Can I Add Trending Audio After I've Already Edited My Video?
This is a classic problem, but the solution is simple: do it right inside the Instagram app. Go ahead and edit your entire video in your app of choice—CapCut, Premiere Pro, whatever you use—but export it without any music.
Once you upload that silent or voice-only clip to Reels, tap the 'Audio' icon at the top. From there, you can search for that trending track everyone's using. This is the best way to do it because Instagram properly credits the sound, which can give your Reel a serious visibility boost. You'll also get a slider to perfectly balance the volume of your original audio against the new music.
Is It Really Possible to Remove a Video Background Without a Green Screen?
Yes, 100%. Forget the complicated green screen setups. Modern AI tools are designed to handle this exact task, and they do it surprisingly well.
You can take a video you shot in a messy office, your backyard, or literally anywhere else, and the AI can pinpoint and erase the background for you.
This technology lets you download a video with a transparent background (perfect for overlays) or swap in a totally new background image or video. It’s an absolute game-changer for creating clean product demos, polished tutorials, or sharp-looking ads without needing a dedicated studio. It's all about making pro-level editing accessible to everyone.
Ready to create stunning, professional-looking videos with clean backgrounds in just a few clicks? Try VideoBGRemover today and see how easy it is to elevate your content. Start editing for free on videobgremover.com.
Tagged with
Ready to Remove Your Video Background?
See a free preview before you buy.
No credit card required • Free preview on every video