A Guide to a Free Online Video Background Remover
Discover how to use a free online video background remover to create professional videos. This guide shares actionable advice and pro tips for amazing results.
Ever wonder how creators pull off those videos with slick, custom backgrounds without a fancy studio setup? The secret is often a free online video background remover. These AI-powered tools are a huge help for marketers, small businesses, and social media creators, making expensive equipment a thing of the past.
Why Online Video Background Removers Are So Popular
The push for high-quality video is stronger than ever, but let's be real—most people don't have a green screen or professional editing software lying around. This is exactly where AI background removers come in. They make polished video possible for anyone with an internet connection. Their popularity isn't just a fleeting trend; it’s a genuine shift in how we create content.
The market for these tools is booming, valued at approximately USD 1.2 billion in 2024. This isn't surprising when you consider the growing demand for digital content tools across marketing, education, and remote work. In fact, projections show the market could hit USD 3.5 billion by 2033.
Making Professional Video Accessible to Everyone
Not too long ago, replacing a video background was a job for someone with technical skills and expensive software. Now, online tools do the heavy lifting for you, automatically. This opens up a ton of creative possibilities.
- E-commerce Stores: Think clean, professional product demos or marketing ads with branded backdrops.
- Remote Workers: You can finally have a custom, professional background for your video calls without a physical setup.
- Social Media Creators: Make your TikToks, Reels, or Shorts stand out with dynamic, attention-grabbing visuals.
The real magic of a free online video background remover is that it levels the playing field. It gives individuals and small teams the power to produce studio-quality content without needing a studio budget.
While these tools are fantastic for visuals, it’s worth checking out how other AI tools for content creators are changing the entire creative process. This guide is your first step toward making incredible videos for free.
How to Prepare Your Video for Flawless Results
Before you even touch a free online video background remover, spending just a few minutes prepping your shot can make a night-and-day difference. It's a simple truth I've learned from experience: the quality of your source video directly dictates how well the AI can separate you from what’s behind you. Think of it as giving the software a serious head start.
My single biggest tip? Film against a plain, single-color background. A blank wall is your best friend here, and it will always outperform a cluttered bookshelf or a busy living room. The fewer distractions the AI has to sift through, the cleaner and more professional your final cutout will look. This one change dramatically cuts down on those pesky glitchy edges and weird artifacts.
Nail Your Lighting and Stability
Great lighting isn't just a suggestion; it's a must. You need to be lit clearly and evenly, which helps create a sharp, distinct silhouette against the background. One common mistake is having strong lights behind you—this creates a silhouette that can completely confuse the software. Your main goal is to make your outline as crisp as possible.
Here are a few more tips I always follow to get my footage ready:
- Steady Your Shot: Motion blur is the enemy of clean background removal. Always use a tripod or prop your camera up on a stable surface. Any shakiness will blur the lines between you and your background, leading to a sloppy result.
- Choose Contrasting Clothes: This one seems obvious, but it’s easy to forget. If you’re standing in front of a white wall, don't wear a white shirt. The more contrast, the better.
- Check Your File Size: Sometimes high-resolution videos are just too big for online tools to handle. If you hit an upload error, it’s not a dead end. Try using one of the best video compressors to shrink the file size without sacrificing too much quality.
Ultimately, the less work the AI has to do to find you, the better your final video will look. A few minutes of prep can save you a ton of editing headaches down the line.
By keeping these simple guidelines in mind, you’re setting yourself up for a polished, professional-looking video every single time.
Putting a Free Video Background Remover to the Test
Alright, let's get our hands dirty and see one of these free online video background removers in action. I'll walk you through how I typically tackle this, turning a messy, real-world clip into something sharp and professional. You'll see just how simple it is—these tools are built for creators, not necessarily for seasoned video editors.
Getting Your Video into the System
First thing's first: you have to upload your footage. Every tool I've used has a big, obvious "Upload Video" button right on the homepage. Find your file—most support common formats like MP4 or MOV—and select it.
The moment you upload, the AI kicks in. It meticulously scans every single frame, figuring out what's you (the subject) and what's the cluttered office or messy bedroom behind you. You’ll usually see a progress bar chugging along as it works its magic.
This automated step is the real game-changer. It's no wonder that over 70% of graphic designers and marketers now use AI-powered removers in their regular workflows. We're seeing them everywhere in social media ads and e-commerce product videos because they're just so effective. For a deeper dive, check out some insights on the rise of AI background removal tools on superagi.com.
Swapping in a New Background
After a minute or two, you’ll get a preview. Your subject will be isolated against a transparent background, which usually looks like a gray and white checkerboard. This is your blank slate. Now the fun begins.
Most platforms give you a handful of options right away:
- Pick a Solid Color: This is my go-to for creating clean, branded content where the focus needs to be entirely on the subject. Think simple product demos.
- Use a Stock Image: Many tools offer a library of built-in images, like a professional office setting, a calm nature scene, or abstract patterns.
- Upload Your Own Background: This is where you get truly creative. You can drop in your own branded graphics, a specific location photo, or even another video to layer behind your subject.
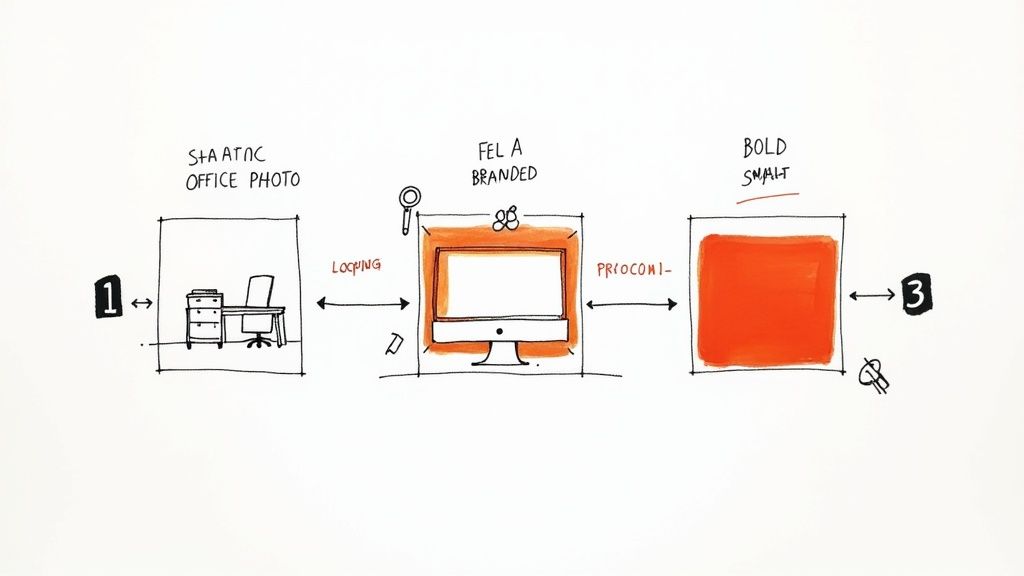
This infographic breaks down a few key things to do before you even hit upload. Getting these right makes a world of difference in the final quality.

Honestly, paying attention to good lighting and a stable camera from the start saves so much headache later and helps the AI do its job almost perfectly.
Finishing Up and Exporting
Once you're happy with the new look, it's time to export. You'll usually get a few choices for the final file, like MP4 for general use or GIF if you're making something for social media. If you need a more integrated workflow, exploring free visual suite options like Canva can be a great next step, as they often bundle background removal with a whole host of other design tools.
A quick pro tip: Always pick a background that supports your message, not one that screams for attention. The best background replacement feels natural and keeps the focus right where it belongs—on your subject.
How to Choose the Perfect New Background
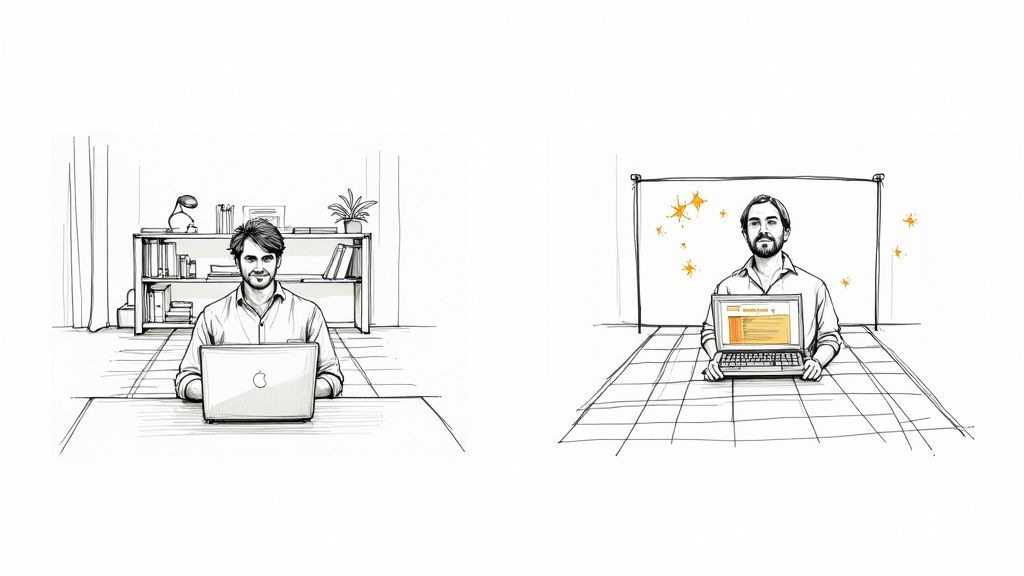
So, you’ve stripped away the original background. Now comes the fun part: deciding what to put in its place. This is where your video really starts to take shape, but it’s more than just dropping in a cool picture. The background you choose sets the entire tone and context for your message.
Think of it this way. A sleek, minimalist office scene instantly positions you as a professional for a business presentation. But if you’re creating a high-energy ad for Instagram, a dynamic graphic pulsing with your brand colors will grab way more attention. Your new background has to serve the video's purpose, not just fill a void.
Matching Your Background to Your Goal
There’s no one-size-fits-all answer here; the "best" background is whatever aligns with what you're trying to achieve. This need for customized, professional-looking content is a huge driver behind the background removal software market, which hit a value of USD 1.2 billion in 2023. You can even read more about this rapidly expanding market on datahorizzonresearch.com.
Let’s look at a few common scenarios I see all the time:
- Teaching or Tutoring: Stick with something simple and clean. A solid color or a very subtle abstract pattern ensures your audience focuses on the lesson, not what’s behind you.
- Showing Off a Product: Your background should make the product the hero. A crisp white backdrop is classic, but a lifestyle image showing the item in a real-world setting can be even more compelling.
- Building Your Brand: This is valuable real estate! Use a background that features your logo, brand colors, or a key tagline from your current marketing campaign.
The most effective new background feels intentional. It should look like it was part of the original shot, enhancing your message without overpowering you as the subject.
Picking a replacement is a key step, and knowing how to effectively change your video background puts you in the director's chair. You can opt for static images, seamless video loops, or upload your own custom assets for a truly unique look.
Choosing the Right Background Type for Your Video
To get the best result, it helps to understand your options. A static image works differently than a video loop, and each has its place. This table breaks down the common choices to help you decide what fits your project.
| Background Type | Best For | Pros | Cons |
|---|---|---|---|
| Solid Color | Educational content, corporate headshots | Simple, non-distracting, professional, easy to match brand colors | Can look flat or uninspired if not done well |
| Stock Image | Business presentations, vlogs, explainers | Wide variety, can add context and a high-production feel | Can look generic, risk of using the same image as a competitor |
| Custom Graphic | Branded marketing, ads, social media clips | Unique to your brand, reinforces brand identity, highly creative | Requires design skills or resources to create |
| Video Loop | Product demos, ambient scenes, social media | Adds dynamic movement, more engaging, looks professional | Can be distracting if too busy, requires a high-quality video file |
Ultimately, making a thoughtful choice about your new background is what separates an average video from a polished, powerful one. It’s a simple edit that makes a huge impact.
Pro Tips for a Truly Professional Finish
Getting a decent result from a free online video background remover is pretty easy. But taking it from "good enough" to "wow, that looks real" is all about mastering the little details. The real magic happens when your new background looks like it was part of the original shot.
One of the most common dead giveaways of a replaced background is that subtle, flickering "halo" you sometimes see around the subject. It’s especially noticeable around hair and happens when there isn't enough contrast between your subject and the original background. The best way to beat this is to fix it before you even start editing—simply improve the lighting on your subject when you're filming.
Create a Cohesive Scene
The biggest mistake I see people make is a lighting mismatch. If your subject is clearly lit like they're in a dark office, dropping them onto a bright, sunny beach background just won't work. That visual clash instantly shatters the illusion and screams "fake."
To make your composite believable, take a moment to really look at the lighting in your new background image or video. Where is the light coming from? What color is it? How harsh or soft is it? Matching these qualities on your subject is what sells the effect.
If you really want to level up your game, it helps to understand how the pros do it. Even if you're not using a physical screen, learning the fundamentals of a traditional setup can make a huge difference.
Check out our guide on how to be a green screen creator to see the principles in action. Understanding concepts like subject separation and motivated lighting will help you create a final video that looks seamless and impressive, not just pasted together.
Got Questions? We’ve Got Answers.
Jumping into a new tool always brings up a few questions. When it comes to something like a free online video background remover, most people have the same curiosities about quality, file types, and what “free” really means. Let’s tackle some of the most common ones I hear.
One of the first things everyone asks is, "Will the final video actually look good?" The short answer is yes, but the quality of your output is directly linked to the quality of your input.
Think of it this way: if you give the AI a blurry, low-resolution clip, it has less information to work with, and the final result will look a bit soft. For the cleanest, sharpest background removal, always start with the highest quality footage you have.
Will My Video Format Work?
This is a big one. Nobody wants to go through the hassle of converting files if they don't have to. The good news is that most online tools are built to handle the video formats you're already using every day.
You're almost always good to go with the most common types:
- MP4: This is pretty much the universal standard for web video.
- MOV: A high-quality staple, especially if you're working on Apple devices.
- WebM: A great, modern format that's optimized for online use.
If you happen to have a more obscure file type, a quick run through a video converter is usually all you need to get it ready for upload.
So, Are These Tools Really Free?
This is a perfectly fair question. In most cases, the "free" part covers all the fun stuff—the processing and the previewing. You can upload your video, watch the background vanish, and even play around with different new backgrounds, all without spending a dime.
The catch, if you can call it that, usually comes when you're ready to download. Many services, ours included, work on a freemium or pay-per-export model. This lets you see the final result and make sure you love it before you decide to download the full, watermark-free version.
It's a "try before you buy" approach that puts you in control. You get to test the tool on your own footage, risk-free, and only pay when you know you've got a winner.
Ready to see it in action? Give VideoBGRemover a try and create some incredible videos with just a few clicks. Upload your first clip for free at https://videobgremover.com.
Tagged with
Ready to Remove Your Video Background?
See a free preview before you buy.
No credit card required • Free preview on every video