video backgrounds green screen: Tips for Flawless Results
Learn how to master video backgrounds green screen with expert lighting, setup, and post-production tips for flawless, professional results.
You’ve seen it a thousand times, even if you didn't realize it. That news anchor standing in front of a swirling weather map? That YouTuber reviewing a movie with clips playing behind them? That’s the magic of a green screen.
A green screen video background is simply an image or video clip that you swap in to replace a solid-colored backdrop—usually a bright, vibrant green. This process, called chroma keying, is what lets you transport yourself to literally any environment imaginable, all from the comfort of your own space.
Your Background Is a Blank Canvas
Think of a green screen as a digital stage. It gives you complete control over your video's setting, turning a spare room into a professional studio, a bustling cityscape, or even the surface of Mars.
The classic example is the TV weather report. The meteorologist is just standing in front of a plain green wall. The broadcast software is programmed to find every pixel of that specific green color and replace it with the animated weather graphics we see at home. It’s a simple but powerful illusion, and it's more accessible today than ever before.
Why Every Creator Needs to Master This
Learning how to use a green screen isn't just for Hollywood special effects teams anymore. It’s a fundamental skill for content creators, marketers, and independent filmmakers looking to stand out.
- Boost Your Production Value: A clean, professional background instantly makes your content look more polished and high-budget, without the associated costs.
- Gain Total Creative Control: You’re no longer limited by your physical location. You can establish consistent branding for a video series or build entire fantasy worlds from scratch.
- Shoot Anywhere, Anytime: Forget the expense and hassle of travel, location scouting, or building elaborate sets. Your perfect backdrop is just a digital file away.
This isn't just a niche skill, either. The global market for green screen gear was valued at around $1.2 billion in 2023 and is projected to more than double by 2032. That explosion in growth shows just how critical high-quality, flexible video production has become. You can dive deeper into these green screen market trends to see just how big this is getting.
Ultimately, knowing your way around a green screen is a non-negotiable skill for anyone serious about making compelling video content. It’s the key to creating visuals that grab your audience and refuse to let go.
How to Build Your Green Screen Studio
Putting together a professional-looking green screen setup has less to do with a Hollywood budget and more to do with understanding a few key principles. Honestly, with the right materials, some thoughtful lighting, and the correct camera settings, you can build an effective studio almost anywhere. Let's walk through the essential components to turn a simple room into a portal for any video backgrounds green screen you can dream up.
Your first big decision is the backdrop itself. This is the foundation of your entire virtual set, and the material you pick directly impacts the quality of your final video. You've got three main options, and each has its own set of pros and cons depending on your space and needs.
The journey from filming to the final product is pretty straightforward: you shoot your footage, tell your software to remove all the green (a process called "keying"), and then drop in your new background.
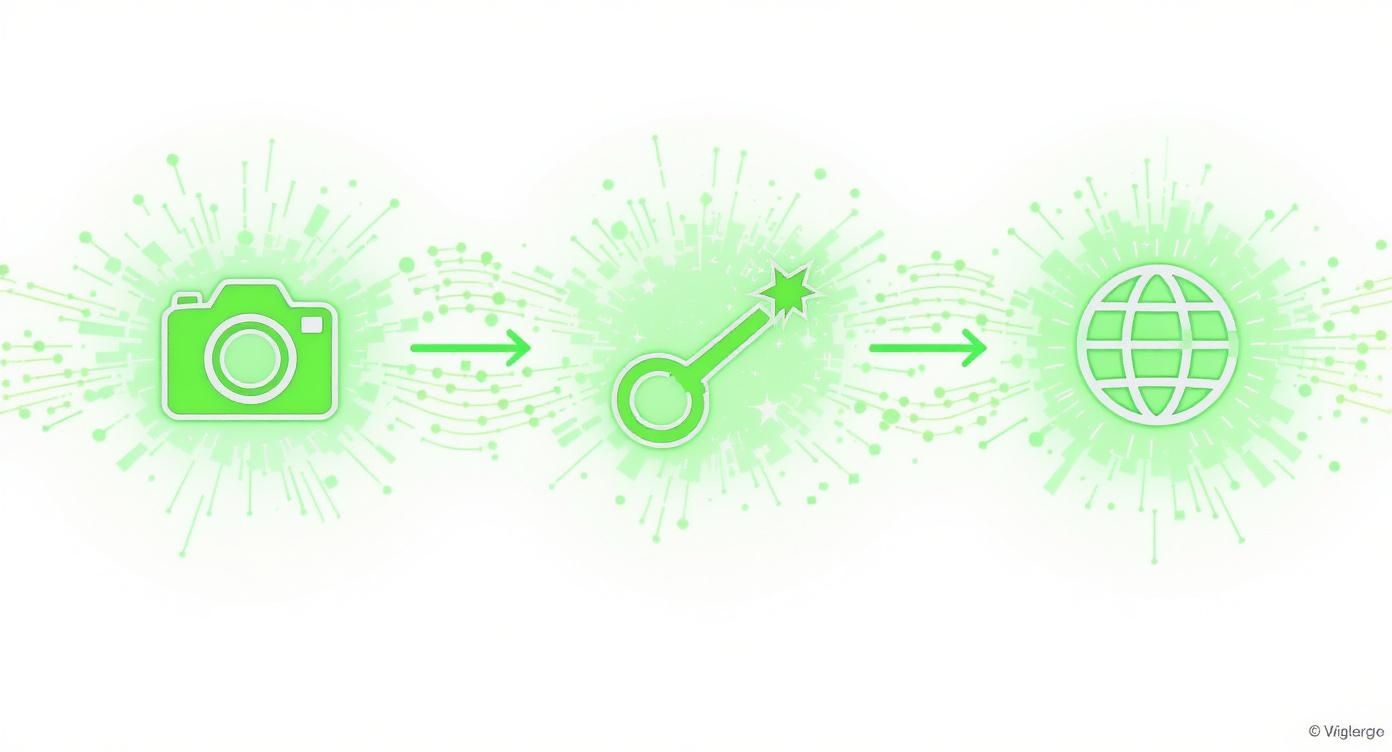
As you can see, the real magic happens during the keying and transformation stages, and a clean, well-lit initial shot is what makes that magic possible.
Selecting Your Screen Material
Choosing the right material is a critical first step. What works best for you will come down to your budget, how much space you have, and how often you'll be shooting.
Here's a quick look at the most common green screen materials to help you decide which is the right fit for your projects.
Green Screen Material Comparison
| Material Type | Pros | Cons | Best For |
|---|---|---|---|
| Fabric Screens | Portable, affordable, and easy to set up and take down. | Prone to wrinkles which create shadows and disrupt keying. | Beginners, creators with limited space, or those who need a mobile setup. |
| Paper Rolls | Perfectly smooth, non-reflective surface for clean keying. | Less portable, can be easily torn or get dirty. | Small to medium-sized studios looking for consistent, high-quality results. |
| Chroma Key Paint | Creates a durable, perfectly flat, wrinkle-free surface. | A permanent solution; not flexible if the space has multiple uses. | Dedicated studio spaces where the green screen will be used frequently. |
Each option can give you great results, but starting with the right one for your workflow will save you a lot of headaches down the line.
The Critical Role of Lighting
If the green screen is the foundation, then lighting is the whole structure built on top of it. Poor lighting is the #1 reason green screen effects look amateurish. The goal isn't just to blast the scene with light; it's about creating even illumination across your backdrop and your subject, treating them as two separate elements.
You absolutely must light the green screen and your subject independently. This is the golden rule for getting a clean key.
First, light your screen. You'll want at least two soft, diffused lights, placing one on each side and pointing at the screen from a 45-degree angle. This setup is designed to kill shadows and eliminate "hot spots" (areas that are visibly brighter), ensuring the green is a single, uniform color for your software to target.
Here's the core idea: your editing software is looking for one specific shade of green to remove. Any little variation from shadows or bright spots will confuse it, leading to a messy, blotchy composite that screams "fake."
Once your background is perfectly flat and even, you can light your subject. A classic three-point lighting setup is perfect for this. It involves a key light (your main light), a fill light (to soften shadows on your subject), and a backlight (to create a crisp edge that separates them from the background). Try to match the lighting on your subject to the lighting in your intended background—it’s a subtle trick that makes the final shot feel much more believable. For a complete walkthrough, our guide on how to use a green screen digs into these steps even further.
Dialing In Your Camera Settings
Your camera is the final piece of this puzzle. Getting the settings right from the start will make your life in the editing suite so much easier. The two biggest enemies of a good key are motion blur and digital noise.
- Shutter Speed: Go with a faster shutter speed than you might normally use. A great starting point is to double your frame rate (for example, if you're shooting at 24fps, set your shutter to 1/50). This keeps your subject's edges sharp and clean, even when they're moving.
- ISO: Keep your ISO as low as you possibly can. A high ISO introduces grainy digital noise, which your keying software can mistake for texture, resulting in a glitchy, poor-quality effect.
- Aperture (f-stop): It helps to have a slightly deeper depth of field, which keeps both your subject and the screen in sharp focus. An aperture somewhere around f/4 to f/5.6 is usually a safe bet.
Positioning Your Subject For Success
Finally, where you place your subject in relation to the screen is massively important. Make sure to position them at least six to ten feet away from the green screen. This distance is crucial for two big reasons.
First, it prevents the green light from bouncing off the screen and casting a nasty green glow on your subject. This is an issue called "spill," and it's a real pain to fix in post-production.
Second, that distance keeps your subject from casting their own shadow onto the screen. Even with flawless screen lighting, a person standing too close can block the light and create a dark spot, ruining that perfectly even surface you worked so hard to achieve. Proper positioning is a simple but powerful step that solves several major problems before they even start.
Choosing the Perfect Video Background
So, you've nailed the hard part. Your footage is shot against a perfectly flat, evenly lit green screen. Now the real fun begins. You're staring at a blank canvas, ready to drop yourself into any environment you can possibly imagine.
The background you choose does more than just fill the green space. It’s a silent character in your story—it sets the mood, provides context, and tells the viewer how they should feel about your message. Picking the right one is a mix of technical know-how and pure creative instinct. Get it wrong, and the illusion shatters. But get it right, and you can elevate your video to a truly professional level.
Static Image or Dynamic Video?
Your first big decision is whether to use a still image or a moving video for your backdrop. There's no "better" option here; it all comes down to what you're trying to achieve.
Static Image Backgrounds: These are your go-to when you need a clean, professional look without any distractions. Think about a news broadcast or a corporate training video. The focus has to be on the speaker, and a simple, high-quality image of an office or studio keeps it that way. They’re also less demanding on your computer.
Dynamic Video Backgrounds: A moving background can breathe life and realism into your scene. A subtle office buzz in the distance, clouds slowly drifting by a window, or a soft-focus city street makes your shot feel far more immersive. This is the perfect choice for vlogs, product demos, or any content where you want to create a tangible sense of place.
Sourcing High-Quality Backgrounds
The internet is flooded with background options, but the quality is all over the map. To keep your video looking polished, you need assets that are sharp, well-lit, and free of ugly compression artifacts. Sites like Adobe Stock, Envato Elements, and Storyblocks are treasure troves of royalty-free video loops and virtual sets made just for this.
The real trick is finding a background that feels authentic. A generic, overused stock clip can look just as cheap as a low-resolution one. Hunt for unique angles and natural lighting that add realism without stealing the show.
Technical and Creative Considerations
Just because a background looks cool doesn't mean it will work. For a believable composite, your background has to match your main footage on a technical level. Mismatches are a dead giveaway that you used a green screen.
Technical Checklist:
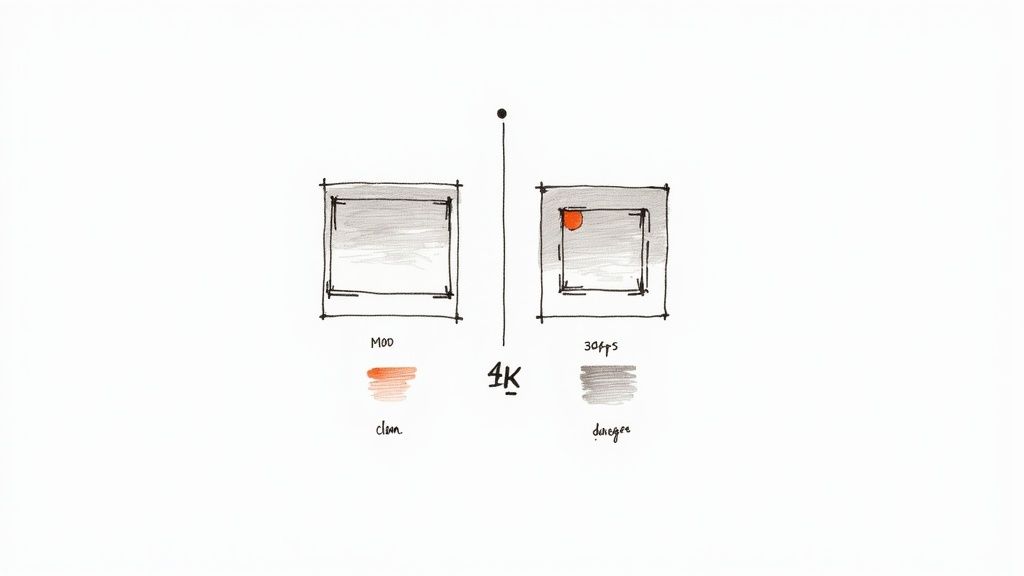
- Match the Resolution: If you shot your footage in 4K, your background must also be in 4K. Dropping a 1080p background behind a 4K subject results in a blurry, pixelated mess that screams "fake."
- Synchronize Frame Rates: Check that your background's frame rate (e.g., 24, 30, or 60 fps) is the same as your primary footage. If they don't match, you can get stuttering or motion that just looks… off.
- Align Lighting and Perspective: This one is huge. Pay close attention to the light in the background. If the sun is coming from the right in your background plate, you better have lit your subject the same way. The camera angle needs to match, too—don't place a high-angle shot of yourself against a low-angle city-scape.
In the end, the goal is to make it all feel seamless. The background should support your story, not fight for attention. A thoughtfully chosen asset makes the final video feel completely natural. This is an essential skill, especially if you want to create videos without showing your face, where the setting carries even more weight.
For more ideas, check out our guide to video backgrounds for green screen to get some inspiration for your next project.
Mastering Chroma Keying in Post-Production
https://www.youtube.com/embed/OCt1ijvfVr8
Once you've wrapped up the shoot and have your footage, it's time to head into your editing software. This is where the real magic of using video backgrounds green screen begins. The technique is called chroma keying, and it’s all about digitally isolating that specific shade of green and making it disappear.
Think of it as having a special key that unlocks only one color. By telling your software to target that bright green, you essentially make it transparent, revealing whatever you place behind it. This is how you take your subject from a studio and drop them into a completely new environment, creating a single, seamless shot.
Just about every modern video editor has a solid chroma key tool built right in. Whether you're working in professional-grade software like Adobe Premiere Pro or DaVinci Resolve, the core idea is the same, even if the tools have slightly different names like "Ultra Key" or "3D Keyer."
The Core Chroma Keying Process
Getting a clean, professional-looking key isn't a one-click deal; it's a process of careful refinement. You'll start by telling the software which color to remove and then dial in the settings to clean up the edges and details. The first step is usually as simple as using an eyedropper tool to click on the green screen. Poof! The background vanishes.
But that initial result is almost never perfect. To get it looking truly professional, you'll need to fine-tune a few key parameters.
- Tolerance or Sensitivity: This slider tells the software how picky to be. A higher tolerance will remove more shades of green—great for getting rid of shadows—but if you push it too far, it might start nibbling away at your subject.
- Edge Refinement: This is all about cleaning up the outline of your subject. You can soften or "feather" the edges just a little to help them blend into the new background instead of looking like a harsh, sticker-like cutout.
- Spill Suppression: Ever notice that faint green halo on a subject's hair or shoulders? That’s light bouncing off the screen, and this tool is designed to fix it. It intelligently removes that "spill" by shifting the color on the very edges of your subject.
If you're looking for a more in-depth tutorial on one of the most popular editors, our guide on how to use chroma key in Premiere Pro will walk you through every step.
Perfecting the Details for a Believable Composite
The real difference between an amateur-hour green screen shot and a professional one is all in the details. Once you’ve pulled your initial key, zoom in and really inspect the edges for any lingering imperfections.
A great green screen composite isn't about just removing the background; it's about seamlessly integrating your subject into a new world. The goal is for the viewer to forget a green screen was ever involved.
Hair is always the biggest challenge. Fine, wispy strands are tough for software to handle and can easily end up looking blocky or, worse, disappear entirely. This is where you have to patiently work with advanced settings like edge feathering and matte refinement. Getting the hair right can make or break the entire effect.
With your key looking clean, the final step is to bring it all together. Drop your new background footage onto the timeline layer directly underneath your subject. Now, play it back. Does it feel right? You’ll often need to apply some color correction to your subject to make them match the lighting and tone of the new background. This final step is what sells the illusion and makes two separate video clips feel like they belong in the same world.
Fixing Common Green Screen Headaches
Even the most carefully planned shoot can go wrong. Every creator has that moment of panic when a green screen issue pops up and threatens to derail the whole project. The good news? Most of these problems are incredibly common, and more importantly, totally fixable.
Instead of wrestling with flawed footage for hours in your editor, learning to spot these issues on set will save you a world of pain. Think of this as your troubleshooting field guide. We’ll walk through the most frequent challenges with video backgrounds green screen and give you clear, practical ways to solve them.
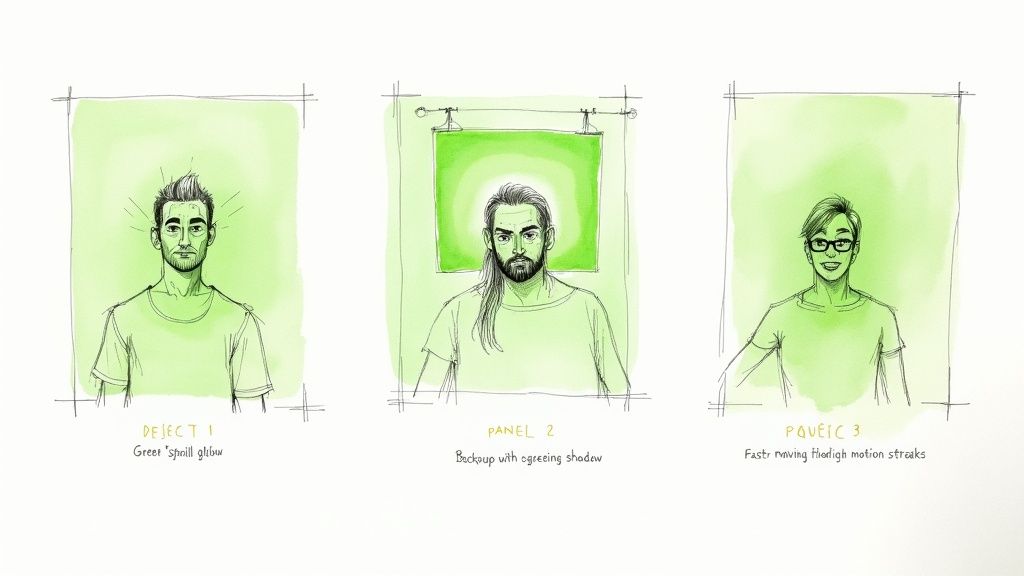
The Dreaded Green Spill or Glow
One of the most persistent gremlins you'll face is green spill. It’s that subtle green halo that clings to your subject, usually around their hair, shoulders, or on light-colored clothing. This happens when the bright light hitting your screen bounces back and contaminates your subject with a faint green reflection.
The Symptom: Your subject has a weird green outline that makes them look "cut out" and unnatural against your new background.
The Solution:
- Create Some Space: The easiest fix is to simply move your subject further away from the green screen. Getting them at least six to ten feet from the backdrop dramatically cuts down on the amount of light bouncing back onto them.
- Add a Backlight: A well-placed backlight (sometimes called a hair light or rim light) is a game-changer. It creates a crisp, thin line of light around your subject, physically separating them from the background and overpowering any pesky green spill. This gives your software a much cleaner edge to work with.
- Use Spill Suppression Tools: Pretty much all modern editing software has a "spill suppressor" built into its chroma key tool. It’s designed to hunt down and neutralize that green tint on your subject’s edges. Just be gentle with it—cranking it up too high can start to desaturate your subject’s actual colors.
Uneven Lighting and Hot Spots
If your green screen isn't lit consistently, your software is going to have a hard time. Shadows create dark green patches, and direct lights create bright "hot spots." This lack of a single, uniform color confuses the keying algorithm, leaving you with a messy, blotchy result that screams amateur hour.
The Symptom: After you apply the key, you see flickering patches of green in the background, or worse, parts of your subject turn semi-transparent.
The Solution: The trick is to light your screen and your subject as two separate things. Use at least two large, soft light sources, placing one on each side of the screen. This cross-lighting approach helps cancel out shadows and gives you that smooth, even color you’re looking for.
Remember, the goal isn't just to make the screen bright; it's to make it evenly illuminated. A perfectly flat, shadowless green is the secret sauce for a flawless key.
Dealing with Motion Blur
Motion blur is the arch-nemesis of a clean key. When your camera's shutter speed is too low, any quick movement—a hand gesture, a turn of the head—will create a blurry edge. Your software can't tell the difference between the blurred edge of your subject and the green behind them. This is what causes those chunky artifacts and glitchy cutouts when things start moving.
The Symptom: The key looks great when your subject is perfectly still, but the second they move, the edges get jagged and fall apart.
The Solution:
- Crank Up Your Shutter Speed: A faster shutter freezes motion, keeping those edges tack-sharp. A solid rule of thumb is to set your shutter speed to at least double your frame rate. For example, if you're shooting at 30fps, your shutter should be at least 1/60.
- Bring in More Light: The trade-off with a faster shutter is that it lets less light into the camera. To compensate, you'll need to add more light to your scene. This ensures you can capture that crisp motion without having to raise your ISO and introduce a bunch of grainy digital noise.
The Future Of Virtual Production Technology
Virtual production is branching out from the classic green screen. AI-driven and LED-based methods now let teams see their final shots as they film. This shift alters both on-set practices and post-production workflows.
Tools such as Zoom and OBS now include AI background removal built in. Without any physical backdrop, you can stream or record with a single click. That said, AI still stumbles on wispy hair and scenes with busy edges.
- Convenience of one-click removal for live streams
- Challenges with complex backgrounds and uneven lighting
- High CPU/GPU load that can affect performance
“Real-time AI keying is great for quick setups, but physical stages still deliver the highest fidelity,” says a veteran virtual production engineer.
Virtual Production With LED Walls
LED walls are rapidly becoming the preferred choice after green screens. Productions such as The Mandalorian use enormous LED arrays to create immersive environments. These screens track the camera, shifting perspective naturally in real time.
Features Of LED Walls:
- Real-time perspective correction through Unreal Engine
- On-set ambient lighting that matches your scene
- Substantial cuts in post-production editing
LED stages carry a higher price tag but reward you with unmatched realism. In fact, the Asia-Pacific region is leading this charge with a projected CAGR of 12.5%.
This surge is driven by booming digital content in India and China, where LED walls are replacing green screens. Learn more about these findings at https://www.accio.com/business/trending_green_screen
AI-Driven Browser Tools And Formats
A growing number of creators turn to browser-based platforms that combine AI removal with cloud rendering. These services let you drag in footage, apply a key, and swap backgrounds without installing software.
- Zero software installation on your workstation
- Batch processing for longer videos
- Flexible exports such as MOV ProRes 4444 and transparent WebM VP9
While edge cleanup often still requires desktop editing, AI noise reduction and spill suppression keep improving. As these features advance, many editors will adopt automated pipelines for routine work. To learn more about how artificial intelligence is influencing the future of visual effects and virtual production, you might find valuable information from resources like Auralume AI's advancements in virtual production.
Choosing The Right Virtual Workflow
When planning your next shoot, it helps to compare different setups side by side. Here’s an at-a-glance look at cost, speed, and quality:
| Workflow Type | Cost Level | Turnaround Speed | Quality |
|---|---|---|---|
| AI Browser Solutions | Low | High | Good to Very Good |
| Traditional Green Screen | Medium | Medium | Good |
| LED Virtual Stages | High | Fast | Outstanding |
Many studios blend methods—using LED walls for complex shots and AI clean-up for simpler takes. This hybrid model balances budget and visual impact.
Looking ahead, expect even tighter ties among AI algorithms, cloud services, and physical stages. Green screens will stay a cost-conscious option for years to come, but next-generation solutions will continue to democratize production workflows worldwide.
Got Questions? We've Got Answers
Diving into the world of green screens can feel a little tricky at first. It's totally normal to have a few questions. Let's walk through some of the most common ones so you can get started with confidence.
Why Green, of All Colors?
It might seem random, but there's a very practical reason we use that vibrant, almost neon green. It all comes down to contrast. On the color spectrum, green is one of the colors furthest away from human skin tones.
This separation makes it incredibly easy for video editing software to digitally select and remove only the green background, leaving the person in front of the screen perfectly intact. Blue is the runner-up and you’ll often see it used when a subject or their costume is green (think superheroes or aliens!).
Can I Just Hang Up a Green Bed Sheet?
While you can technically use a green sheet from your closet, you'll be fighting an uphill battle. Everyday fabrics are a nightmare when it comes to wrinkles, and every single one of those little creases will cast a tiny shadow.
These shadows and inconsistent colors make it much harder for your software to get a clean key. The result is often a glitchy, amateur-looking effect around your subject. For a smooth, professional look, a purpose-built, non-reflective screen or a well-painted wall is always the better choice.
Do I Need to Buy Expensive Editing Software?
Absolutely not. You don’t need to shell out big bucks for a professional editing suite just to use a green screen. These days, tons of free and budget-friendly video editors have fantastic chroma keying tools built right in.
For instance, the free version of DaVinci Resolve has powerful keying features that are more than enough for most creators. Honestly, your lighting and setup have a much bigger impact on the final result than the price of your software. A well-lit video will key out beautifully even with the most basic tools.
Tired of complicated setups? With VideoBGRemover, you can skip the green screen entirely. Our AI-powered tool removes your video background in minutes, giving you a perfect cutout without the hassle. Get studio-quality results with just one click at https://videobgremover.com.
Tagged with
Ready to Remove Your Video Background?
See a free preview before you buy.
No credit card required • Free preview on every video