How to Upload Video on Twitter Flawlessly
Learn how to upload video on Twitter with our complete guide. Get specs, optimization tips, and troubleshooting steps for maximum engagement on your posts.
Sure, uploading a video to Twitter is pretty simple. You click the little media icon, pick your file, maybe trim it a bit, and you're done. But let's be real—the real trick isn't just getting the video up; it's making something that people actually stop and watch.
Why You Can't Afford to Ignore Twitter Video
Before we dive into the nitty-gritty of the upload process, it’s worth taking a moment to understand why video is such a big deal on a platform as chaotic as Twitter. Your feed is a firehose of text and images, and most of it just flies by. Video is different. It’s the scroll-stopper.
Getting your video strategy right is more than just a technical skill; it’s how you win on Twitter today. The platform is built to reward dynamic, engaging content.
- Sky-High Engagement: People are just more likely to interact with a video—liking, replying, and retweeting.
- Better Storytelling: Trying to explain a complex idea or show off a new product? Video lets you do it in a way that static posts just can't match.
- Greater Reach: Twitter's algorithm loves native video, meaning it gets pushed into more feeds and discovery tabs, putting you in front of people who don't even follow you yet.
The numbers don't lie. Tweets with video pull in roughly 10 times more engagement than tweets without. When you're competing with 350,000 other tweets every single minute, that’s a massive advantage. You can dig into more of these fascinating Twitter stats on famewall.io.
Your goal isn't just to upload a video. It's to create a moment that turns a mindless scroller into someone who actually cares about what you have to say.
Think of it this way: every video you post should be a piece of a larger puzzle. By weaving your video content into your essential social media marketing strategies, you ensure each upload has a clear purpose. Whether you're building brand hype or driving sales, this approach turns a simple post into a smart, calculated move that gets results.
Prepping Your Video File for a Perfect Upload
A great video on Twitter starts long before you even open the app. Think of this initial prep work as your pre-flight checklist. Getting your video file formatted correctly is the secret to dodging frustrating upload errors and making sure your content looks sharp in the feed.
Before you get anywhere near the upload button, you need to check your video’s technical specs. Twitter has a specific rulebook, and ignoring it is the fastest way to get a failed upload or a pixelated, blurry mess. The goal is to hand Twitter a file it can process smoothly without having to use its own heavy-handed, quality-killing compression.
This infographic really drives home why taking a few extra minutes to prepare your video is worth the effort.
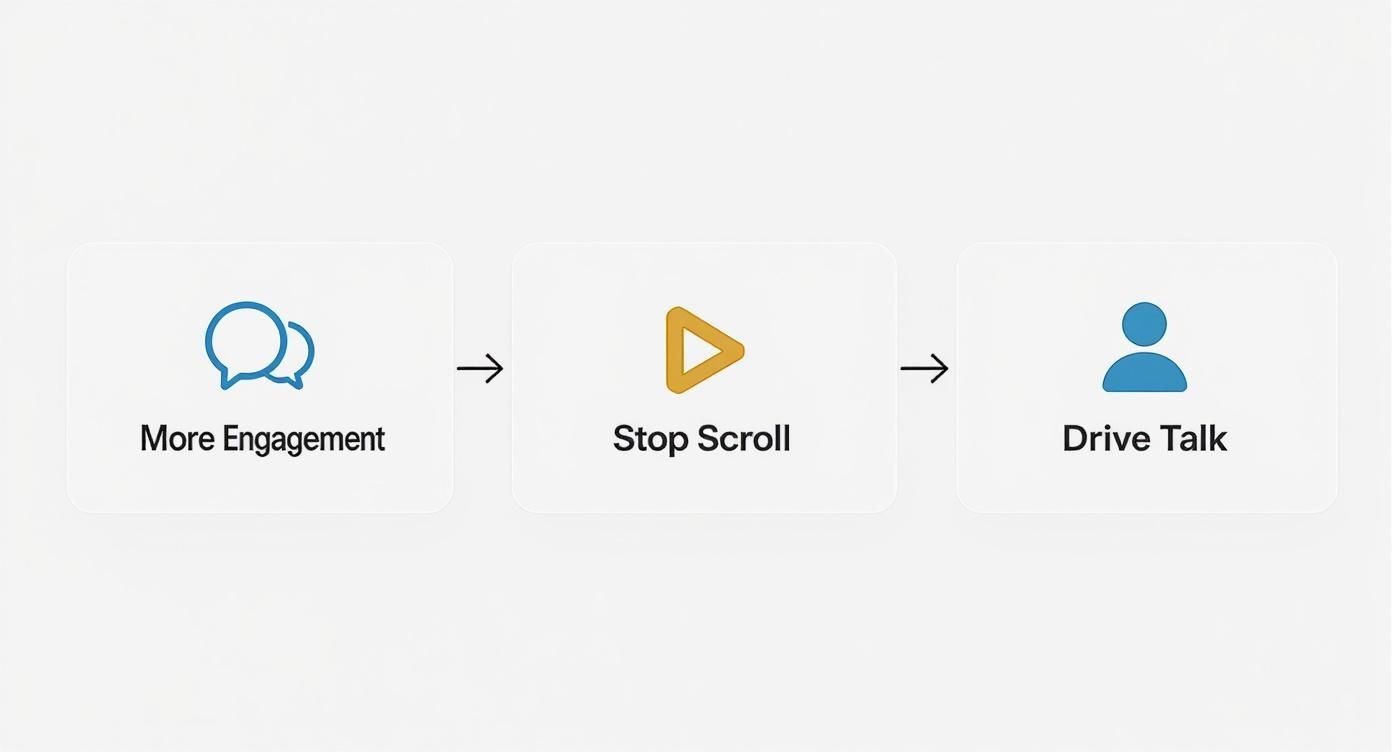
As you can see, a polished video directly fuels the engagement and scroll-stopping power that defines success on the platform.
Getting the Specs Right
Let's get into the nitty-gritty. For the best, most reliable results, you absolutely want your video to be in either MP4 or MOV format. These are the two file types Twitter officially gets along with, so sticking to them saves you a lot of potential headaches.
Inside that MP4 or MOV file, the video should be encoded with H.264 and the audio with AAC. Now, that might sound super technical, but don't sweat it. Pretty much all modern video editors, from iMovie to Adobe Premiere Pro, use these as the default settings. It's always a good idea to just double-check your export settings before you hit render.
My Two Cents: I always recommend aiming for a resolution of 1280x720 pixels (or 720p). Sure, you can upload in 1080p or even 4K, but Twitter is just going to compress it down anyway. Starting with a clean 720p file often gives you a better-looking final product after their algorithm has its way with it.
The Two Biggest Hurdles: File Size and Length
This is where things can get tricky and where most people run into an error message. Twitter's limits are strict, and they change depending on whether you're a standard user or a Premium subscriber.
Here’s a quick reference to keep you on track.
Twitter Video Upload Specifications at a Glance
| Specification | Standard User | Premium Subscriber |
|---|---|---|
| Max File Size | 512 MB | 16 GB |
| Max Video Length | 140 seconds | 4 hours (1080p) / 3 hours (4K) |
| Max Resolution | 1280x720 (720p) | 3840x2160 (4K) |
| Supported Formats | MP4, MOV | MP4, MOV |
| Recommended Codec | H.264 / AAC | H.264 / AAC |
As the table shows, a standard account is limited to videos of 140 seconds with a file size cap of 512 MB. Premium subscribers get a massive boost, with the ability to upload videos up to 4 hours long and 16 GB in size directly from the web. For a full deep-dive, you can explore the current Twitter video sizes for 2025 on postfa.st.
If your file is too big for your account type, you'll have to compress it. This simply means making the file smaller, but there's a delicate balance. You don't want to compress it so much that your video looks like it was filmed on a potato.
To nail this, check out our guide on the best video compressors. These tools are fantastic for shrinking your file down while keeping the quality as high as possible. Getting this step right is the key to a smooth, error-free upload every time.
Alright, with your video file prepped and ready to go, it’s time for the main event. Whether you’re posting from your laptop or your phone, the process is pretty similar, but each platform has its own little quirks and advantages. Let's break it down.
I find the desktop experience is perfect for more polished, planned-out content. Say you’ve just finished editing a slick promotional clip for a new product launch. Uploading from your computer gives you a much bigger screen to work with, making it far easier to nail the final details before you hit send.
The Desktop Upload Workflow
When you're on the Twitter (now X) website, just click the big blue "Post" button. A composer window will pop up, and you’ll see a media icon that looks like a little mountain landscape. Give that a click and select your video file.
This is what you'll see once your video is selected and ready for tweaking.
Once it's uploaded, you'll spot an "Edit" button right on the video thumbnail. This is your gateway to the trimmer and thumbnail selector, and honestly, this is where the desktop version really shines.
The built-in editor lets you handle a few key tasks:
- Trim Your Clip: You can drag the handles on the timeline to shave off the beginning or end. This is a lifesaver for cutting out any awkward pauses and getting straight to the good stuff.
- Pick a Custom Thumbnail: Don't let Twitter choose a random, blurry frame for you. You can slide through the entire video and pinpoint the most compelling image to be your video's first impression. A great thumbnail can make a huge difference in getting people to click play.
- Upload Subtitles: This is a big one. For accessibility and for everyone who watches with the sound off, you can upload a .SRT file with your captions. I consider this a non-negotiable step for any professional video content.
A piece of advice from experience: Always, always choose a custom thumbnail. The very first frame is almost never the most engaging one. Look for a shot that sparks curiosity or clearly shows what your video is all about.
Posting Videos from the Mobile App
Uploading from the mobile app is all about speed and convenience. It's built for those in-the-moment clips—think a quick video from a live event or a spontaneous reaction you just had to share.
To get started, tap the blue "+" icon in the app and choose "Post." From there, tap the media icon and grab the video you want from your phone's gallery. The mobile editor is a bit more stripped-down than the desktop version, but it still gives you the crucial ability to trim your video.
The real win with mobile is its immediacy. You can literally shoot, do a quick trim, and post a video in less than a minute. This is fantastic for jumping on trending topics or giving your audience timely, on-the-ground updates. For a more polished look, you can always edit your clip in a third-party app like CapCut or InShot before uploading it to Twitter.
Crafting a Video Tweet That People Actually Watch
So, you’ve got your video file ready to go. That's half the battle, but the real test is getting someone to stop their endless doomscrolling and actually watch it. The text you write to accompany your video is just as crucial as the content of the video itself.

Think of your tweet's copy as the movie trailer for your video. It has to spark curiosity, give just enough context, and convince people to care, all within a handful of characters. It’s your one shot to earn that click.
The effort is well worth it, especially when you consider that video tweets blow other formats out of the water. They typically pull in 5 times more replies and get 2.8 times more retweets than a simple text post. Given that eight out of ten user sessions on Twitter now include watching video, it’s obvious this is what people are looking for.
Driving Engagement with Your Tweet
Beyond a killer opening line, a few simple tactics can seriously boost your video's reach and impact.
- Be Smart with Hashtags: Don't just stuff your tweet with whatever is trending. A good strategy is to mix one broad, industry-level tag (like
#VideoMarketing) with one or two niche, community-specific ones (#IndieDev). This helps you reach both a wide audience and the people most likely to be interested. Two or three relevant hashtags always beat a dozen random ones. - Tag People and Brands: Did you mention another creator, an expert, or a specific brand in your video? Make sure to tag their account! This sends them a notification, which could easily lead to a reply or a retweet to their own followers, instantly expanding your audience.
- Include a Clear Call-to-Action (CTA): Don't leave your viewers hanging. Tell them exactly what to do next. It can be as simple as, "What are your thoughts? Drop a comment below!" or "Find the full guide at the link in my bio." This simple prompt encourages interaction and tells people how to engage.
Here’s a pro tip I can't stress enough: always upload your video directly to Twitter. Never just drop a link from YouTube or Vimeo. Natively uploaded videos autoplay in the feed, which is a massive advantage. The algorithm prefers them, and the user experience is seamless, leading to much, much better performance.
After your tweet is live, you need to know if it's actually working. A great next step is to learn how to calculate your Twitter engagement rate to see what’s resonating with your audience. And of course, having the right software can make this whole process easier; check out our guide on content creation tools for social media to upgrade your toolkit.
Fixing Common Twitter Video Upload Issues

It’s happened to all of us. You’ve got the perfect video ready to go, you hit upload on Twitter, and... nothing. Maybe it gets stuck processing forever, or you get a vague error message that doesn't really help. It’s incredibly frustrating.
More often than not, the culprit is a simple mismatch with Twitter's specific video requirements. Even if your file is an MP4 or MOV, the video stream inside that file might not be using the H.264 standard that Twitter’s system is looking for.
Diagnosing and Solving Upload Problems
When an upload fails, don't panic. Running through a quick troubleshooting checklist usually solves the problem without much fuss.
Here are the most common fixes I've found work time and time again:
- Check Your Connection: It sounds obvious, but a shaky Wi-Fi signal can easily corrupt a large file during upload. If you can, try moving closer to your router or even plugging directly in with an Ethernet cable.
- Confirm File Size and Length: Remember the magic numbers. Your video needs to be under 512 MB and no longer than 140 seconds for a standard account. If you’re just a little over, a quick trim or compression is all you need.
- Re-export the Video: This is my go-to fix for any mysterious format error. Just open the video in your editor of choice, make sure the export settings are H.264 for video and AAC for audio, and save a fresh copy. This simple step clears up most codec-related headaches.
If your MOV file is just a bit too large, you don’t have to sacrifice quality. Learning how to properly compress an MOV file can get you under the limit while keeping your video looking sharp.
Got Questions About Twitter Videos? We've Got Answers
Once you get the hang of uploading videos, you might still run into a few specific questions. It happens to everyone. Let's walk through some of the most common ones that pop up, so you can handle your video content with confidence.
Can I Edit a Video After I Tweet It?
Unfortunately, no. Once a video is live on Twitter, it's set in stone. The platform's editor only gives you the chance to trim your video before you post it.
If you notice a typo in the captions or a glitch in the footage after it's published, your only move is to delete the entire tweet and start over with a corrected version. It’s a bit of a pain, but it's the only way.
How Do I Choose the Best Video Thumbnail?
Picking a good thumbnail can make a huge difference in your view count, and you can only do it from the Twitter website (not the mobile app). After you upload your video and it finishes processing, look for the "Edit" button on the preview.
Clicking it brings up a filmstrip of your video. You can drag the slider to find the perfect frame—something clear, eye-catching, and intriguing. Don't leave this to chance!
Your thumbnail is like a tiny movie poster. It’s what convinces someone to stop scrolling and press play. Never let Twitter pick a random, blurry frame for you.
Why Does My Video Look Blurry on Twitter?
That frustrating blurriness is almost always caused by Twitter's video compression. To make sure videos load quickly for everyone, the platform automatically squishes the file down, which can sometimes hurt the visual quality.
The best defense is a good offense. Start with a high-quality video that meets Twitter's recommended specs. A resolution of 1280x720 and an H.264 codec will give the compression algorithm a much better starting point, minimizing that blurry effect.
Can I Schedule a Tweet With a Video?
Yes, you absolutely can! This is a lifesaver for anyone managing a content calendar. The process is pretty much the same as posting a regular tweet.
Just compose your tweet on the Twitter website, attach your video, and instead of hitting "Post," click the little calendar icon. From there, you can pick the exact date and time you want your video to go live.
Ready to create stunning, professional-looking videos for Twitter without the hassle of a green screen? With VideoBGRemover, you can remove or replace your video background in minutes using powerful AI.
Ready to Remove Your Video Background?
See a free preview before you buy.
No credit card required • Free preview on every video