Free Background Remover for Videos Made Easy
Discover how a free background remover for videos can transform your content. This guide provides actionable steps to remove and replace video backgrounds.
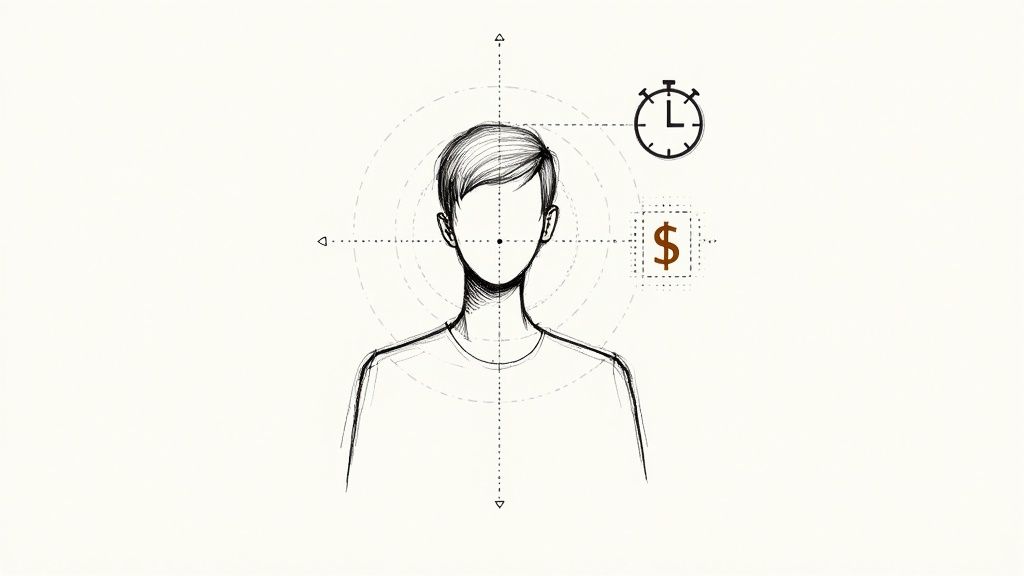
Absolutely—a free background remover for videos gives you the power to wipe out your background instantly, no green screen required. These tools are built with smart AI that automatically figures out who the main subject is, making professional-quality edits a reality for anyone.
How AI Is Changing the Game for Video Backgrounds
We've moved past the era of needing pricey equipment and baffling software just to separate a person from their background. The jump from physical green screens to intelligent, automated tools has opened up video editing for everyone, putting incredible capabilities right at our fingertips. This is all possible because of major strides in artificial intelligence.
Under the hood, an AI-powered video tool uses a technique known as semantic segmentation. In simple terms, the AI scans every single frame of your video, analyzing it pixel by pixel to distinguish the "subject" from the "background." It's a complex process made incredibly simple for the user. If you're curious about the tech making this all happen, you can delve deeper into AI's capabilities.
What This Means for You
The real magic isn't just the technology itself, but what it lets everyday creators do. Forget needing a dedicated studio or perfect lighting to get a clean, professional look. Now you can get it done from anywhere.
- Saves You Time: It cuts out the hours of painstaking manual work—like masking and rotoscoping—that editors used to spend.
- Boosts Your Creativity: Film in a messy office, your living room, or even outside, and then just drop in a background that fits your video's vibe.
- Keeps Costs Down: There’s no need to buy green screens, special lighting rigs, or other expensive gear anymore.
The biggest win here is simplicity. You can take a casual video shot at home and turn it into a polished presentation or a slick social media post in a few clicks, no technical background needed.
This kind of accessibility is why the market is booming. The global demand for these tools was valued at a whopping USD 1.2 billion in 2023 and is expected to climb to USD 4.7 billion by 2033. This growth is being driven by social media creators and businesses who need great-looking video content without the traditional hassle.
Traditional Green Screen vs AI Background Removal
For a long time, the green screen was the only reliable way to replace a video background. But as you can see, AI-powered tools have some serious advantages.
| Feature | Traditional Green Screen | AI Background Remover |
|---|---|---|
| Setup & Equipment | Requires a physical screen, specific lighting, and space. | No physical setup needed. Just upload your video. |
| Cost | Investment in screens, stands, and lighting can be costly. | Often free or low-cost subscriptions. |
| Flexibility | Limited to filming in front of the screen. | Film anywhere, anytime. |
| Ease of Use | Can be complex to light correctly and edit in post. | Simple one-click process. |
| Time Investment | Significant time needed for setup and editing. | Results in seconds or minutes. |
The bottom line is that AI makes professional video effects easier and more affordable than ever. To see how different options stack up, check out our guide on the best AI tools with video background removal.
How to Prepare Your Video for Flawless Removal
Getting a professional-looking result with a free background remover for videos starts long before you upload anything. The truth is, the quality of your source footage has a huge impact on how well the AI can separate your subject from everything else. A few small tweaks during filming can make all the difference.
Think of it this way: you're trying to make the AI's job as easy as possible. When your subject is well-lit and stands out, the algorithm can find the edges without a problem. But if you're shooting in low light against a messy background, you're just creating visual noise that can easily confuse the software.
Set Your Subject Up for Success
Before you even press the record button, take a moment to look at your shot from the AI's perspective. A couple of quick adjustments here will dramatically improve your final cutout.
- Lighting is Everything: Your subject should be the most well-lit thing in the shot. I’ve found that soft, even light from the front works best because it gets rid of harsh shadows that the AI might mistake for part of the background.
- Create Obvious Contrast: Have your subject stand against a background that’s a different color and brightness. Definitely avoid filming in front of a cluttered bookshelf or a wall that’s nearly the same color as your shirt.
- Keep it Steady: A tripod is your best friend here. If you don't have one, just place your camera on a stable surface. Any motion blur will smudge the edges of your subject, making it tough for the AI to get a clean, crisp line.
A clean separation isn't just about the software; it's about feeding that software the best possible material. A stable, well-lit video with clear contrast between the subject and background is the real secret.
One last tip from experience: try to avoid clothing with busy patterns, like thin stripes or detailed floral prints. Solid colors give the AI a much clearer silhouette to work with. While today's tools are incredibly powerful, following these simple guidelines helps you work with the technology, not against it.
If you're interested in how the old-school methods compare, you can see how a green screen creator tackles these same principles of separation.
Removing Your Video Background in Minutes
Alright, let's get into the nuts and bolts of how this works. Say you just recorded a great product demo, but your home office in the background is, well, less than pristine. This is where a free background remover for videos becomes your best friend, giving you that polished, professional look in a snap.
The process itself is refreshingly simple. You just drag and drop your video file—most common formats like MP4, MOV, or WebM work just fine. From there, the AI kicks in, scanning every frame to isolate you from your surroundings. In just a few moments, you get a free preview with a perfectly clean background.
From First Pass to Final Polish
I've found the initial AI pass is usually spot-on, but sometimes it needs a little guidance. Tricky spots like flyaway hair, the glint on a pair of glasses, or the gaps between your arms and body can occasionally trip it up. That’s when you step in to make those small tweaks that make a huge difference.
Tools like VideoBGRemover give you easy-to-use controls right on the screen. You don’t need to be a video editor; it's more like using a digital paintbrush.
- The Erase Tool: This is for cleaning up any little specks of the original background the AI might have left behind.
- The Restore Brush: If the AI got a little overzealous and clipped off part of your shirt or hair, this brush lets you bring it right back.
This back-and-forth is what really lets you dial in the result. I always zoom in to get a good look at the edges of clothing or hair, making sure the cutout is sharp and clean before I move on.
Now, before you even hit record, a little bit of prep can make the AI's job a whole lot easier. Think about these three things next time you're filming.
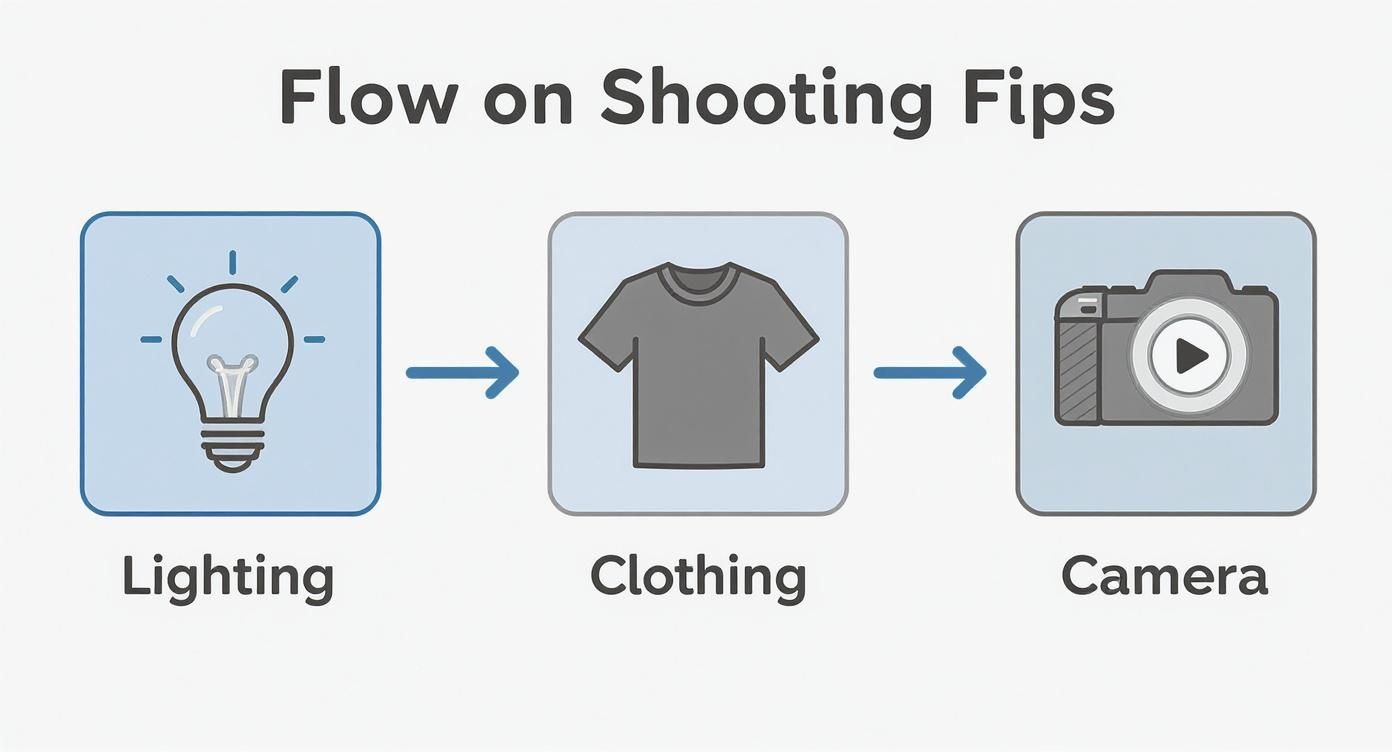
As you can see, getting your lighting, clothing, and camera stability right from the start will give you a much cleaner result with way less manual cleanup.
Downloading Your Final Video
Once you’re happy with how the preview looks, it’s time to export. You'll usually get a couple of handy options for your final file.
Your goal is to transform that distracting background into a clean, versatile canvas. The combination of powerful AI and simple user controls makes achieving a polished result surprisingly fast and accessible for any creator.
You can download the clip with a transparent background, which is perfect if you plan to layer it over other footage in a program like Adobe Premiere Pro or Final Cut Pro. Or, you can just pick a new solid color or image background right there in the tool and download a ready-to-share MP4 file. It's that easy.
Creative Ways to Replace Your Background
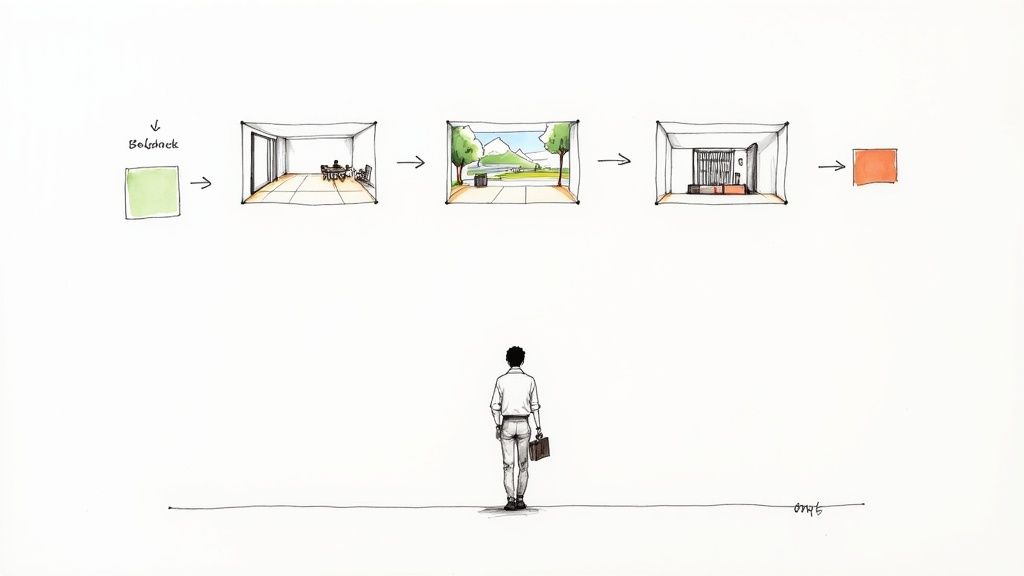
Alright, with your subject perfectly cut out, this is where the real fun begins. Using a free background remover for videos is about more than just cleaning up a messy room—it’s a storytelling powerhouse. The right background can completely shift the vibe and professionalism of your content.
Think about it: a business owner filming a testimonial can instantly make it look more credible by swapping their home office for a slick, branded workspace. Or a travel vlogger could drop themselves right into stunning footage of the location they're talking about, truly transporting their audience.
Matching Your Subject to the Scene
The secret to a composition that doesn't scream "fake" is making sure your subject looks like they actually belong there. The single biggest giveaway? Mismatched lighting. If the light in your original video hits your subject from the left, your new background needs a light source that also comes from the left.
A seamless final product hinges on consistency. Mismatched lighting or shadows are the quickest ways to break the illusion and make your edit look artificial. Always analyze the light direction in both your source clip and your new background image or video.
Here are a few practical ideas to get you started:
- For Business Videos: Use a clean, minimalist office background for a presentation, or drop in a backdrop with your company logo for marketing clips.
- For Social Media Content: Place yourself in front of a cool, animated graphic that matches your brand colors. This is perfect for creating eye-catching Reels or Shorts.
- For Educational Content: Why just talk about data? Add relevant charts, graphs, or even a virtual whiteboard behind you to illustrate your points visually.
If you're looking for more advanced techniques, you can explore AI-driven subject replacement workflows for some really creative results. The possibilities are pretty much endless, and you can see how a video background changer online free makes the whole process so much easier.
Getting a Clean Cutout: Mistakes to Avoid
Knowing what not to do is just as important as knowing what to do. Even the best free background remover for videos can stumble if it’s working with problematic footage. Let's walk through the common pitfalls that cause those tell-tale flickering edges, disappearing limbs, or a pesky halo effect.
One of the biggest culprits I see is poor lighting. If your subject is backlit or draped in harsh shadows, the AI algorithm has a tough time figuring out where the person ends and the background begins. This is exactly why you'll see parts of a person's hair or shoulder just vanish into the new background.
In the same vein, a low-contrast environment is a recipe for a choppy, amateur-looking result. Imagine filming someone in a dark blue shirt standing against a dark blue wall—it makes the AI's job nearly impossible. You need clear visual separation for the tool to work its magic.
Quick Fixes for Common Issues
A few simple adjustments during filming can save you a ton of headaches in the editing room later.
- Ditch the Busy Patterns: Clothing with thin stripes or complex designs can create a shimmering or "moiré" effect that throws off the AI. Solid colors are always a safer bet for a clean cutout.
- Keep it Steady: Shaky footage means motion blur, and motion blur softens the edges of your subject. A tripod or even just a stable surface will ensure every frame is crisp and clear.
- Mind Your Distance: Standing too close to the wall or background behind you can cast shadows. The AI might mistake those shadows for part of you, leading to a messy final product.
The goal is simple: give the AI the clearest possible information to work with. By sidestepping these common mistakes, you’re not just hoping for a good result—you're setting your video up for a perfect, professional-grade cutout every single time.
Got Questions? We've Got Answers
If you're still wondering about a few things, you're not alone. Here are the questions I hear most often about getting rid of video backgrounds, along with some straightforward answers to help you get the best results.
Do I Really Need a Green Screen for This to Work?
Nope, and that's the beauty of it. Modern AI tools are built specifically to handle real-world backgrounds. They're smart enough to analyze the video, figure out what's the subject and what's not, and separate the two. It doesn't matter if you're in a cluttered office, your living room, or standing outside.
That said, here's a pro-tip: filming against a plain, solid-colored wall can give the AI a little head start. It makes the outline of your subject super clear, which can lead to even cleaner results. But it’s definitely not a requirement.
What's the Best Video Format to Use?
You'll get the smoothest experience by sticking with the basics: MP4 or MOV files are your best bet.
When it comes to quality, always aim high. A 1080p or 4K video gives the AI a lot more information to work with. Think of it like this: more pixels mean the software can make much more precise cuts, especially around tricky areas like hair or the edges of clothing. While you can use a 720p video, you'll see a noticeable difference in the final quality if you start with HD footage.
My Two Cents: Higher resolution isn't just for a sharp final image. It's a key ingredient that helps the AI deliver a more believable and professional-looking cutout.
What if I Have More Than One Person in the Shot?
This is where things can get interesting, and the answer often comes down to the specific tool you're using. Many of the more advanced background removers are perfectly capable of tracking and isolating a few people at once, especially if they’re close together and not overlapping too much.
However, if you've got a really complex scene—lots of people moving around, crossing in front of each other—the AI might get a bit confused. My advice? Always run a quick test with a short clip from your video first. It’s the best way to see how the software handles your specific footage before you process the whole thing.
Ready to see it in action? Give VideoBGRemover a try and discover just how simple it is to get that professional look without all the hassle. Get your free preview now!
Tagged with
Ready to Remove Your Video Background?
See a free preview before you buy.
No credit card required • Free preview on every video