Add Background to Video Like a Pro
Learn how to add background to video with AI tools or a green screen. Our guide covers pro techniques for seamless, high-quality results every time.
Knowing how to add a background to a video can completely change the feel of your content, taking it from amateur to professional in an instant. Whether you're trying to hide a messy home office or drop your audience into a whole new world, this is one of those skills that pays off big time.
Why Changing Your Video Background Is a Game Changer

Before we get into the nuts and bolts of how to do it, let's talk about why it's such a big deal. A custom video background isn't just window dressing; it's a seriously powerful tool for branding, storytelling, and looking like you know what you’re doing. It puts you in total control of the scene, no matter where you're actually filming.
Think about it. You could be filming a corporate interview from a chaotic bedroom, but by swapping in a clean, branded office background, you instantly look more credible. The focus shifts to the speaker, not the laundry pile in the corner. That one simple edit makes the whole video feel more authoritative.
Reinforce Your Brand Identity
A consistent look and feel is everything when you're building a brand people remember. Using a custom background—whether it’s your brand colors, a logo, or just a specific vibe—cements who you are in every single video.
This works great for a few things:
- Corporate videos: Makes sure all internal or external communications look uniform and professional.
- YouTube channels: Helps you build a signature style that people recognize immediately.
- Product demos: Lets you place your product in a setting that makes it look its best, whether that's a sleek modern home or an industrial workshop.
Unlock Your Creative Freedom
When you can add any background you want, the only limit is your imagination. You're no longer stuck with what's physically around you.
A travel vlogger can look like they’re broadcasting from the middle of the Amazon. A tech reviewer can break down a new gadget against a slick, futuristic backdrop. This is how you make content that truly pulls people in.
The real power of changing your video background is its ability to solve problems. It removes distractions, establishes a professional tone, and gives you the creative canvas to tell a more compelling story without needing a perfect physical set.
Manipulating backgrounds isn't a new trick. It’s come a long way since filmmakers like Georges Méliès were using hand-painted sets back in the early 1900s. By 2010, digital green screens were so common they were used in over 70% of major Hollywood films.
To get these kinds of results yourself, you just need the right software. Modern tools, especially a good AI video background remover, make this process incredibly simple. You can explore a powerful AI-driven tool right here: https://videobgremover.com/ai-video-background-remover. And if you're looking to build out your toolkit further, checking out the essential tools for content and UGC creators will give you a great head start.
Instantly Remove Backgrounds With AI
The old way of removing a video background—painstakingly masking out your subject frame by frame—was a nightmare. Honestly, it was enough to make you give up before you even started. But that's all in the past, thanks to some seriously impressive AI tools that can do the job for you. This is a game-changer for anyone looking to add background to video without the hassle of a green screen.
So, how does it work? These AI algorithms have been trained on millions of videos, so they're incredibly good at telling the difference between a person and whatever is behind them. Whether it's a messy bedroom or a crowded street, the AI analyzes every single frame to isolate your subject and create a clean cutout. It all happens with just a couple of clicks.
The Magic of One-Click Removal
Getting this done is surprisingly simple. Most web-based AI tools have a super intuitive process. You just find your video file—most support common formats like MP4, MOV, and WebM—and upload it. That's it. The AI takes over from there, doing all the complex work behind the scenes.
After a few moments, you'll see a preview of your video with the background completely gone. From this point, you have options. You can download the video with a transparent background to use in a more advanced editor, or you can just pop a new background in right there in the tool.
The biggest win with AI is sheer speed. A task that could easily eat up hours of manual editing is now done in minutes. This frees you up to spend time on what actually matters—being creative—instead of getting bogged down in tedious technical work.
For anyone who needs to quickly remove the background from a video online and doesn't want to install bulky software, this is the way to go. The entire process, from start to finish, lives right in your web browser.
Fine-Tuning the Edges for a Pro-Level Look
Let's be real: AI is amazing, but it's not always flawless on the first try. You might notice some fuzzy edges, especially around fine details like hair or when there's a lot of fast movement. A little bit of cleanup can make all the difference.
To get that truly professional look, keep an eye out for these refinement tools:
- Edge Feathering: This is your best friend for blending. It slightly softens the outline of your subject, so they don't look like a cheap sticker slapped onto the new background.
- Mask Adjustment: More advanced tools let you manually touch things up. You can "paint" back in any parts the AI accidentally cut out or erase bits of the old background it missed.
- Offset/Choke: These settings let you subtly shrink or expand the edge of your cutout. It’s perfect for getting rid of that faint "halo" or outline from the original scene.
If you’re making quick videos and need an efficient workflow, checking out a modern editing tool can be a huge help. For instance, the shortgenius platform is designed to make these kinds of edits faster. Learning to use these small adjustments is what will take your video from looking "pretty good" to looking completely seamless and convincing.
Mastering the Classic Green Screen Technique
While AI offers incredible convenience, there's a reason Hollywood and professional studios still lean heavily on the classic green screen. This technique, officially known as chroma keying, gives you unparalleled control when you need to add a background to a video. The concept is simple: you film your subject in front of a solid, vibrant color (usually that iconic green), then use software to make that specific color invisible, letting you slot in any background you can imagine.
The real power of this method is its precision. By keying out a single, consistent color, the software can create an incredibly clean and sharp edge around your subject. It handles tricky details like flyaway hair or semi-transparent objects with a level of accuracy that most automated tools just can't match yet. For a truly seamless and believable final product, this is the gold standard.
Setting Up Your Green Screen for Success
Your final composite is only as strong as your initial setup. The absolute most critical element for a clean key is even lighting. If you have shadows, wrinkles, or bright hotspots on your green screen, your software will see those as different shades of green, making the removal process a real headache.
To get it right, use at least two lights aimed exclusively at the screen itself—not your subject. Place one on each side to wash out any shadows and create a flat, uniform field of color. Your subject needs their own lighting and should stand several feet away from the screen. This simple step prevents that telltale green light from bouncing off the screen and onto your subject, an annoying issue called "spill."
A poorly lit green screen creates more work in post-production than it saves during filming. Take an extra ten minutes to get the lighting right; it will save you hours of frustration when editing.
The Chroma Keying Process in Your Editor
With your footage ready, it's time to jump into a video editor like Adobe Premiere Pro or DaVinci Resolve. The workflow is pretty standard across most platforms. You’ll place your green screen footage on a video track directly above your new background clip. Next, find the chroma key effect (often called "Ultra Key" or something similar) and drag it onto your green screen clip.
Now for the fine-tuning. You'll typically use an eyedropper tool to click on the green in your video, telling the software what color to remove. From there, you'll dial in the effect with a few crucial settings:
- Tolerance/Matte Generation: This slider determines how aggressively the software removes the selected color. You want to adjust it just enough to make the background disappear completely without eating into your subject.
- Edge Feathering: This is a subtle but powerful tool. It softens the very edge of your subject, helping them blend more naturally into the new scene and avoiding that harsh, "cut-out" look.
- Spill Suppression: This is a true lifesaver. It automatically detects and neutralizes that faint green halo that often appears around a subject's hair and shoulders from reflected light.
This visual shows the simplified workflow for an AI-based tool, which really drives home the difference in complexity.
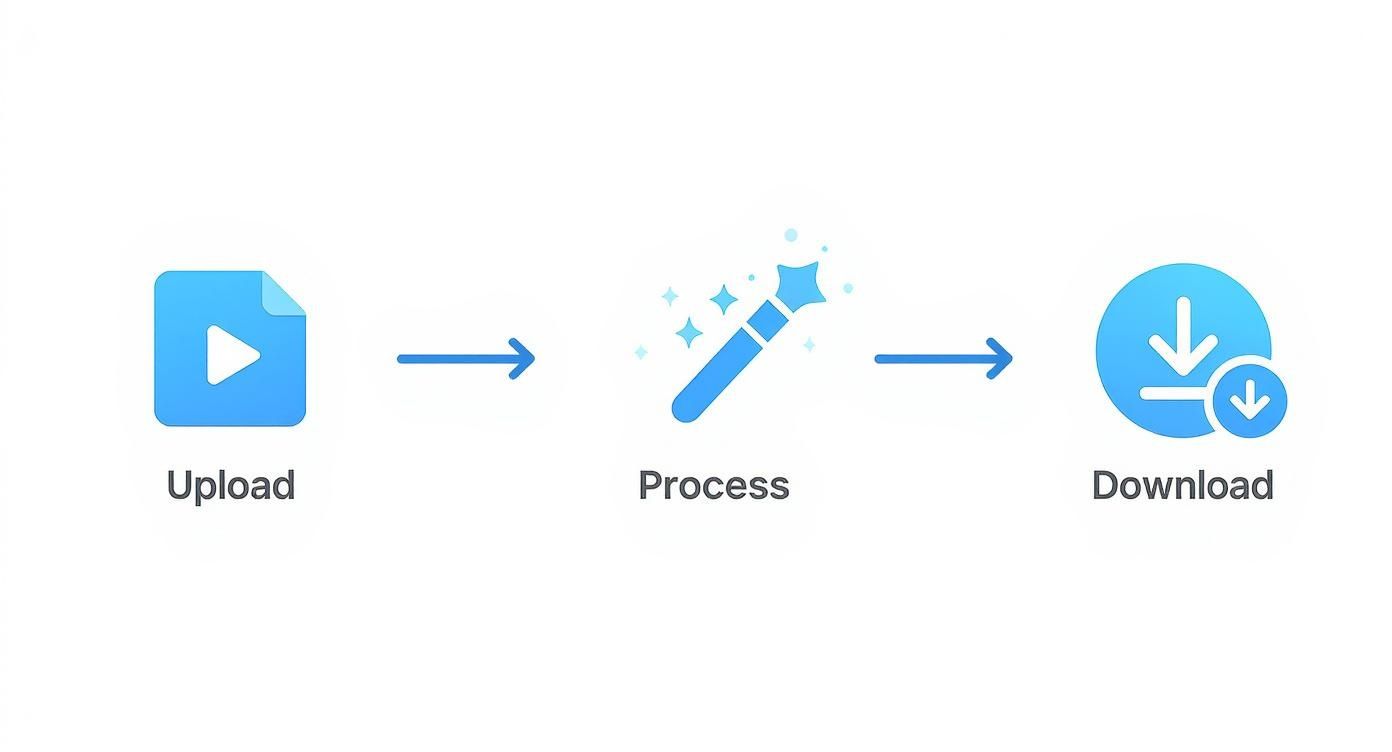
While the infographic highlights the "point-and-click" nature of modern AI, the green screen method gives you the manual controls needed for truly professional results. Learning to master these keying parameters is what separates an okay effect from one that's completely convincing.
For a much deeper dive into the nitty-gritty, be sure to read our complete guide on how to use a green screen for any kind of project.
Choosing Your Background Replacement Method
Feeling unsure about which path to take? Here's a quick comparison to help you decide between AI-powered tools and traditional green screen techniques for your project.
| Feature | AI Background Removal | Green Screen (Chroma Key) |
|---|---|---|
| Setup Required | None. Just a clear shot of your subject. | Requires a screen, even lighting, and space. |
| Speed | Extremely fast. Often just a few clicks. | Slower. Involves setup, filming, and manual editing. |
| Precision | Good to great, but can struggle with fine details. | Excellent. The industry standard for clean edges. |
| Best For | Quick social media clips, talking heads, simple projects. | Professional productions, complex scenes, high-end results. |
| Cost | Often subscription-based, with free options available. | Upfront cost for screen and lighting equipment. |
Ultimately, the best method depends entirely on your project's needs and your available resources. For speed and convenience, AI is a fantastic choice. For maximum quality and control, nothing beats a well-executed green screen.
Thinking Beyond Background Replacement: Overlays and Masking
While totally swapping out your background is a game-changer, sometimes you need a more artistic or subtle touch. You don't always have to erase the entire scene. This is where overlays and masking come in, giving you a way to add background to video by enhancing what's already there instead of completely replacing it.
Think of these techniques as digital set dressing. You're layering in textures and elements to build a specific mood or guide the viewer's focus. It's less about a total overhaul and more about creative compositing.
Enhancing Your Scene with Overlays
Overlays are simply secondary video clips or images that you stack on top of your main footage. The magic happens when you start playing with their blend modes, which control how the two layers interact. It's an incredible way to introduce new visual flair without messing with green screens or AI.
I've used overlays for years to quickly add character to a shot. Some common go-to's include:
- Light Leaks: Adding a warm, sun-drenched light leak can instantly make a scene feel more nostalgic and organic.
- Film Grain: Got footage that's a little too clean? A subtle film grain overlay gives crisp digital video that classic, cinematic texture.
- Motion Graphics: Layering animated text, logos, or abstract shapes is a fast track to a more professional and energetic look.
The real fun is in the experimentation. Blend modes like "Screen" or "Add" are perfect for light-based effects, while "Overlay" or "Soft Light" will give you a more subtle, integrated look. Don't be afraid to just click through them and see what happens.
Getting Specific with Masking
Masking is your secret weapon for making hyper-targeted changes inside your video frame. Instead of applying an effect to the entire background, a mask lets you draw a shape around a specific object and apply changes only inside or outside that area. This is where you can get really creative with visual effects.
Masking is all about surgical control. It lets you place a new background inside an existing object, creating a seamless effect that looks like it was always part of the original scene.
For example, imagine your subject is standing in a room with a big picture window. You could draw a mask around that window and drop a bustling city skyline into it, making it look like the view is completely different.
A more practical, everyday use is replacing the screen on a smartphone or TV in your shot. With a mask, you can perfectly track the screen's shape—even as it moves—and insert your own footage. This is a staple in professional productions for putting custom content onto devices, and it looks far more integrated than just slapping a new background behind the whole person.
Finishing Touches for a Seamless Composite
You’ve successfully isolated your subject and dropped in a new background. The heavy lifting is done, but the real artistry begins now. This is where you transform a decent effect into a professional composite that feels completely believable.
Getting these finishing touches right is what separates the pros from the amateurs. Without them, your video will scream "fake."
The most common giveaway? A total mismatch in lighting and color. If your subject was filmed under warm, soft studio lights, plopping them into a bright, sunny beach scene will look instantly wrong. The human eye is incredibly sharp at spotting these little inconsistencies, so our job is to trick it by making the two layers feel like they were shot in the same space, at the same time.
Aligning Color and Light
First things first, let's get a basic color grade going. We're not trying to create a stylized cinematic look just yet. The goal here is simple: match the color temperature and contrast of your foreground footage with the new background.
Is your new background cool and tinted blue? Then your subject needs to be cooled down, too. Is the background scene high-contrast with deep, dramatic shadows? Your subject needs that same punch. Jump into your editor’s color wheels or curves and gently nudge the foreground until it feels like it belongs in the new environment.
A seamless composite is built on consistency. Every element in the frame, from the sharpness of the image to the direction of the light, must tell the same story. If one piece feels out of place, the entire illusion falls apart.
Once the overall tones feel right, pay close attention to the light source. If the sun in your background is coming from the top left, your subject should be lit from that same direction. You can't magically re-light your subject after the fact, but you can sell the effect. Try using a subtle mask with some color grading to add a hint of warmth or brightness on the side of your subject that's facing the "sun."
Grounding Your Subject in the Scene
Nothing screams "fake background" louder than a person who looks like they're floating in mid-air. To make your subject feel like they're actually standing in the new environment, you need to ground them with some simple shadow work and edge refinement.
- Create a Contact Shadow: This is your secret weapon. It’s a small, soft, dark shadow right under your subject's feet or anywhere they touch a surface in the new scene. This one detail is the single most important thing you can do to kill that "floating" look.
- Feather the Edges: A razor-sharp cutout rarely looks natural. Go into your mask settings and apply a tiny amount of edge feathering—just a pixel or two is often enough. This softens the transition and helps blend your subject into the background much more smoothly.
- Add a Subtle Drop Shadow: If there's a strong light source in your background, it should be casting a shadow. Create a soft, low-opacity drop shadow behind your subject that convincingly matches the light's direction.
Choose a High-Resolution Background
This might seem obvious, but I see this mistake all the time. It's a non-negotiable rule: never, ever place a high-quality foreground onto a low-res, pixelated background.
If your primary footage was shot in 1080p, your background image or video needs to be at least 1080p—and frankly, even higher is better. A blurry, artifact-riddled background instantly cheapens the entire project and makes your hard work look amateurish. Taking the time to find a crisp, high-quality asset is one of the easiest ways to elevate your final product.
Common Questions About Video Backgrounds
As you start swapping out video backgrounds, you’ll inevitably run into a few common questions and roadblocks. It happens to everyone. Let's walk through some of the most frequent issues so you can solve them quickly and get back to creating.
Getting these little details right is what separates an amateur-looking video from a professional one.
What Is the Best Color for a Chroma Key Screen?
You've probably heard the term "green screen," but the best color for chroma keying really comes down to what you're filming. The industry settled on bright green and bright blue for a simple reason: they're about as far from natural human skin tones as you can get. This contrast makes it much easier for software to cleanly separate a person from their background.
So, when do you pick green over blue?
- Go with green when: Your subject has blue clothing or is near blue props. Green also tends to give a cleaner result with modern digital cameras, which are more sensitive to it.
- Opt for blue when: Your subject is wearing green or you have green elements in your shot. Blue was the go-to for traditional film, but it's a bit less common now.
The main takeaway is to choose a background color that isn't present on your subject. It's that simple.
Can I Add a Moving Background to My Video?
Absolutely! Using a video clip for your background instead of a static image is a great way to add energy and a touch of realism. The setup is basically the same as adding a photo—you just drop a video file onto the track below your main footage.
But there are a couple of extra things to keep in mind. If your background clip is shorter than your main video, make sure it can loop seamlessly to avoid any awkward jumps. It's also a good idea to match the frame rate and resolution to your primary footage to prevent any weird glitches or quality loss.
Most importantly, go for subtle motion. A slow pan across a cityscape works wonders; a shaky, handheld shot will just distract from your subject.
A moving background can really elevate your video, but always prioritize subtlety. The background should support the main subject, not compete with it for the viewer's attention.
How Do I Fix Green Spill Around My Subject?
That faint green halo you're seeing around your subject’s hair or shoulders? That's called spill, and it's probably the most common headache in the world of chroma keying. It’s caused by light from your green screen bouncing back onto your subject.
Thankfully, the fix is usually pretty straightforward. Dig into your video editor’s chroma key effect, and you'll likely find a "spill suppression" or "despill" tool. These features are designed specifically to find and neutralize those unwanted green tones along the edges of your subject. Often, a few clicks is all it takes.
To avoid spill from the get-go, try to position your subject as far away from the green screen as your space allows. This one simple change can dramatically cut down on the reflected light, giving you a much cleaner key right out of the camera.
Tired of dealing with green screens and spill suppression? With VideoBGRemover, you can use AI to remove and replace your video background in just a few clicks. You can create professional-looking videos from literally anywhere. Get started for free at VideoBGRemover.com.
Ready to Remove Your Video Background?
See a free preview before you buy.
No credit card required • Free preview on every video