How to Remove Background Noise for Clear Audio
Learn how to remove background noise from any audio or video. Our guide covers AI tools, pro software, and free methods for crystal-clear sound.
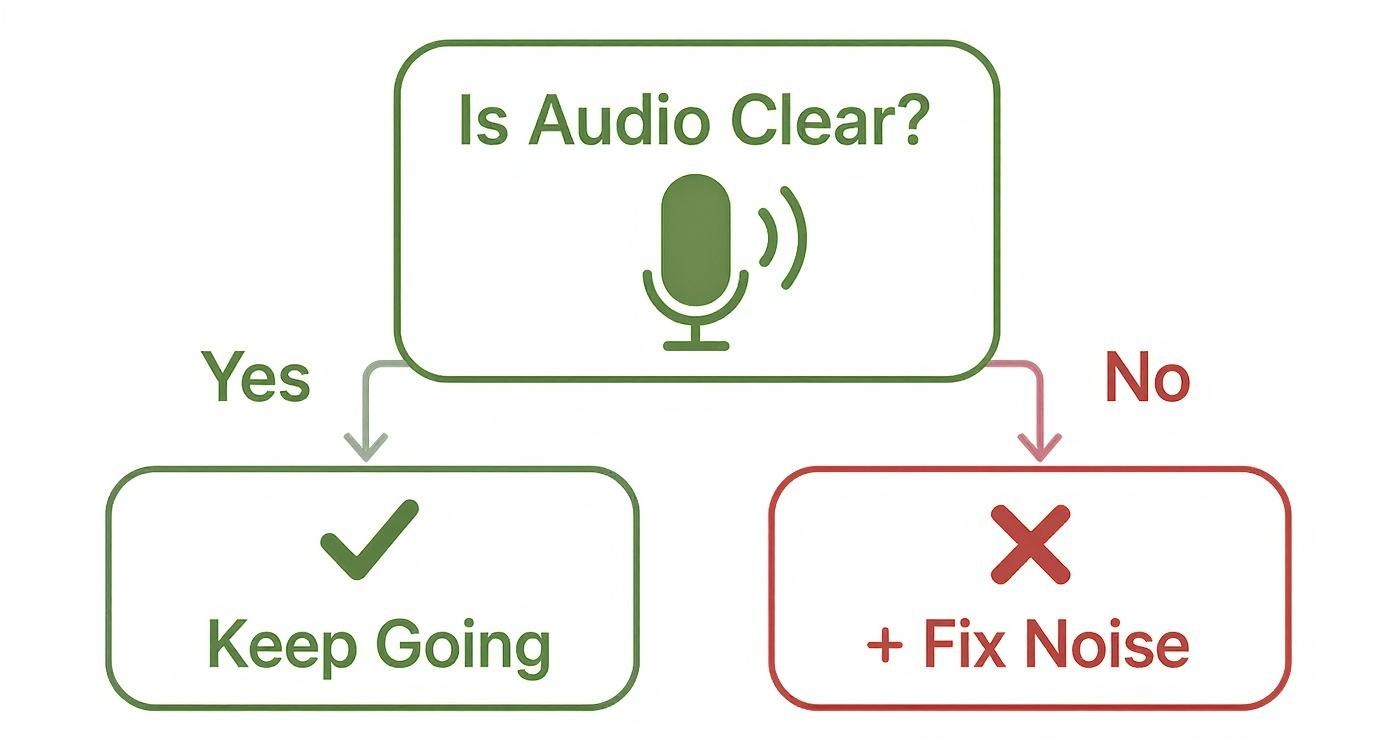
Let's face it, the fastest way to get rid of background noise is to let an AI do the heavy lifting. AI-powered audio cleaners can automatically tell the difference between your voice and annoying sounds like wind, traffic, or that weird buzzing from the refrigerator. For most of these tools, it’s a simple three-step dance: upload your file, let the AI work its magic, and download a sparkling clean version just minutes later.
Why Crystal-Clear Audio Is a Game Changer
Have you ever bailed on a video just because the audio was a mess? You're definitely not alone. A humming AC unit in a business pitch or the clatter of a coffee shop in a podcast interview isn't just distracting—it completely tanks your message. Bad audio is a communication killer.
When your voice comes through clean and crisp, you’re subconsciously building trust. People are far more likely to see you as a credible professional when they don't have to strain to hear you. On the flip side, audio filled with background noise makes the listener's brain work overtime just to figure out what you're saying. That leads to mental fatigue, and more often than not, they'll just click away.
The True Cost of Poor Audio
The fallout from noisy audio goes way beyond simple annoyance. It can directly hit the metrics that matter most, whether you're a creator, an educator, or a marketer.
- Engagement tanks: People are quick to abandon a video if the sound is irritating.
- Your message gets lost: The core points you're trying to make are drowned out by the noise, causing confusion.
- It just looks amateur: High-quality audio is a hallmark of professional content. Bad audio can make your entire project feel cheap.
Here's the bottom line: your audience will forgive shaky video long before they forgive bad audio. If you want to hold their attention and get your point across, clear sound isn't optional.
From Analog Solutions to AI Magic
The battle against background noise has been raging for a long time. In fact, the idea behind active noise control (ANC) goes all the way back to the 1930s.
The very first patent was awarded to Paul Lueg in 1936 for a system that cancelled out sound waves by using phase inversion. You can actually read more about this early audio tech on Wikipedia. That brilliant, old-school concept is the ancestor of the powerful and incredibly easy-to-use AI tools we have today.
Choosing Your Noise Reduction Toolkit
Before you can start cleaning up your audio, you have to pick the right tool for the job. Your choice really boils down to your specific needs, how comfortable you are with tech, and your budget.
Let's be honest, not all noise reduction methods are created equal. What works brilliantly for a quick social media clip might fall completely flat for a professional podcast. The good news? You have plenty of options, from ridiculously simple to deeply technical.
Your main decision will land in one of three camps, each with its own pros and cons. Let's dig into what you can expect from each approach so you can make a smart choice from the get-go.
If your audio is a mess, picking the right weapon is your next critical move.
Three Paths To Clean Audio
Your audio cleanup toolkit can be as simple or as complex as you need it to be. For most creators I talk to, the choice comes down to a simple trade-off: time versus control.
One-Click AI Web Tools: These are, by far, the fastest and most straightforward options out there. You just upload your file, let an AI algorithm work its magic, and download a much-improved version. They're perfect for creators who need impressive results fast, without getting bogged down in technical settings.
Professional Editing Software (DAWs): On the other end of the spectrum, you have Digital Audio Workstations like Adobe Audition. These beasts give you maximum control, letting you surgically remove specific frequencies, capture "noise prints" of the room tone, and fine-tune every little detail. The learning curve is steep, but the power is undeniable.
Free Open-Source Software: Tools like Audacity are a lifesaver for anyone on a tight budget. It offers surprisingly powerful noise reduction features for a free tool, but it often has a clunkier interface and usually requires more manual tweaking to get things sounding just right.
The best tool is almost always the one that fits into your current workflow. If you value speed above all else, an AI tool is a no-brainer. If you're an audio pro who lives for granular control, a full-featured DAW is non-negotiable.
Comparing Noise Reduction Tools And Methods
To help you decide, here’s a quick-glance comparison of the most common methods for removing background noise. This table should help you choose the best fit for your project's needs and your technical skill level.
| Tool Type | Best For | Ease of Use | Cost | Key Features |
|---|---|---|---|---|
| AI Web Tools | Quick turnarounds, content creators, social media videos, and anyone who isn't an audio expert. | Very Easy | Varies (often free trials or pay-per-use) | Automatic voice detection, one-click processing, browser-based access. |
| DAWs | Audio professionals, podcasters, and filmmakers who need precise, granular control over their sound. | Difficult | Subscription or one-time purchase | Noise print capture, parametric EQ, multi-track editing, plugin support. |
| Free Software | Hobbyists, students, and creators on a zero-dollar budget who are willing to learn the software. | Moderate | Free | Basic noise reduction, effects library, cross-platform support. |
Ultimately, settling on your toolkit is the first real step toward achieving that clean, professional-sounding audio we're all after. Your project's unique demands will point you toward the right solution, whether it's the instant fix from an AI or the deep, surgical control of a professional suite.
Using AI for Instant Audio Cleanup
Picture this: you've just wrapped up an incredible outdoor vlog, but when you play it back, the audio is a mess. Wind noise, distant traffic, a barking dog—it’s all there, drowning out your voice. A few years ago, fixing this meant hours of tedious work in complex audio software. Now? You can get a clean track in just a few minutes.
The secret is AI-powered audio tools. These platforms are built for one thing: separating the voice you want to keep from the background noise you don't. They’ve been trained on countless hours of audio, learning to pinpoint the unique characteristics of human speech. The whole process is refreshingly simple: upload your file, click a button, and let the algorithm do the heavy lifting.
A Real-World Walkthrough
Let’s stick with that outdoor vlog scenario. The big challenge is getting rid of the low rumble of cars and the whoosh of the wind without making your voice sound thin, robotic, or like you're talking from inside a tin can.
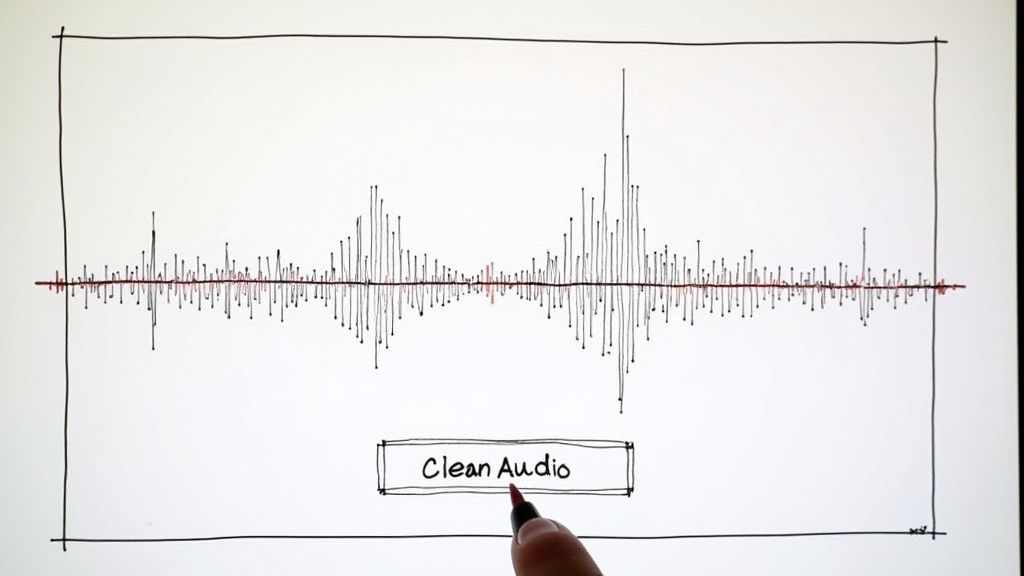
Your first move is to head to an AI audio cleaning website and upload the video file. The tool immediately gets to work, isolating the audio track and analyzing it. This isn't just a basic noise gate or filter. The AI is actively identifying the specific frequencies and patterns of your voice and differentiating them from the random, chaotic sounds of the environment.
You'll usually see a simple interface where you can upload and process your file, much like this one.
Once the AI has worked its magic, you're not just stuck with the result. Most tools give you a slider to control how aggressively the noise reduction is applied. This is your chance to fine-tune the audio before you commit to downloading.
The preview button is your best friend here. Being able to toggle the effect on and off lets you hear exactly what’s being removed. It's the key to finding that perfect balance between noise-free audio and a natural-sounding voice. When you’re happy with it, you just export the clean video or audio file. This same type of AI technology is popping up everywhere, and you can learn about the best AI tools with video background removal over in our related guide.
This technology didn't just appear out of thin air. It has roots in other fields, like the digital noise reduction used in hearing aids. Since the development of digital signal processing (DSP) chips in the 1980s, these devices have used similar principles to quiet down ambient noise and make speech clearer.
Why Is AI So Good at This?
So, how does an algorithm know to keep your voice but ditch a car horn? It all comes down to sophisticated pattern recognition. These systems have been trained to recognize the distinct qualities of human speech—pitch, cadence, and timbre—and can isolate them with stunning accuracy.
- It understands context. A traditional filter might just cut out all high frequencies to get rid of a siren, taking a slice of your voice with it. An AI can tell the difference between a high-pitched voice and a high-pitched siren.
- It adapts to changing noise. It's brilliant at handling unpredictable sounds like a door slamming or a sudden gust of wind—things that are a nightmare to remove manually.
- It saves a massive amount of time. What might take an experienced audio engineer an hour or more to meticulously clean up can often be done by an AI in less than five minutes.
Of course, once your audio is sparkling clean, you can take it a step further. You might want to run it through the best audio transcription software to automatically generate subtitles or a script. The rise of these AI solutions has truly leveled the playing field, giving everyone access to professional-grade production tools.
Pro-Level Techniques Using Editing Software
https://www.youtube.com/embed/HhM3Q9ir11Q
When those one-click AI tools just aren't cutting it, it's time to roll up your sleeves and dive into a Digital Audio Workstation (DAW). This is where you get to play surgeon with your sound. We're talking about industry-standard software like Adobe Audition or the incredibly powerful (and free) Audacity. These tools give you a whole suite of features to precisely remove unwanted noise, rather than just slapping a generic filter over everything.
This hands-on approach is your best bet for those really tricky situations. Think of times when the background noise is all over the place, or when it's just too close in frequency to the speaker's voice for an AI to tell them apart. It definitely takes more patience and a bit of a learning curve, but the results speak for themselves. You're no longer just a passenger—you're the pilot.
Capturing the Noise Print
The absolute cornerstone of most professional noise reduction is something called a noise print. Imagine it as a sonic fingerprint of the exact background hum you're trying to kill. It could be the drone of an air conditioner, the hiss from your microphone, or just the general ambient sound of the room.
To make this work, you need a clean sample of just that noise in your recording. We call this "room tone." The easiest way to get it is to let your microphone record for about 5 to 10 seconds before anyone starts talking or after they've finished.
Pro Tip: Always, always try to record room tone while you're on location. The specific sound of a space is nearly impossible to fake later. Taking a few extra seconds to do this can save you hours of frustration in post-production.
With this sample in hand, you can basically tell your software, "Hey, see this sound? Get rid of it." The program analyzes the frequencies in your noise print and builds a custom filter to subtract that sound from the rest of your audio.
Applying the Noise Reduction Filter
Once you’ve captured the noise print, the next move is to apply the noise reduction effect. Here’s where many people go wrong: they crank the effect up to 100%. This is a fast track to creating digital artifacts, giving you that horrible "underwater" or robotic sound. The real goal here is subtlety. You just want to push the noise down until it's no longer a distraction, not completely erase it from existence.
Most of these tools have two main controls you'll need to get familiar with:
- Reduction (dB): This is simply how much the software will turn down the noise it identified. I always suggest starting low, maybe around 10-15 dB, and listening carefully.
- Sensitivity: This setting tells the software how aggressively to look for the noise. A lower sensitivity is safer, as it's less likely to accidentally chop into the audio you want to keep.
Make a habit of using the preview button to listen to your changes in real-time. Toggle the effect on and off so you can A/B test it against the original. Your main focus should be on the speaker's voice—does it still sound clear and natural? For a much deeper look into these kinds of advanced tools, check out our guide on the best professional video editing software, as many of them bundle in these powerful audio features.
Surgical Removal with a Parametric EQ
Sometimes the enemy isn't a broad, hissing noise, but a single, annoying frequency. It could be the 60Hz electrical hum from bad wiring or a high-pitched whine from a nearby monitor. For these specific problems, the Parametric Equalizer (EQ) is your absolute best friend.
Unlike the simple EQs you might see on a stereo, a parametric EQ gives you pinpoint control. You can select a very specific frequency, adjust how wide or narrow that selection is (this is called the "Q" value), and then surgically cut its volume.
Here's how I usually tackle it:
- Find the Offender: First, I'll create a narrow EQ band with a high Q value and boost the gain way up. Then I "sweep" that band across the frequency spectrum. When the annoying hum or whine suddenly gets super loud, I've found it.
- Make the Cut: Now that I've identified the exact frequency, I just do the opposite—I pull the gain way down, effectively silencing it.
This technique is the difference between using a scalpel and a sledgehammer. It lets you remove the problematic sound with almost no collateral damage to the rest of your audio, keeping the quality high.
You know the old saying, "an ounce of prevention is worth a pound of cure"? Well, it's never been more true than when it comes to audio. The absolute best way to deal with background noise is to stop it from getting into your recording in the first place.
While we've got some amazing tools to clean up audio after the fact, nothing beats a clean recording from the get-go. Getting it right at the source will save you a ton of time and frustration in the editing bay and give you a far more natural-sounding final product.
You don't need a professional, soundproofed studio to make this happen. A few smart choices about where and how you record can make a massive difference. The idea is simple: create a space that puts your voice front and center.
Control Your Recording Environment
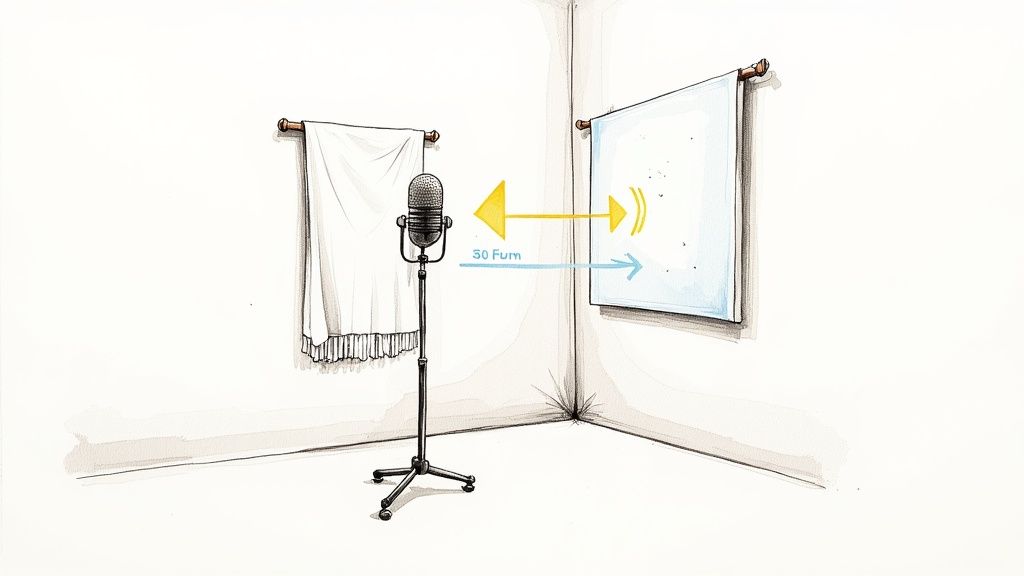
First things first, let's get your recording space under control. Hard, flat surfaces are your biggest enemy—think windows, bare walls, and hardwood floors. They act like mirrors for sound, bouncing it all over the place and creating the kind of echo and reverb that makes audio sound muddy and amateurish.
Look around for ways to soften up the room. You can drape heavy blankets over doors, toss a thick rug on the floor, or even record in a walk-in closet. All those clothes are fantastic at absorbing sound. Before you hit that record button, do a quick sweep and unplug anything that hums or buzzes, like the fridge or an AC unit.
Fun fact: the idea of controlling noise at the source isn't new. It’s a core principle in industrial safety, where engineers have been designing ways to eliminate or isolate noise for decades. Content creators can borrow that same mindset.
Master Your Microphone Technique
With your space prepped, your next line of defense is how you use your microphone. The right mic and the right placement are crucial for making sure it picks up your voice and not the hum of your computer fan.
- Choose the Right Mic: For most voice recording, a cardioid microphone is your best bet. These mics are designed to hear what's directly in front of them and ignore sounds from the sides and back. Perfect for a single speaker.
- Get Closer: This is a big one. Try to keep the mic about 6-12 inches from your mouth. This simple move makes your voice much louder compared to any lingering background noise, which dramatically improves your signal-to-noise ratio.
- Use a Pop Filter: It's that little screen you see between a singer and their mic. It’s an inexpensive lifesaver that stops the harsh, punchy sounds from "p" and "b" words (we call them plosives) from ruining your take.
Learning how to record vocals at home and sound like a pro is a skill that pays off immediately. By dealing with these physical and visual background distractions before they ever become an audio issue, you’re already halfway to creating professional-sounding content.
Got Questions? We've Got Answers
Even with the best tools in hand, you're bound to have a few questions as you dive into cleaning up your audio. Let's walk through some of the common things that trip people up when they first start tackling background noise.
The great news is that most of these challenges are easier to solve than you think. Whether you're dealing with a shaky phone recording or worried about messing up your sound quality, a bit of know-how goes a long way.
Can I Really Clean Up Audio From a Phone Recording?
You absolutely can. In fact, most modern tools, especially the AI-powered web apps, are built to handle exactly this kind of situation. Just get the video file from your phone to your computer, and you can upload it straight into the tool you're using.
For your next project, try to give yourself a head start. Recording in a room with soft surfaces—think carpets, couches, or even just a closet full of clothes—can do wonders for soaking up echo and giving you a cleaner file to work with from the get-go.
What's the Difference Between Noise Reduction and a Noise Gate?
This is a great question because the terms sound alike but they solve completely different problems.
- Noise Reduction is the smart tool. It actually listens to your audio, figures out what's noise and what's your voice, and then digitally subtracts the bad stuff from the entire track. It works even while you're talking.
- A Noise Gate is more like a simple on/off switch for sound. It mutes your audio completely whenever the volume drops below a level you set.
Think of it this way: a noise gate is perfect for killing that low hum between your sentences. But it does absolutely nothing for the noise that's happening while you're speaking. For that, you need true noise reduction.
Will Trying to Remove Noise Make My Audio Sound Worse?
It can, but only if you get too heavy-handed with the settings. When you push noise removal too hard, you can end up with weird, watery, or robotic sounds that audio pros call "artifacts." The secret is to be gentle.
Your aim isn't to create a perfectly silent void; it's to reduce the distracting noise until it's no longer the focus. Always listen back to the main dialogue or voiceover. Does it still sound clear and natural? If so, you're on the right track. Starting with good source audio and using today's AI tools makes this much less of a risk.
What Kind of Noise Is the Hardest to Get Rid Of?
The real troublemakers are the sounds you can't predict. A dog barking suddenly, a car horn blaring outside, or someone coughing in the next room—these are a nightmare for older, traditional tools. Why? Because those tools need a consistent "noise print" to work, and you just can't get that from a random interruption.
This is precisely where AI tools shine. They aren't just looking for a steady hum. They've been trained on thousands of hours of audio to understand what a human voice sounds like, allowing them to separate it from almost any other kind of sudden, distracting sound. This gives them a massive leg up on complex audio messes.
Ready to get crystal-clear audio in just a few clicks? VideoBGRemover uses powerful AI to not only perfect your video's background but also clean up distracting noises, giving your content the professional polish it deserves. Try it for free and hear the difference. Learn more at https://videobgremover.com.
Tagged with
Ready to Remove Your Video Background?
See a free preview before you buy.
No credit card required • Free preview on every video