How to Make a GIF Transparent (how to make gif transparent)
Learn how to make gif transparent with step-by-step guides for Photoshop, online tools, and AI. Get professional results.
Making a GIF transparent is all about telling one of the colors in its palette to become invisible. Think of it like a digital green screen—you pick a color, and poof, anything behind the GIF shows right through. It's a simple trick, but it’s what makes GIFs so useful for everything from website flair to social media stickers, letting them fit in anywhere.
Why Transparent GIFs Still Matter
Before we get into the "how-to," let's quickly touch on why this old-school format is still such a powerhouse. The biggest win for transparent GIFs is their universal compatibility. While newer formats can be picky about which browser they play nice with, GIFs just work. Every time. On websites, in emails, and across all the big social media platforms.
That kind of reliability is gold for designers and marketers. Need a quirky animated sticker for your brand’s Instagram Story? Or maybe a subtle, looping logo for your website header? A transparent GIF does the job perfectly, without that ugly, solid-colored box cramping your style. It keeps everything looking clean and professional.
The Technology Behind the Magic
The "magic" of a transparent GIF is actually pretty basic. It’s a binary system—a pixel is either 100% visible or 100% invisible. There’s no in-between, so you can't get those soft, fading edges. This all started way back in 1989 with the GIF89a version, which introduced the ability to flag one of the 256 available colors as transparent. It’s what allowed animations to truly come alive on the web.
This simplicity is both a blessing and a curse. It guarantees that your GIF will work everywhere, but it also means you won't get the super-smooth, anti-aliased edges you might see with a PNG. For most things, though—like animated icons, logos, or reaction memes—it’s more than enough.
The real value of a transparent GIF is its chameleon-like ability to blend in. It gets rid of visual clutter, making your animation feel like a natural part of the design instead of something just slapped on top.
Keeping this in mind helps you create better animations. You're not just cutting out a background; you're making your content feel more integrated and polished. The same core ideas apply to video, too. For a deeper look at this, you can check out our guide on the power of transparency, which explores many of these same principles.
Mastering Transparency in Adobe Photoshop
When you need absolute, pixel-perfect control over your transparent GIFs, there's no substitute for Adobe Photoshop. It’s the gold standard for a reason, giving you a powerful set of tools to handle everything from a simple static image to a complex, multi-frame animation. Getting a clean result really comes down to two things: careful prep work and knowing your way around the export settings.
Your first job is always to isolate your subject from its background. For simple graphics with solid colors, the Magic Wand tool might get the job done quickly. But for anything with complex edges or organic shapes, the Pen Tool is your best friend. Seriously, taking the time to create a clean path with the Pen Tool will give you a crisp, professional cutout that automated tools just can't replicate. Once your subject is on its own layer, just hide or delete the background layer, and you'll see Photoshop's classic checkered grid, confirming your transparency.
The Animation Workflow
Now, if you're working with an animated GIF, you have to apply that same logic to every single frame. You can see your animation sequence by opening the Timeline panel (found under Window > Timeline). This is where the real work begins, as you have to make sure the background is removed from each frame. It can definitely be tedious, but it's the only way to avoid annoying flickers or random bits of the background popping up in your final GIF.
Here's a pro tip that has saved me countless hours: isolate your subject on its own layer before you even start building the animation frames. That way, the transparency is baked in from the get-go, and you can just focus on the movement.
This infographic gives you a great visual breakdown of the crucial settings in Photoshop’s 'Save for Web' dialog, which is where the magic really happens.
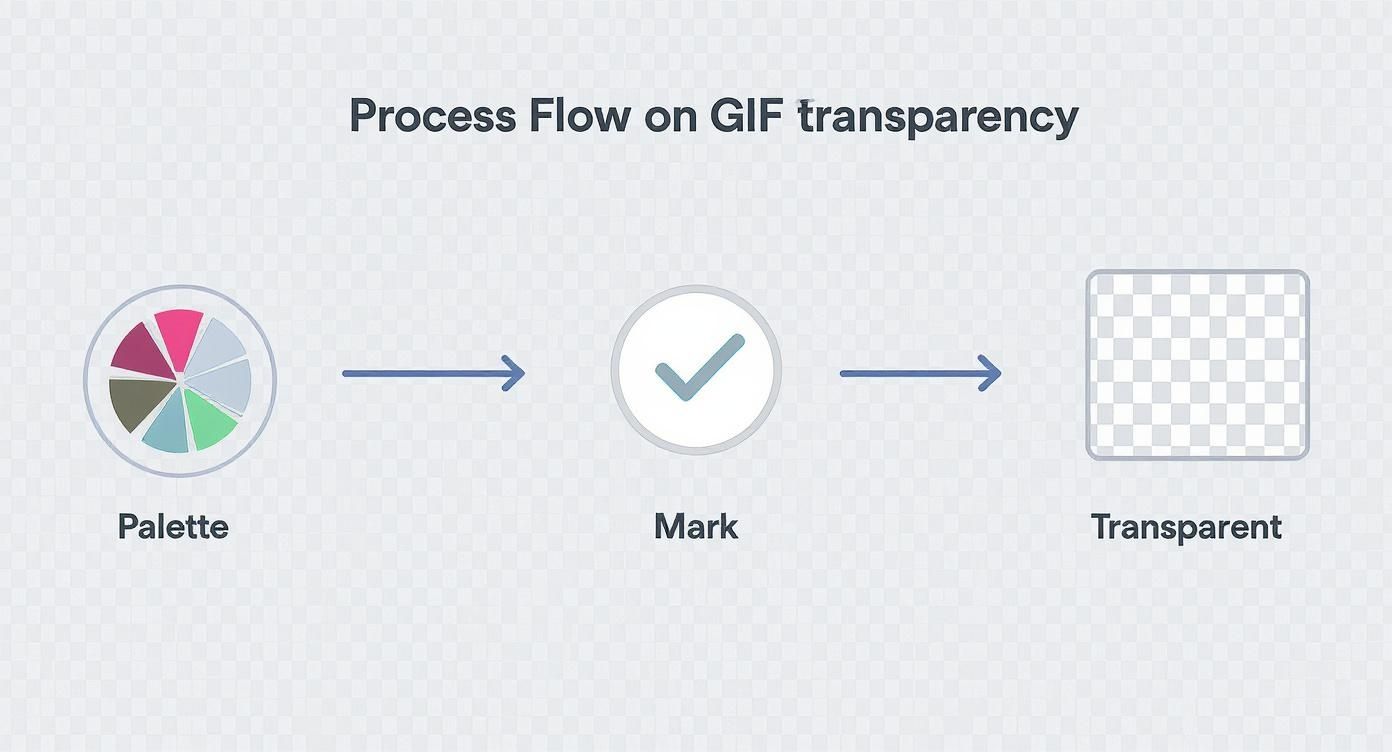
As you can see, it's not just a single checkbox; getting the color palette and other settings right is just as important.
Nailing the Export Settings
Everything comes together in the export dialog. To get there, go to File > Export > Save for Web (Legacy). Don't be intimidated by the name; this legacy tool is still the best way to export optimized GIFs. It opens a window loaded with options that are essential for getting a high-quality transparent result.
Here's a quick rundown of the must-haves:
- Transparency Checkbox: This one’s a no-brainer. Make sure it's checked. This tells Photoshop to actually save the transparent pixels you worked so hard to create.
- Matte Setting: This is your secret weapon against that ugly white or black "halo" that can appear around the edges of a transparent image. If you know your GIF will be on a dark background, choose a dark matte color. If it’s for a light website, pick a light one. Setting it to "None" is an option, but matching the matte color usually gives you much smoother edges.
- Colors and Dither: Remember, the GIF format can only handle 256 colors. You can lower this number to shrink your file size, but keep an eye out for weird color banding. The dither setting helps smooth the transitions between colors, but it can also make your file a bit larger.
Balancing these settings is more of an art than a science. Don't be afraid to tweak the color palette and experiment with different matte options. A few small adjustments can make a huge difference in creating a transparent GIF that looks fantastic and loads quickly.
Using Online Tools for Fast Results
Sometimes you just need a transparent GIF, and you need it now. Firing up a powerhouse like Photoshop for a simple task can feel like overkill. That’s where online tools come in—they’re fast, free, and run right in your browser, making them perfect for straightforward jobs, especially when your GIF has a solid-colored background.
For most day-to-day needs, these tools hit the sweet spot between speed and quality.

The process is almost always the same: you upload your GIF, click on the background color you want to get rid of, and download the new transparent version. Tools like the ever-popular Ezgif even give you a few extra levers to pull to really dial in the final result.
Getting a Cleaner Result
The real magic in these online tools often lies in a little slider or input box labeled "fuzziness" or "tolerance." This setting is your best friend for cleaning up those pesky edges around your subject.
Think of it as a sensitivity dial. A higher value tells the tool to treat similar shades of your selected color as part of the background, which is a lifesaver for eliminating leftover pixels and annoying halos. I've found it's best to start with a low tolerance value and nudge it up bit by bit. This way, you avoid accidentally erasing parts of your main subject that happen to be close in color to the background.
Don't be afraid to experiment. The ideal tolerance setting can vary wildly between different GIFs. A little tweaking can be the difference between a jagged, messy result and a clean, professional-looking animation.
When it comes to choosing the right tool, a quick comparison can save you some time. Here's a look at a few popular free options.
Comparison of Free Online GIF Transparency Tools
A quick comparison of popular online tools to help you choose the best one for your needs based on key features and limitations.
| Tool Name | Best For | Ease of Use | Key Limitation |
|---|---|---|---|
| Ezgif | All-around use with good customization options | Very Easy | Can struggle with complex gradients |
| Unscreen | Automatically removing video backgrounds | Easy | Free version has watermarks and lower resolution |
| Online GIF Tools | Simple, single-purpose transparency | Very Easy | Lacks advanced settings like fuzziness control |
| Lunapic | More granular control over transparency and colors | Moderate | The interface can feel a bit dated and cluttered |
Each of these tools has its place. For a quick and dirty removal, any of them will do, but for a bit more finesse, something like Ezgif is usually my go-to.
It's important to remember that these tools work best on GIFs with clean, single-color backgrounds. If you're working with complex animations or clips from real-world video, you might find the results are a bit hit-or-miss. For those tougher jobs, you can explore more advanced methods in our guide to creating a transparent animated GIF background.
Beyond just GIF work, many people find that browser-based online video editors are just as handy for quick video edits without any software downloads.
Ultimately, when speed and convenience are what you need, these online GIF editors are tough to beat. They’re the perfect solution when "good enough" is all you need, and you need it done in a few clicks.
Tackling Complex Backgrounds with AI
https://www.youtube.com/embed/5TAoyBloaq0
Simple online tools and the magic wand in Photoshop are great for GIFs with a solid color background. But what about when your source is a real-world video with a busy, moving background? That’s when manual selection goes from tedious to nearly impossible.
This is where AI-powered tools come in and completely change the game. Instead of you having to rotoscope frame-by-painful-frame, these tools analyze the video, identify the main subject, and automatically cut it out from the background. You just upload your clip, and a few moments later, you get a version with a clean, transparent background. It feels like magic.
This tech is a lifesaver for creating high-quality reaction GIFs or grabbing a cool clip from a video for your marketing. It blows the doors wide open for making a transparent GIF when your starting point is anything but simple.
From Transparent Video to Flawless GIF
Okay, so you've used an AI tool and now you have a video file with the background perfectly removed. The final piece of the puzzle is turning it into a GIF without losing that transparency.
This part is pretty straightforward. Most video editors or online converters can do the job, but you have to pay close attention to the export settings. When you convert your transparent video (which is probably a .MOV or .WebM file), look for a "transparency" checkbox or a similar setting. Just like in Photoshop, if you don't tick that box, all your hard work will be for nothing!
The real beauty of this workflow is the sheer speed. An AI tool can knock out a complex background removal in minutes—a task that would take a skilled human editor hours. It makes creating professional-looking transparent GIFs something anyone can do.
For those really tough videos with fine details like hair or intricate patterns, you might need a more specialized tool. Platforms offering advanced AI background removal with LunaBloom AI are built specifically for these kinds of challenges, delivering incredibly precise results.
Picking the Right AI for the Job
The market for these tools is growing fast, and they all have their pros and cons. Some are designed for quick, one-click results, while others give professional editors more fine-grained control over the final cutout.
If you're ready to explore what's out there, we've put together a detailed breakdown. Check out our guide on the best AI tools with video background removal to see a full comparison and find the one that’s a perfect match for your needs. It's the modern solution to the age-old problem of creating dynamic, eye-catching GIFs from any video source.
Even when you think you've followed all the steps for a transparent GIF, things can still go sideways. Getting that perfect, clean result often involves a bit of troubleshooting. Let's walk through some of the most common headaches and how to fix them.
Chances are, you've seen the dreaded "white halo" effect. This is probably the number one issue people run into. It happens when your original image has soft, anti-aliased edges. Because the GIF format doesn't do semi-transparency, all those lovely, soft edge pixels get flattened into a solid color, usually white or black.
The result? A jagged, ugly border that ruins the whole effect, especially on a colored background.
Conquering Jagged Edges and Halos
So, how do you get rid of that halo? The best professional technique is called matting.
When you're exporting your GIF in a tool like Adobe Photoshop, you’ll find an option to select a "matte" color. The trick is to choose a color that matches the background where you plan to display the GIF. This clever move blends the edge pixels into that specific color, making the halo practically invisible.
No Photoshop? No problem. A simpler workaround is to be less generous with your initial selection. Try selecting your object a pixel or two inside its edges. This effectively crops out those problematic semi-transparent pixels right from the start.
Smoothing Out Color Banding
Another common problem is color banding. This happens because GIFs are limited to a palette of just 256 colors. If your original video or image has smooth, subtle gradients, the GIF format simply can't handle them. Instead, you get those harsh, visible steps between shades.
The fix for this lies in a setting called dithering. When you export, find the dither option and turn it on. Dithering mixes pixels from the available color palette in a pattern, which tricks the eye into seeing a smoother transition and more colors than are actually there.
The secret to a great transparent GIF is working with its limitations, not against them. Remember, it's old technology. Using techniques like matting and dithering is how you get professional-looking results out of a vintage format.
This format's simplicity and universal support are precisely why it's still so popular. It's a core part of how we communicate on platforms like Twitter and WhatsApp, a fascinating journey you can explore in this brief history of the GIF.
Got Questions? We’ve Got Answers.
Even after you've made a few transparent GIFs, some tricky situations can pop up. Let's tackle a few of the most common questions I hear from people wrestling with their animations.
Why Does My Transparent GIF Have a Jagged White Edge?
Ah, the dreaded halo effect. This almost always comes down to an issue called anti-aliasing. When you cut out your subject, some pixels on the edge are made semi-transparent to help it blend smoothly.
The problem is, the old-school GIF format doesn't do "semi-transparent." It forces those pixels to be 100% opaque, and they usually default to white. The best way to fix this is to use a matte color when you export. Just choose a color that matches the background where you plan to display the GIF, and those messy edges will seem to vanish.
Can I Make Just One Part of a GIF Semi-Transparent?
Unfortunately, no. The GIF format supports what's known as binary transparency. Think of it like a light switch: a pixel is either completely visible or completely invisible. There's no dimmer.
This means you can't create those cool fade effects or soft, drop shadows that you see with other image types. If you absolutely need partial transparency in an animation, you'll have to look at newer formats like APNG or WebM. Just be sure to check their browser support first, as it's not as universal as the trusty GIF.
A GIF's transparency is an all-or-nothing deal. Each pixel is either completely on or completely off, which is key to its universal compatibility but limits advanced effects like soft shadows.
How Do I Keep My Transparent GIF File Size from Ballooning?
Keeping transparent GIFs lean is a bit of an art form. Your first move should be to slash the number of colors. Dropping the palette from 256 down to 128 or even 64 can make a huge difference without much visible quality loss.
Also, think about trimming the fat. Can you make the dimensions a little smaller? Are there any duplicate or unnecessary frames you can cut out? If you're using Photoshop's "Save for Web" tool, don't be afraid to play with the 'Lossy' compression setting. A little bit of lossy compression can shrink the file size dramatically.
When you’re starting with a complex video clip, getting that clean, transparent background can feel impossible with manual tools. That's where VideoBGRemover comes in. Our AI was built to handle busy, complicated backgrounds, giving you a perfect cutout in minutes. It’s the ideal starting point for a professional-looking transparent GIF.
Tagged with
Ready to Remove Your Video Background?
See a free preview before you buy.
No credit card required • Free preview on every video