Master the After Effect Rotobrush
Unlock pro-level rotoscoping with our guide to the After Effect Rotobrush. Learn practical workflows, refinement tips, and how to fix common issues.
The After Effects Rotobrush is a game-changer. It's an AI-powered tool that lets you cut a subject out from its background in a video, all without needing a green screen. You just paint over your subject, and Adobe's AI, Adobe Sensei, does the heavy lifting. It analyzes the pixels and motion to create a clean matte, saving you from what used to be hours of mind-numbing, frame-by-frame work.
From Manual Tracing to AI Magic
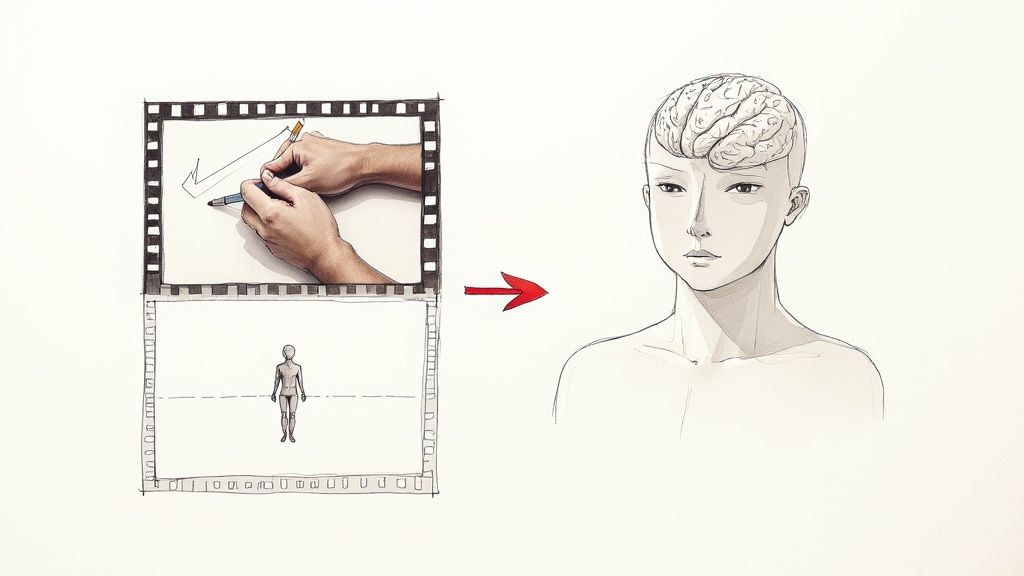
Before tools like Rotobrush came along, isolating a moving object was one of the most painful tasks in post-production. This process, called rotoscoping, meant you had to manually trace an object's outline, frame by agonizing frame. A few seconds of footage could easily eat up an entire day.
This old-school approach wasn't just slow; it was a total creativity killer. Editors and VFX artists found themselves bogged down in mechanical labor instead of focusing on the story or the visual polish. It was obvious a smarter, faster way was needed, which really paved the way for a huge shift in how we edit video.
The Shift to AI-Powered Workflows
The real breakthrough came with Roto Brush 2 in After Effects 2020. This update, powered by Adobe Sensei, went way beyond basic color detection. It uses a much smarter, content-aware analysis that actually understands objects and tracks them with impressive accuracy. The amount of manual work it cuts down is just incredible. Before this, rotoscoping could easily take up 40% of a project's timeline.
This AI approach brings some serious advantages to the table:
- Massive Time Savings: Work that used to take days can often be knocked out in minutes or a few hours.
- Increased Accessibility: Complex VFX shots are no longer just for big studios with huge budgets and teams.
- Creative Freedom: Artists can now freely experiment with composites and effects without worrying about the insane time sink.
By automating the most tedious part of rotoscoping, the After Effect Rotobrush frees you up to focus on what really matters: the final look and feel of your video. It turns a technical headache into a creative opportunity.
As you get comfortable with AI tools like Rotobrush, it's worth exploring the wider world of leading AI video editing software tools that are changing the game. These tools show a clear trend toward smarter, more efficient video production. You might also want to check out our guide on the best AI tools with video background removal to see what other options are out there.
Creating Your First Clean Matte
Alright, with your footage loaded, it's time to get our hands dirty and start isolating your subject. This first step—creating what we call the base frame—is honestly the most important part of the whole process. If you nail this initial selection, everything else becomes so much easier down the line.
First things first, let's get your workspace set up properly. Double-click your video layer in the timeline. This is a crucial step because it switches you from the main Composition panel over to the dedicated Layer panel. You have to be in this view; otherwise, the Rotobrush tool simply won't activate.
Activating and Using the Roto Brush
Once you're in the Layer panel, look up at your top toolbar. You'll see the Roto Brush tool—it's the little icon that looks like a person with a paintbrush. Go ahead and select it. Your cursor should immediately change into a green circle. Now you're ready to show After Effects what you want to isolate.
Start by painting a rough green stroke right inside your subject. Let's say you're cutting out a person walking down the street; a quick line down their torso is a great starting point. You don't have to be super precise here. The idea is just to give the AI a clear hint. After a moment, After Effects will process it and snap a magenta outline around what it thinks you want to keep.
Now, this first guess is almost never perfect. You'll definitely need to clean it up by adding to the selection or subtracting from it. This is where you'll want to get comfortable with the keyboard shortcuts.
- To add to your selection, just keep drawing green strokes on any parts of your subject that got missed.
- To subtract from the selection, hold down Alt (Windows) or Option (Mac). Your cursor will turn red. Now you can paint over any background areas that After Effects accidentally grabbed.
Your goal for this first frame is precision over speed. A tight, accurate matte on this single frame provides a much stronger foundation for the AI to track across the rest of the clip, saving you from countless corrections later.
Sizing Your Brush for Detail Work
When you get to tricky spots, like the small gap between a person's arm and their body, a big brush just won't cut it. To change your brush size on the fly, hold Ctrl (Windows) or Command (Mac) and just drag your mouse left or right. A smaller brush is essential for getting into those tight corners and subtracting background elements without accidentally clipping off parts of your subject.
The fundamental goal here is a lot like pulling a good key from a green screen—you want a clean, crisp separation. If you want to dive deeper into that, we have a whole guide on the After Effects green screen workflow.
And for simpler jobs where you just need a quick cutout, an AI-powered transparent background maker can be a real time-saver. But for now, focus on this base frame. Seriously, take the time to get that magenta line hugging your subject perfectly. It's the best investment you can make in your rotoscoping project.
Refining and Propagating Your Selection
Alright, you've got your base frame looking solid. Now for the fun part: making it move. This is where the real magic of the After Effect Rotobrush kicks in. It's designed to carry that clean matte you just made forward through your clip, a process called propagation. Essentially, After Effects is now trying to predict where your subject is going, frame by frame.
Think of yourself as a supervisor from here on out. As you scrub or play through the timeline, your job is to keep a close eye on that magenta outline. The AI is impressive, but it’s not a mind reader. It can get tripped up by fast action, blurry motion, or when your subject passes in front of a similar-colored background. When you see the matte start to drift, just pause and give it a little nudge with the same green and red brushes you used for the initial selection.
Getting a truly clean matte is a multi-stage process, and refinement is a huge part of it.
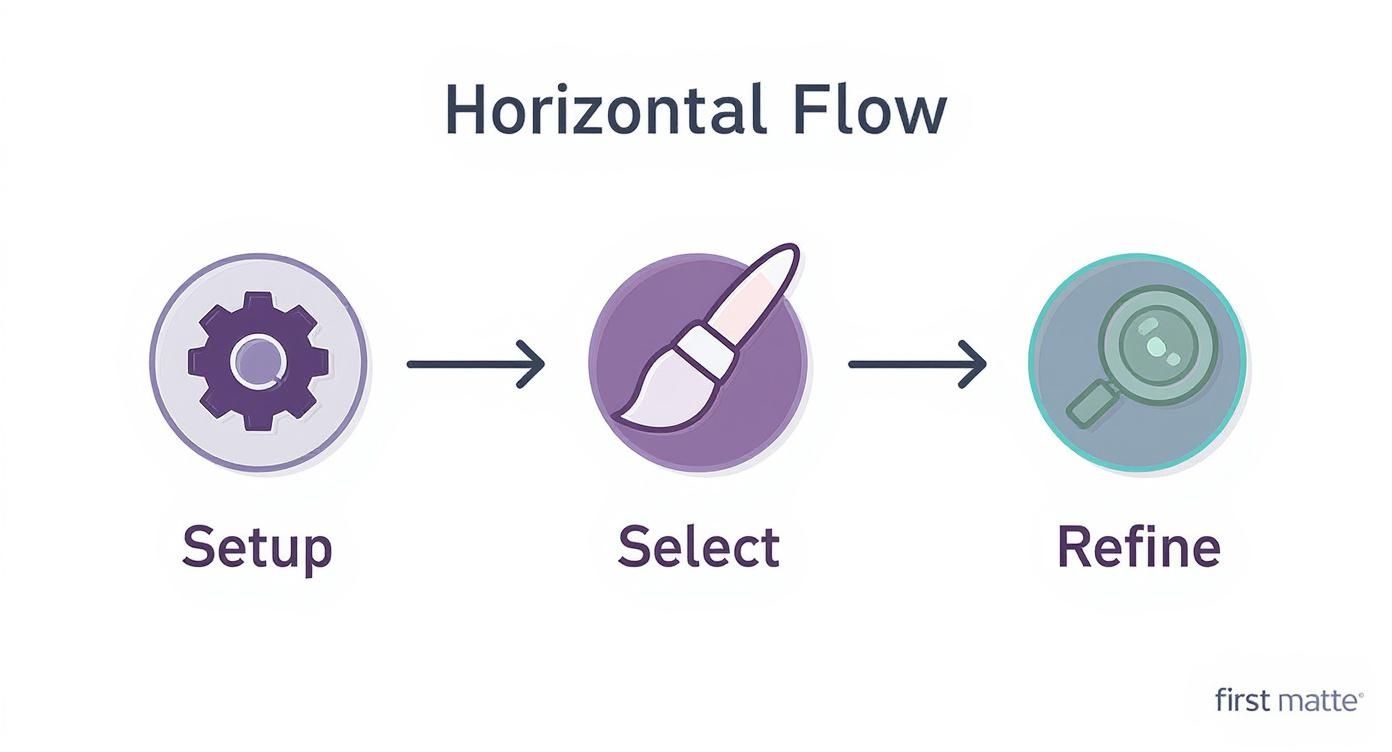
As you can see, this isn't just a final touch-up; it's a core step that follows right after you've made your first pass.
Fine-Tuning with the Refine Edge Tool
Sometimes, the standard Roto Brush just isn't delicate enough. For those really tricky elements—wisps of hair, fuzzy clothing, or motion-blurred edges—you'll get a harsh, "cookie-cutter" look. This is exactly what the Refine Edge tool was built for. It lives right under the Roto Brush icon in the toolbar, and it's your secret weapon for those soft, semi-transparent details.
Just select the Refine Edge tool and paint over the problem areas. Think about the soft edges of a fleece jacket or hair blowing in the wind. This tells After Effects to take a much closer look at those pixels, creating a far more natural and believable matte. You’ll immediately see the edges soften, capturing details you probably thought were impossible to isolate.
The secret to a professional result is to treat propagation as a hands-on process. Don't just hit play and hope for the best. I always work in small chunks, maybe 10-20 frames at a time, making tiny corrections along the way.
This approach stops small errors from snowballing into a huge mess later on. A little bit of patience here will save you hours of frustration and dramatically improve your final composite.
Controlling the Propagation Engine
If you dig into the Rotobrush effect panel, you'll find a few controls that can really help you steer the AI. The default settings are a great starting point, but knowing what these knobs do can solve some common problems, especially with tricky footage.
For instance, if your subject is moving really quickly, the default propagation might not be able to keep up. Here are a couple of settings to keep in your back pocket:
- Search Radius: This tells the Rotobrush how far to look for your subject in the next frame. If you've got fast motion, you might need to increase this. Just be careful—a radius that's too large might cause it to latch onto background elements by mistake.
- Motion Damping: This is fantastic for smoothing out that jittery "chatter" you sometimes see on the edge of a matte. If your edges are looking a bit nervous, bumping this up can make them much more stable.
By tweaking these settings and using the Refine Edge tool for the detailed bits, you can guide the After Effect Rotobrush to create a clean, stable matte that holds up even when the action gets intense.
Finalizing and Polishing Your Rotoscope
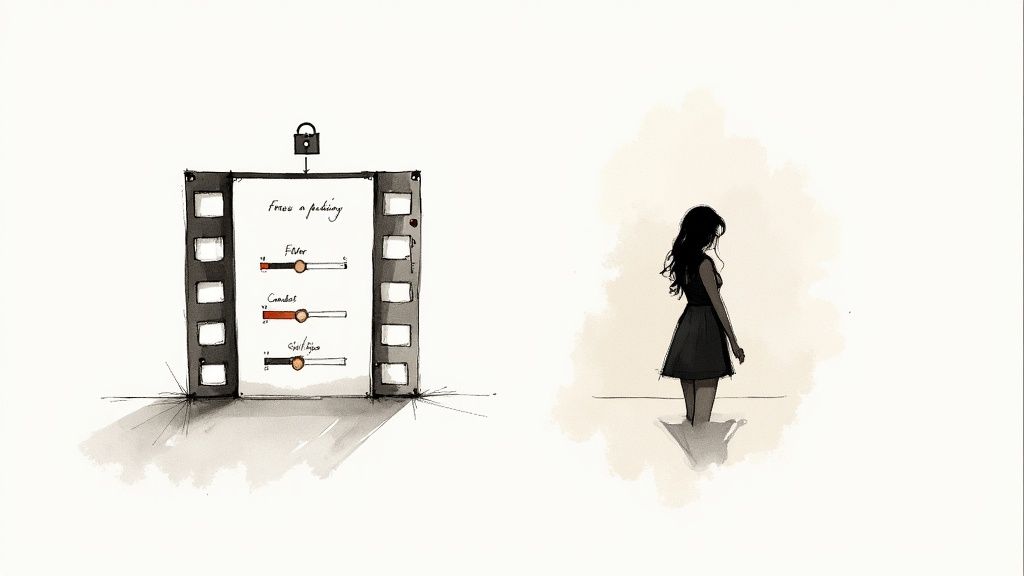
You’ve patiently guided the Rotobrush frame by frame, and now you have a solid matte that sticks to your subject. The hard part is over, but the final tweaks are what will truly sell the shot. The first thing you absolutely must do is lock in that work by hitting the Freeze button at the bottom of the Layer panel.
Think of freezing as baking your rotoscope. It caches all the complex calculations After Effects just did, which means it won't have to re-analyze the footage every time you scrub the timeline or make another tweak. This is a massive performance booster and, more importantly, it stops your matte from unexpectedly changing on you later.
Pro Tip: Freezing your matte isn't just a suggestion; it's a non-negotiable step. It creates a stable foundation for the delicate edge work that makes a composite believable and saves you from a world of performance headaches. Never skip it.
Dialing in the Roto Brush & Refine Edge Effect
Once your matte is frozen, it’s time to head back to your main Composition panel. This is where the magic happens, specifically in the Roto Brush & Refine Edge effect controls. This panel is your toolkit for transforming a decent cutout into something that blends seamlessly into a new background.
The goal here is subtlety. We're trying to avoid that "cut-out sticker" look, and these settings give you all the control you need to do it.
After years of using this tool, I've found that a little goes a long way with these settings. You're often balancing them against each other to find that perfect sweet spot. Below is a breakdown of the controls I use on nearly every single roto job.
Rotobrush Edge Control Settings Explained
| Setting | Function | Best Used For |
|---|---|---|
| Feather | Softens the hard edge of the matte. | Adding a subtle blur (2-5 pixels is a good start) to help the subject sit naturally in a new scene. |
| Contrast | Sharpens the edge, making it harder and more defined. | Tightening up edges that have become too soft after feathering. Balance this with Feather. |
| Shift Edge | Pulls the entire matte inward or pushes it outward. | Choking the matte with a negative value (like -15%) to eliminate pesky background halos or edge fringe. |
| Reduce Chatter | A temporal smoother that averages out edge jitters over time. | Smoothing out any flickering or "boiling" on the matte's edge for a more stable, consistent result. |
Mastering the interplay between these four settings is what separates an amateur composite from a professional one. Start with small adjustments and see how they affect the edge in motion.
Tackling Motion Blur and Pesky Color Spill
Two dead giveaways of a bad rotoscope are missing motion blur and color contamination from the original background. Luckily, After Effects has powerful, one-click solutions for both.
First, always check the Use Motion Blur box. This intelligently analyzes the movement of your subject and adds realistic motion blur to the edges of your matte. It's crucial for making fast-moving objects look like they actually belong in their new environment.
Next up is the incredibly useful Decontaminate Edge Colors checkbox. If your subject was filmed against a green screen or even just a bright blue sky, you’ll often see that color bleeding onto their hair or shoulders. This feature is a lifesaver—it neutralizes that color spill, giving you clean edges without hours of manual cleanup.
These automated tools are a huge deal. Before AI-assist, a professional rotoscoping job for a 30-second commercial could easily take 60-100 hours. Modern tools have cut that down to around 25-35 hours, a massive efficiency gain in what's now a $18.5 billion global video post-production market.
With your edges looking perfect, the last step is getting your video out of After Effects. To make sure you preserve all that hard work, check out our detailed guide on how to make a video with a transparent background. It covers the best export settings and formats, like ProRes 4444, to maintain that crucial alpha channel.
Solving Common Rotobrush Headaches
https://www.youtube.com/embed/_npDV4xtemo
The Rotobrush tool is fantastic, but it's not magic. Even with the power of Adobe Sensei behind it, you're bound to run into situations where it just doesn't cooperate. Think of this as your troubleshooting guide for when things go wrong—and they will.
Let's talk about the most common frustration: matte flicker, or "chatter." This is when the edge of your selection seems to boil or jitter from one frame to the next. It usually pops up in areas with tricky textures, low contrast, or motion blur, where the algorithm has a tough time locking onto a consistent edge.
Another classic headache is when the selection stubbornly grabs onto parts of the background, especially if they share a similar color or brightness with your subject. You'll have to step in and fix it manually, but there are much smarter ways to do this than fighting the tool frame-by-frame.
When Your Matte Starts to Drift
If your selection suddenly veers off course and loses the subject, the first place to look is your Rotobrush span. Trying to make one single, long span cover a complex shot is a recipe for disaster. When a character moves fast, changes direction, or gets partially hidden, the AI can easily get confused.
The solution? Stop trying to force one perfect rotoscope. Instead, break your clip down into smaller, more manageable spans.
- Find the frame where things went wrong and create a new base frame right after it.
- For really tricky movements, think in small chunks, maybe just 10-20 frames at a time.
- This approach essentially "resets" the AI's tracking, giving it a clean slate to work from.
This is my go-to technique when a subject moves off-screen and then comes back. Don't let the Rotobrush propagate through those empty frames where it has nothing to track. Just end the span when they exit and start a fresh one when they re-enter. It’s a simple trick that keeps the AI from making wild guesses that ruin your matte.
A huge mistake I see people make is trying to force a single Rotobrush span across an entire clip. For any shot longer than a few seconds or with any real action, you'll get a much more stable result by creating multiple, shorter spans. It feels like more work, but it saves you hours of cleanup.
Tackling Background Grabs and Edge Problems
What do you do when the Rotobrush just keeps grabbing the same piece of the background, no matter how many times you correct it? This is the tool telling you it needs more information to do its job properly.
Before you resign yourself to meticulously painting red strokes on every single frame, try giving the tool a better starting point. A simple pre-correction can make a world of difference.
Imagine your subject is wearing a dark shirt and moving against a shadowy background. The AI is going to have a hard time seeing that edge. You can help it out by temporarily applying a Curves or Levels effect before you even start rotoscoping.
- Drop a Curves effect onto your footage layer.
- Tweak the curve to gently boost the brightness or contrast. You're just trying to create more visual separation between your subject and the background.
- Now, pre-compose that layer (Layer > Pre-compose), making sure to move all attributes into the new composition.
- Perform your Rotobrush work on this new, pre-composed layer.
Once you’ve finished and frozen the matte, you can just dive back into the pre-comp and delete the Curves effect. This little bit of prep work gives the After Effects Rotobrush a much cleaner, clearer image to analyze, which drastically improves its accuracy right from the start. You'll save yourself an incredible amount of time on cleanup.
Got Questions? Let's Get Them Answered
Even a tool as slick as Rotobrush can throw you a curveball now and then. It happens. Let’s tackle some of the most common hangups I see artists run into, so you can get past the troubleshooting and back to creating.
What’s the Real Difference Between Rotobrush Versions?
Look, the original Rotobrush was a good start, but Rotobrush 2 (and now Rotobrush 3) is a complete game-changer. The secret sauce is the Adobe Sensei AI.
- Rotobrush 1: This was the old-school approach. It mostly relied on basic color and contrast differences to find an edge. You’d find yourself doing a lot of manual cleanup, frame by painstaking frame.
- Rotobrush 2 & 3: These versions are much smarter. They use an AI model that actually understands and tracks the object as it moves. The result is dramatically better edge detection, way more stable mattes, and far less cleanup, especially with tricky stuff like flyaway hair or motion blur.
Honestly, for any project you’re working on today, you should be using the latest version you have access to. The jump in performance and accuracy is just too big to ignore.
Why Is My Rotobrush Tool Grayed Out?
Ah, the classic "my tool is broken" panic. I've been there. Don't worry, the fix is almost always ridiculously simple. If you can't select the Rotobrush tool, it’s because you’re in the wrong panel.
You have to double-click your footage layer in the timeline first. This opens the clip up in its own dedicated Layer panel. The Rotobrush tool only works in this panel, not in the main Composition panel. This is hands-down the number one reason newcomers think the tool is bugged.
Once you’ve opened that Layer panel, the Rotobrush icon in your toolbar should light right up. If it's still acting weird, a quick cache purge (Edit > Purge > All Memory & Disk Cache) can often knock things back into place.
How Do I Deal with Super Fast Motion?
Fast motion is the ultimate stress test for Rotobrush. When an object zips across the screen, the AI can lose track, causing your matte to drift or fall apart completely. Trying to force a single Rotobrush span across a blur of motion is just asking for a headache.
The smarter strategy is to break the problem down. Propagate your matte right up to the point before the fast action kicks in, then stop. Jump ahead in your timeline to where the motion settles down again and create a fresh base frame there. By tackling the shot in smaller, more manageable chunks, you’re giving the AI clean starting points and stopping errors from piling up. It’s a much more reliable approach than trying to fix a messy matte over dozens of frames.
Tired of nudging pixels and adjusting frames? If you want to skip the tedious manual work entirely, an AI tool like VideoBGRemover can deliver a clean cutout in minutes. Just upload your clip and see how fast you can get a professional result without ever opening After Effects. You can grab a free preview over at https://videobgremover.com.
Ready to Remove Your Video Background?
See a free preview before you buy.
No credit card required • Free preview on every video